


DOING A JIG
JAGUAR XJS CRASH DAMAGE REPAIR.
We were presented, after Brands Hatch, with a lovely little job to do. This car was t-boned, effectively, by another car with sufficient violence to write off the other car.
We assessed the damage to this one, and decided that she would salvage. A strong, seam-welded shell, with a few reinforcements, she had survived well enough that it was worth a go at putting her on a jig. Here's the repair.
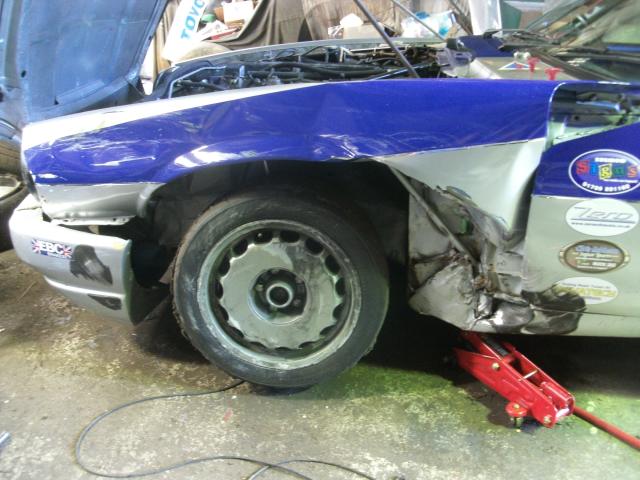
Oh good. Just what we wanted. Even before you start taking things off, you know this is bad. They don't always come back from this.
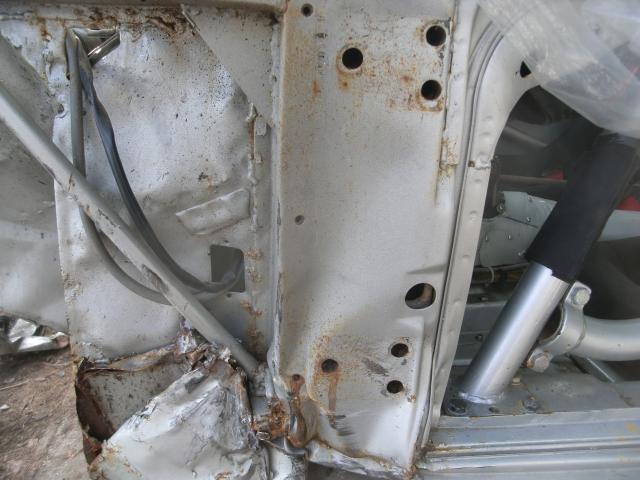
Bent chassis, smashed subframe, but the real concern is the A pillar, it's a complex repair if that requires replacement.
Crumpled chassis leg, bent shock, and most of the suspension will need to be thrown away.
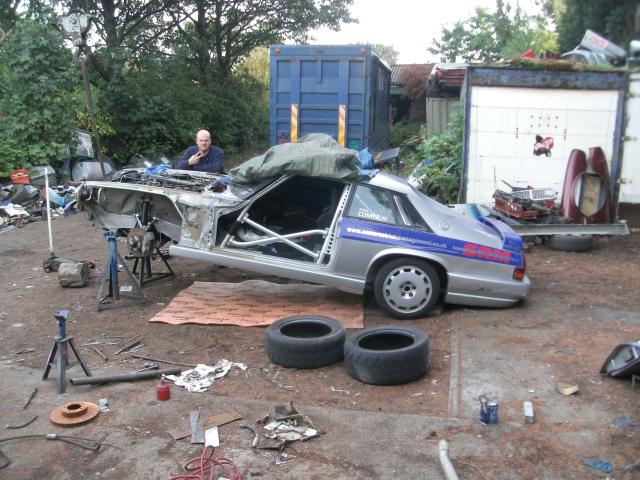
We carried out most of the work outdoors, in this instance. Dismantly, cutting, welding, and access to a crane co-incided with late summer.
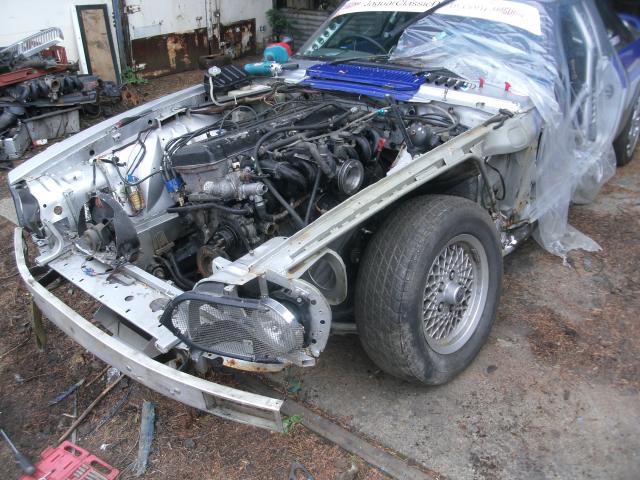
Stripped of wing, bonnet, bumper and door, all damaged, chassis assessment can now be undertaken with certainty. Not good.
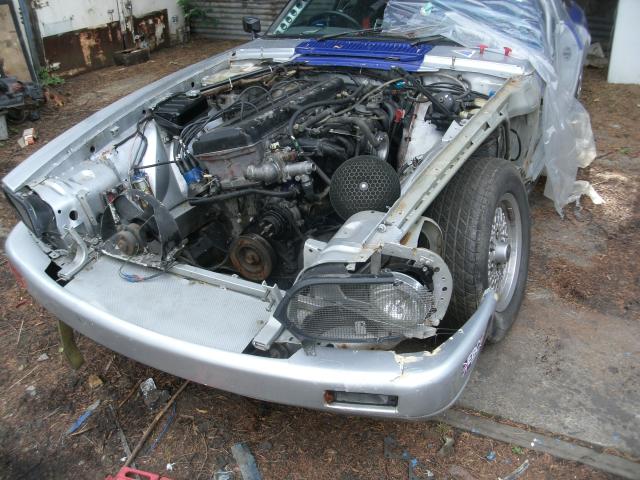
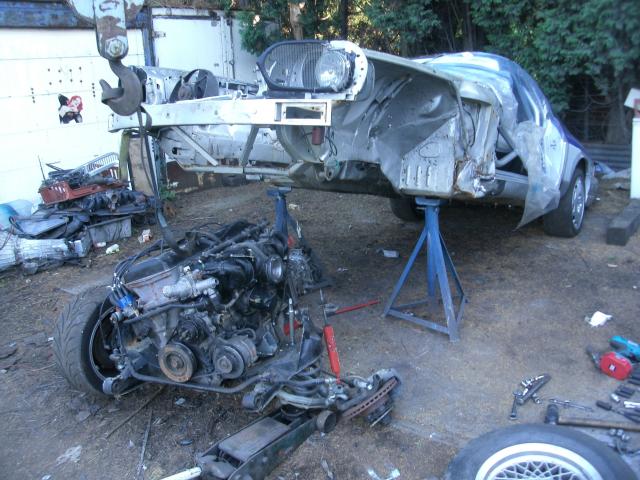
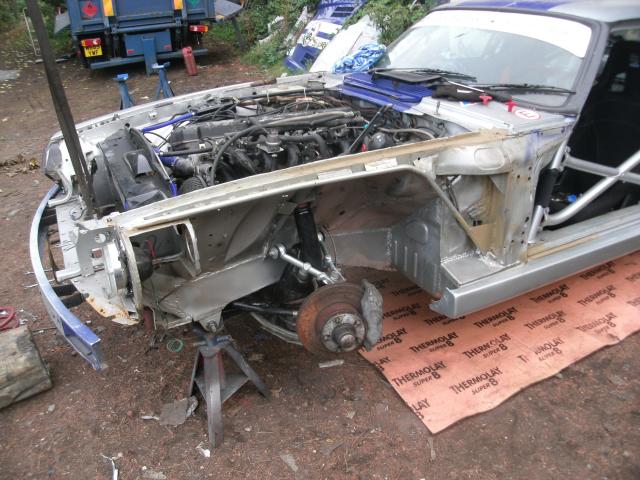
Subframe and engine out together made sense in this case, both had to be removed anyway. 1940s crane makes for light work of it!
Swift progress therefore to a shell that can be assessed, and a fresh subframe fitted ready for jigging. They need something to work to, to make fit.
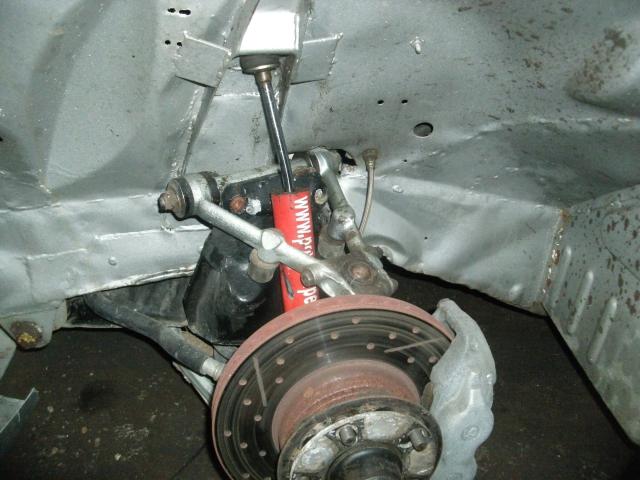
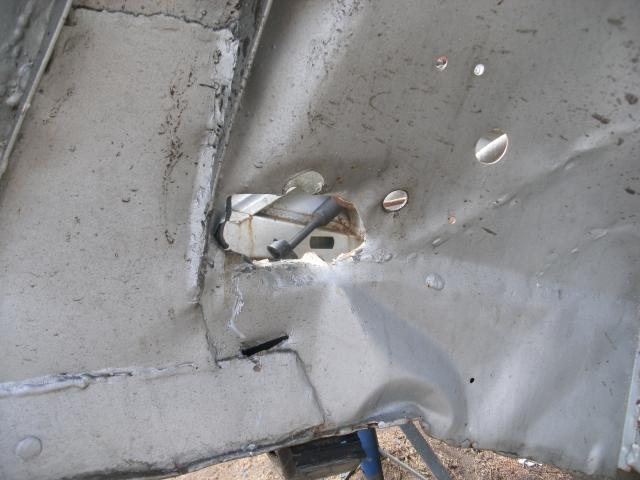
The hole was punched by the top arm. The kink is the chassis deforming. The rubber mounts give, but once suspension hits chassis, chassis then bends.
And the bend here is therefore no surprise. Classic front end damage. It's a matter of some pride that none of the repairs from construction so much as cracked a weld.
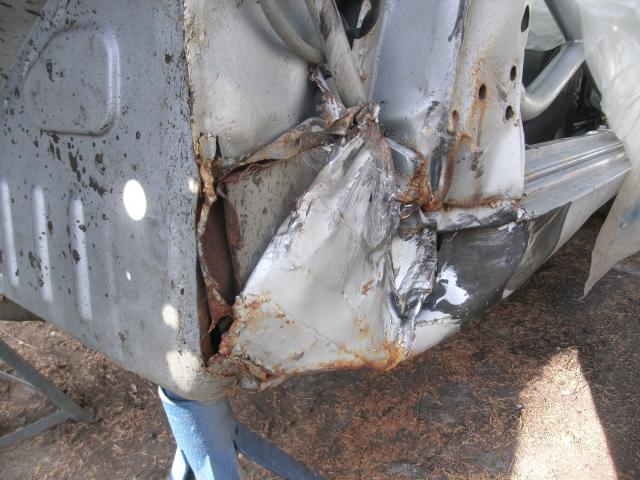
But this is a mess. Solution is to get it pulled out as far as possible, then cut it all away and rebuild.
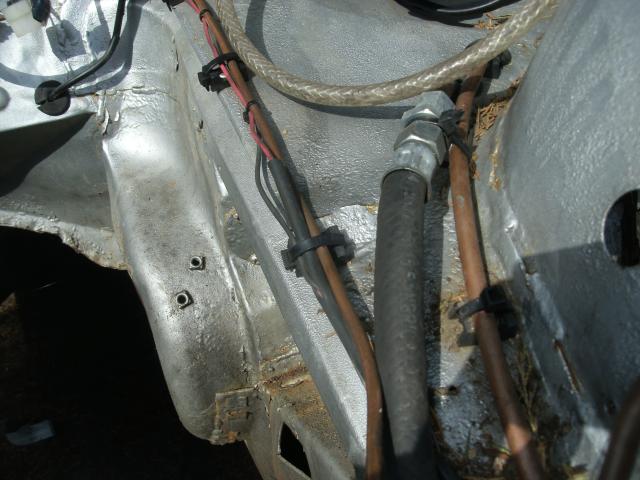
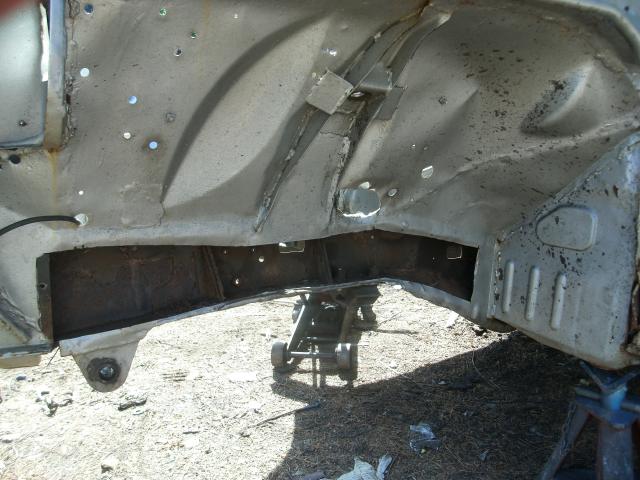
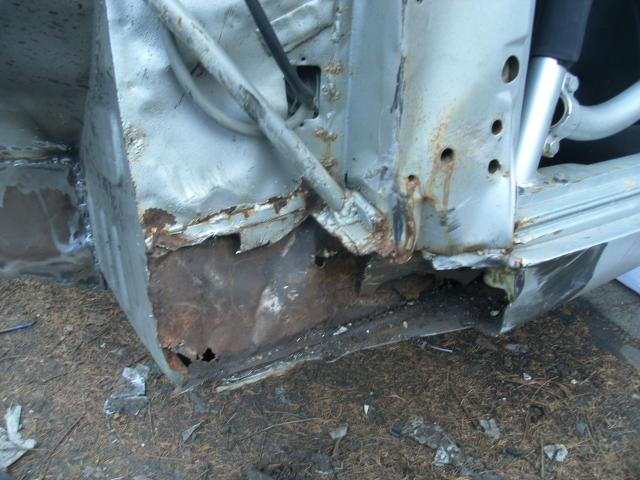
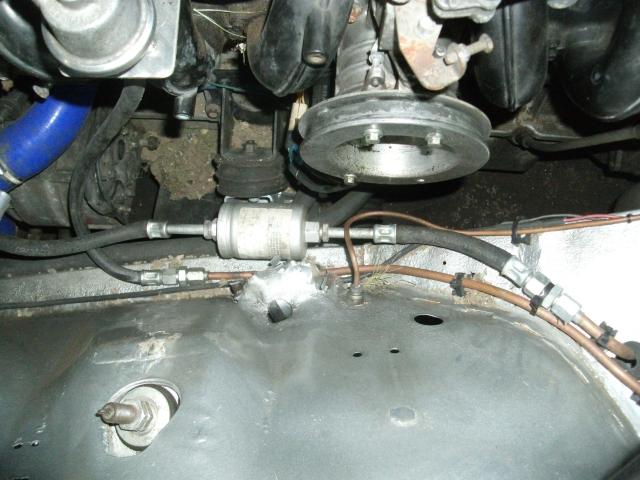
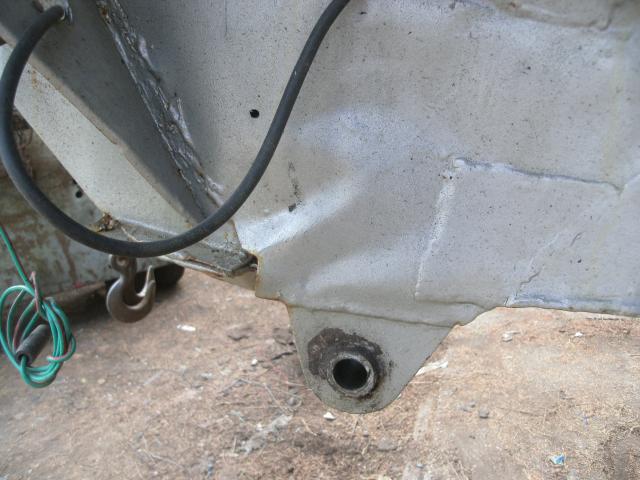
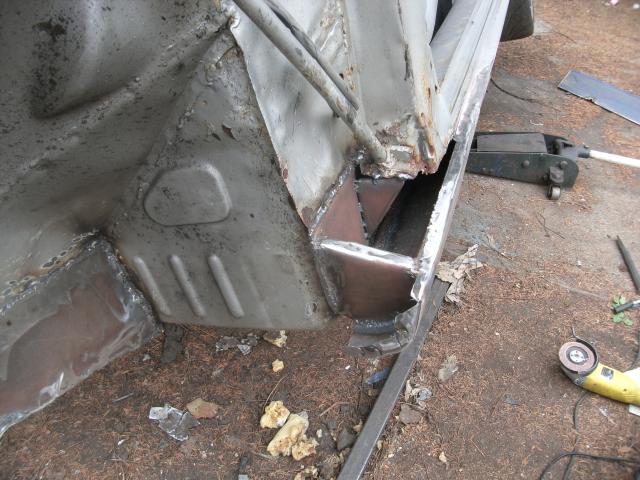
This has been so flattened that the inner sill was punctured by a piece of the outer! And of course that's where the fuel lines run. Out of harm's way. Ha.
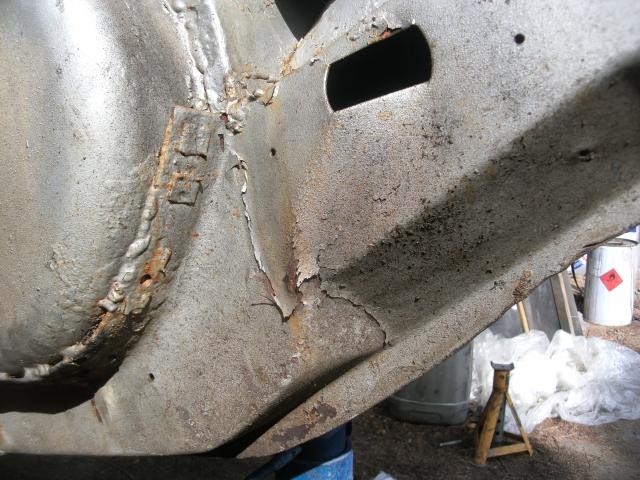
Cracked paint reveals another location of bent chassis leg syndrome. I think we counted 4 bends in the lower leg.
But it bends predictably, at all the weak spots just fore or aft of any diagonals, buttresses, internal gussets etc. It's got to bend somewhere.
There is consequential damage to the more cosmetic elements under the bonnet. These are a real swine to repair to a high standard, but largely unimportant.
Some will be relieved by pulling the chassis. Some will be relieved with a hammer. Few will require actual construction.
One can speculate how a bulge can appear in metal that was stretched, but it's unimportant. What is important is this is going to be a lot of work.
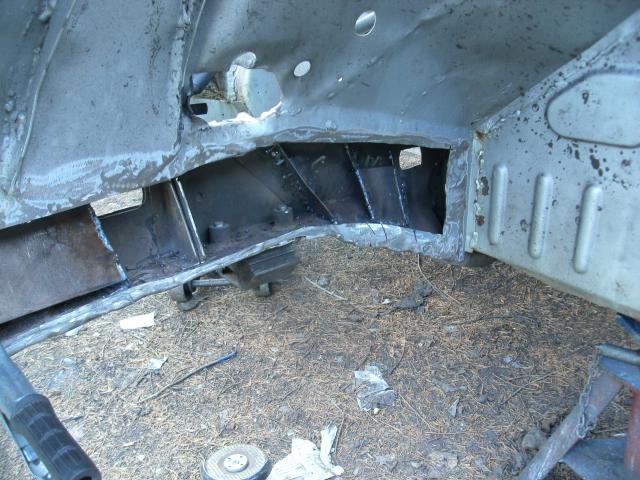
The previously-buckled skin, though now straighter, is now cut away completely. Yes, that's a large and scary hole. Never send the owner a photo at this point.
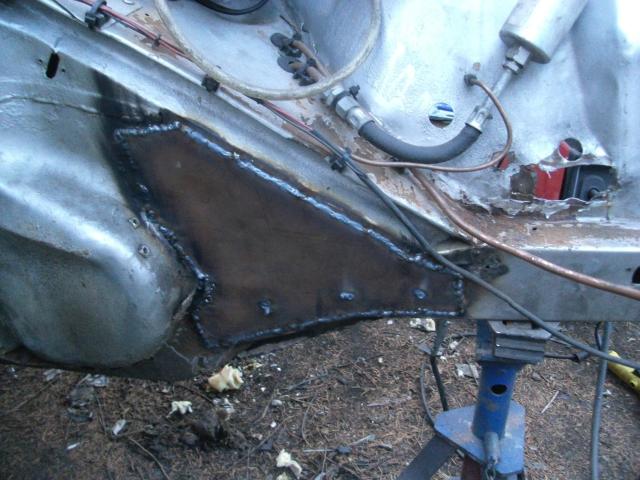
Early construction of a few new internal gussets, for luck.
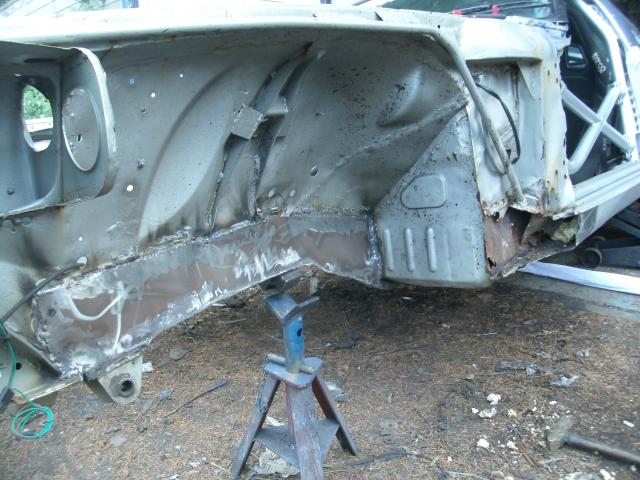
New skin fabricated, welded, and cleaned up. Took longer than it does to read this.
Oh dear, now look what he's done. Just keep cutting until you find a piece that's not damaged.
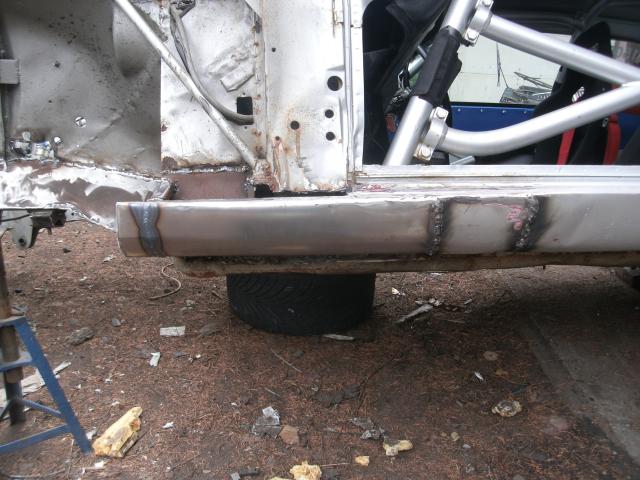
Cheated here, and let in a piece of box section inside the top of the sill - hence the extra cut, to act as the guide. Then formed a new sill to match the old and the box guide.
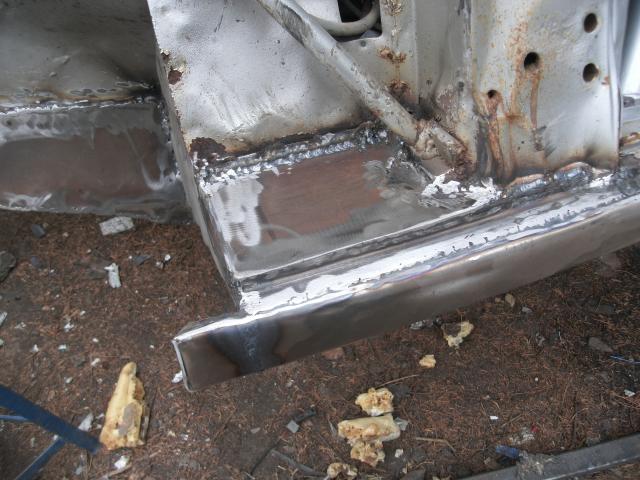
Repairs to inner sill, couple of new gussets, new front piece. All in a day's work. This is not complex work when you've done a couple.
And done. Not completely dreadful, if I say so myself.
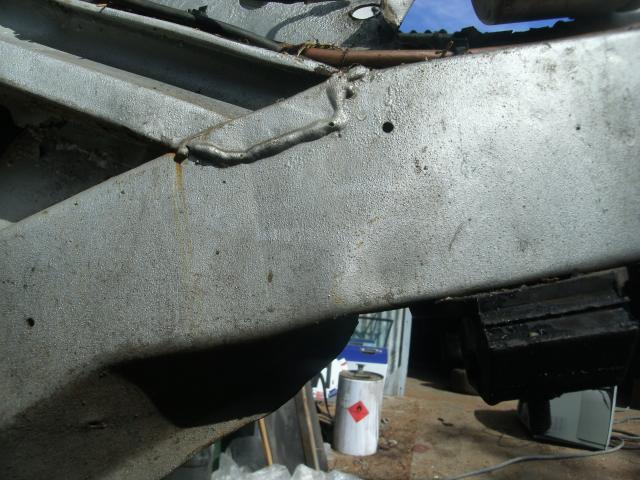
Probably unnecessary, and a little bit crude perhaps, but it seemed to me to make sense. Don't do this on the driver's side. Yes, I know the fuel lines are still fitted. Adds to the excitement.
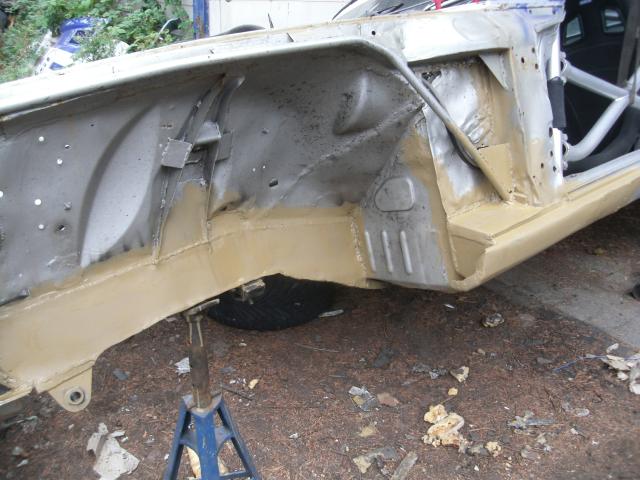
Slosh some paint on it, and it's not too shabby. Straight, strong, not appalling looking, that'll do for a track machine.
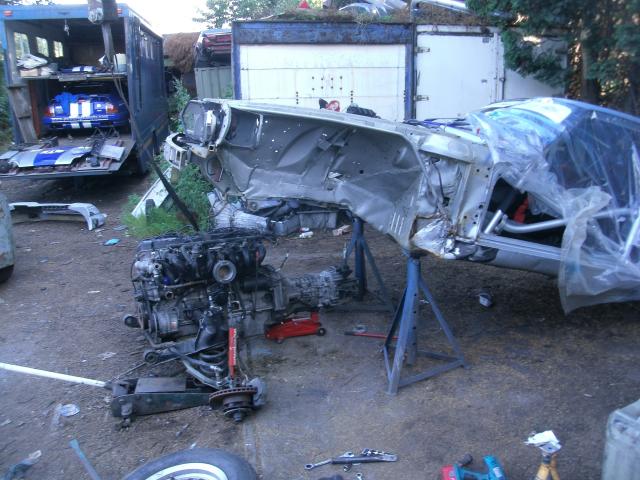
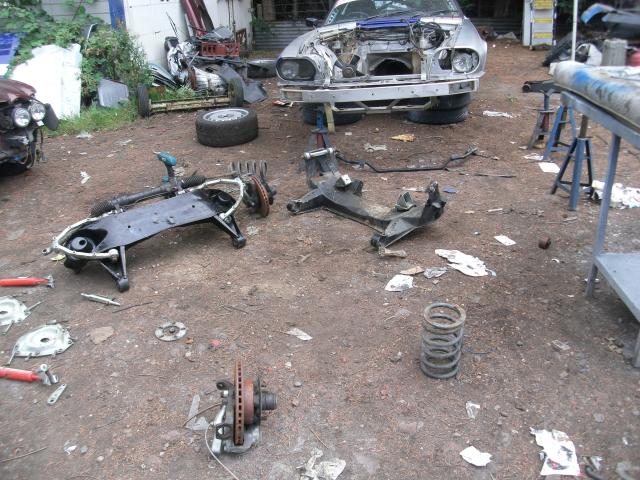
But there are only three days til she races. Probably ought to crack on with some of the other bits. Old subframe stripped and for the scrap.
The Bear was wildly enthusiastic about the project generally.
Despite the rust, that's not the old brake disc. New top arms, bushes, subframe mounts, shocks, ARB drop links. Brake caliper was re-used, no signs of damage.
Work continued fairly late into the deadline. A pre-race wash at about midnight keeps the neighbours befuddled.
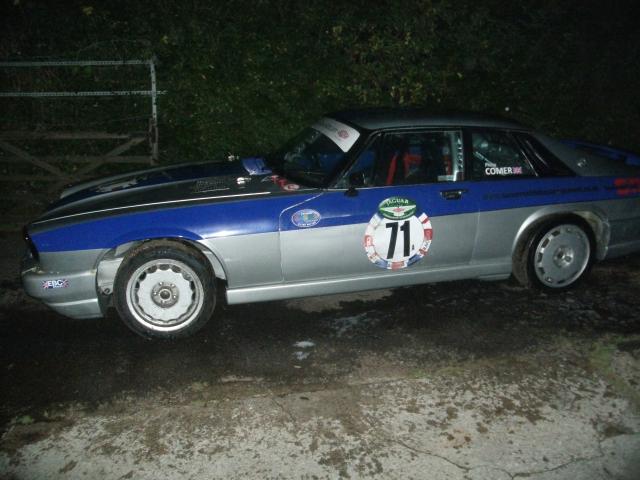
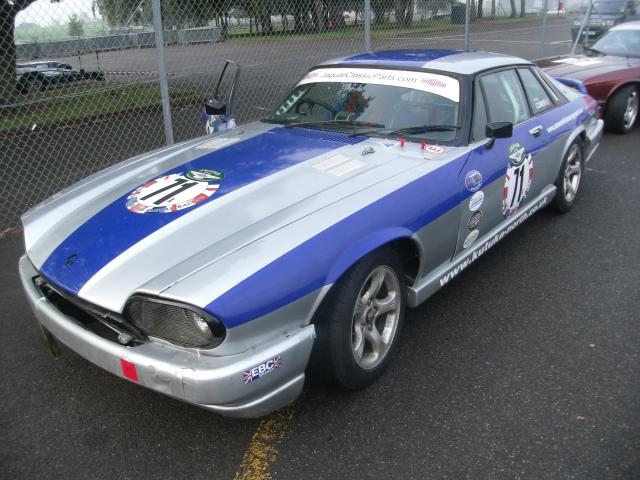
Finished, and sitting in the paddock at Oulton Park, before a highly-successful meeting. We call that done.
Total cost? About 20% of the cost of a re-shell. Key to the save was that the top rail, reinforced as it was, had not moved, and only one leg had deformed. The A pillar had pulled enough that a door could be shimmed to fit. Had this been a standard shell, ie not purpose-built, I doubt it would have survived. But it was, and did. I love it when a plan comes together.