KATY - PART VI
There were a couple of less obvious additions made to the shell as it was flipped round and round on its spit. 2-part expanding foam was mixed and poured into some areas, for added strength. We know from past experience that this stuff, when filling a panel, can take a substantial knock without really showing it. The hard-to-repair parts of the car are therefore filled with it. The rear wings both in front and behind the arches. The sills. The scuttle and screen pillars.
Admittedly the screen pillars were by accident. As we have altered the ventilation system on this car, there are a number of further changes required. We fundamentally disapprove of the air intake on the XJS, positioned as it is to take in air venting from under the bonnet. As we have encouraged more air to vent from here by flattening the rear lip, and plan to fit bonnet louvres, it seems daft to let that poisoned air get sucked straight in to the cockpit.
The old heater blowers, and indeed heater, have been thrown out in favour of an invented item. The old holes they leave are covered with aluminium plates, and with the car on her side, foam poured via the wiper panel aperture to fill that large void. We thought we had carefully taped up every possible hole it could erupt from, because by God does this stuff expand like crazy, but when it started to come out of a hole high up the screen pillars it was clear that this stuff had travelled further than planned. Not a terrible problem, but one to remember.
Filled panels resonate with a healthy thunk when slapped. Not damage proof, but hopefully not so easy to fold up when offered a helpful nudge by a fellow competitor. Having heard of the list of likely returning drivers for 2013 we expect Philip to get hit. We reinforce the rear of the car to withstand it. Not the front, because if you hit someone then there's a feeling that you ought to pay the price for it, but getting hit should be survivable.
Pull cables are fitted early, as is the main power cable. The idea is to plan the routes for various pieces now, because the wiring will also follow the same path, and wiring is the big missing link in this puzzle. With this in mind, the interior has to be looked at. With no console a new panel has to be made to hold the kill switch and ignition, plus the starter button.
The extinguisher cable goes here too, and suddenly we have a problem. To make the old cable reach the extinguisher means running it down the driver’s side of the tunnel, and Bear vetoes that idea. Simply indicates that it’s not happening and if I do we have to start the whole car again, he is not having anything run along the driver’s side of the tunnel, it must be bare.
When he has a principle in mind there is no arguing, so a new, longer cable has to be bought. Diva. A host of electrical pieces are thrown at the car. Bear has wired up the lights, with provision for fans, horns, and the like, but the main wiring job is to be done, and with a David arriving at any moment we must throw the coil, cooling fan, fuel pump, transponder etc on the car so there is a location for wires to reach.
A mobile wiring van, looking a lot like a Volvo estate, arrives, bringing a McGivern, several boxes of fiendishly clever devices, diagrams, and a demand for pizza.
Wiring is a tedious process, made more complex by the fact that we’re retaining facelift parts, and that we’ve never rewired a facelift car from scratch. It does differ from the last 3 cars, and frustratingly so. The muttered swearing that leaks from the David as he follows wires from one end of the car to the other, only to find dead ends and pointless duplications before finally ending up three inches from where the wire started, was just too funny. Funny because it wasn’t me.
Our role during the wiring phase is simple. We have to stay out of the way, whilst still working on items that need it, whilst keeping him warm, fed, and entertained, and providing answers, parts, and fabrication services. We really can’t do the wiring, it’s a contract-out job. Wiring scares me a lot, because it doesn’t part-work. You cannot get it close to working then hit it with a hammer or file it until it closes, and my view of a multimeter is that it operates by witchcraft. I never got a single circuit board to work at school, not once, ever. I blew up a lot of components though. Bear is far better at it, but even he defers to Officer David when it comes to gutting the loom of an XJS.
There is much more of the car here than he is used to seeing when starting the wiring job, but the complexity of the different wiring is such that a single weekend, usually quite sufficient for him to completely rewire a car, doesn’t get him halfway. He returns south, still trailing expletives, but he will be back.
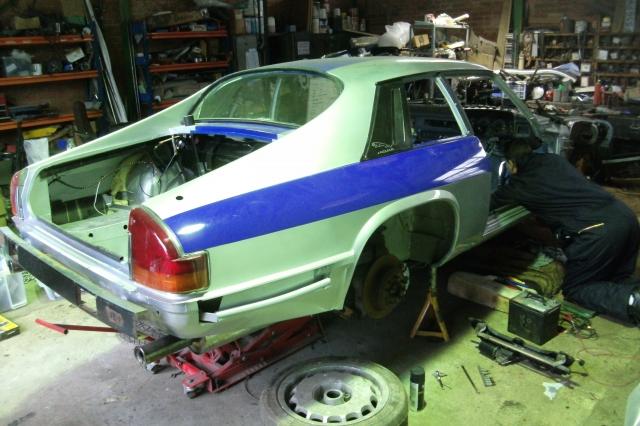
Progress has slowed in general, because all the big bits jumped in fast, but we have a lot of smaller parts to make, make fit, or simply clean and paint. That fancy fuel filler is fitted. The ¾ trim is painted and slapped on, but this time in the correct order, and the decision to go with black, rather than chrome, trim means painting everything in satin black first. It all adds time.
The rear window can be fitted, but no other glass, because the cage is yet to be welded in. Some interior trim is fitted, aluminium covered in 2-tone mock-carbon, mostly because I think it’s funny.
Curiosity about what lies beneath an XJS steering wheel caused me to attack the old, bulky padding, which falls victim to the knife and some violence. The skeletal wire frame beneath wasn’t quite what I’d expected, the wheel is actually quite light. Attached to the column I had a Bear swing on it as a strength test, and it proved sufficient to withstand his assault. It is unlikely to stay like this, as it’s really not pretty, but it’s always good to know what things are made of.
The propshaft and exhaust go on much more easily than expected, both are a one-man job, but often the exhaust takes some wrestling. Not this time. The radiator is the classic Kutuka solution, the same aluminium unit that we fit to our own cars. It requires bespoke fitment, and hoses, but it is lighter, and more effective, plus by selling the old Jaguar unit it actually comes out as better than free. The new alloy rad and hoses are cheaper than the price of the used Jag radiator. Crazy, but that’s how it goes. We like this sort of thing.
Bespoke fitment means something very simple. An old radiator shed its mounting frame some time ago. This is attached to the bottom of this rad, meaning we can use the original mounting holes, and thus complying with every possibly interpretation of the regulations that demand original location. The top is held in place as before by the slam panel, albeit with two pieces of tube welded to it to line up with the radiator’s existing tabs.
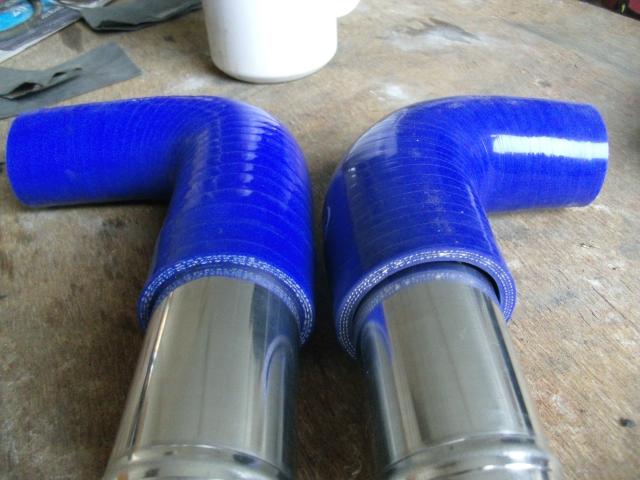
Silicone hoses finish the job. We like this stuff because it is new and isn’t going to go pop unexpectedly, and it is cheaper than buying new Jaguar hoses. As with anything we do to the cars we build, none of it is spending money for the sake of it, it’s an accumulation of what we’ve learned. We’ve learned that old hoses go bang, and that causes engines to die.
We’ve learned that new Jaguar hoses are expensive, and we’ve learned that we can buy silicone hoses to make exactly the shape and size want for less. It might look expensive and shiny, but it’s actually the cheapest solution, and that’s why we do it.
The oil cooler needs to be fitted, but the original position isn’t working for us, we don’t like the lay of the pipes. Sometimes we do these odd things, but we resite the cooler slightly. That then allows us to fit the fan properly. Philip’s car used the original air conditioning fan as the electric fan, and to our amazement it appears to work for racing purposes, it was enough to claw the temperature down after a race.
On the basis that if it works don’t fix it, we’re reusing it. The only change to make is to straighten the cowl it has so that it doesn’t catch and make a noise like an old lawnmower any longer.
The fuel tank is fastened in, and Bear is at work on the fuel system. The swirl pot is modified because we change the plumbing, allowing the car to run low fuel without surge issues that otherwise demand a 20 litre surplus to be carried. It is the easiest, cheapest compromise between standard tank and tiny alloy unit, retaining the flexibility to brim the car and run longer races such as the Birkett.
It does require the Bear to make a run for some custom plumbing, but it is not big money.
As the week ends what we have is a consolidation of last week’s rush. Everything that is fitted is now properly fitted, and some of it now works and fits in conjunction with the other parts around it. This takes much more time than throwing big lumps at the car, but is probably more important.
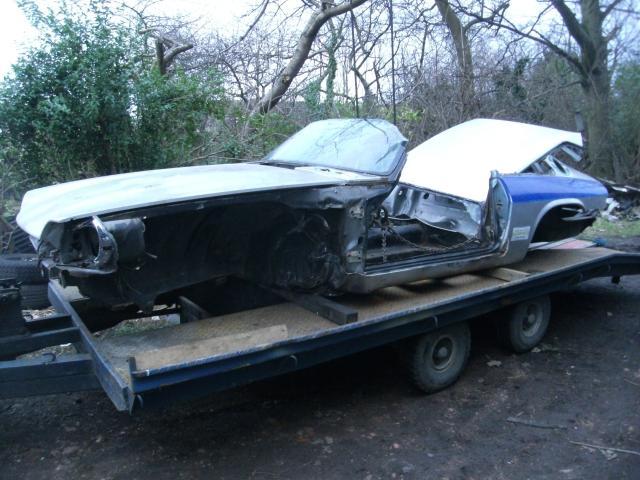
And in the background, as ever, the long job of salvage and repair of a bunch of secondhand panels has begun. Write off a facelift car, and how many panels transfer to your non-facelift rebuild? The front wings and bonnet, only. Except one wing was destroyed, and the bonnet was bent. So….one. And that has had a few thumps in its time. So we need 2 wings, 2 doors, a bonnet, boot, and full bodykit. This may take a little while…
PART VII soon - no, not the next Star Wars film, I mean of this build.

Bespoke hoses. We start by throwing them on, then completely changing the design.
But be careful what you buy. Two identical spec hoses, two different suppliers, and clearly one doesn't fit.
A little paint makes a lot of difference.
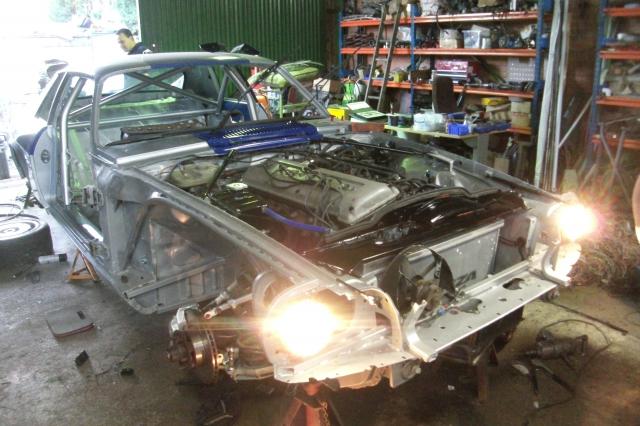
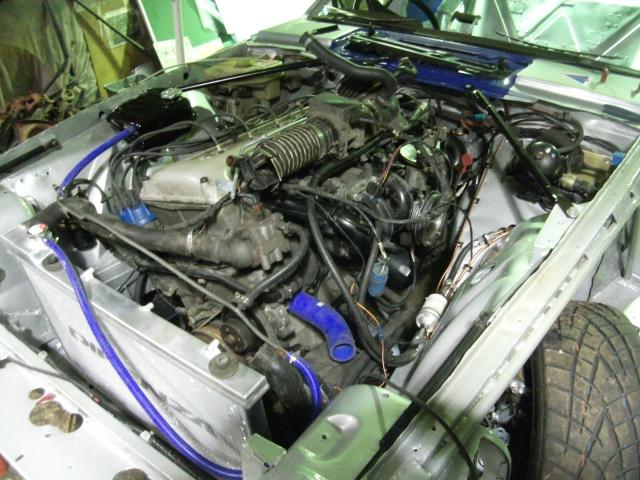
Add sparks and petrol, and this would now run.
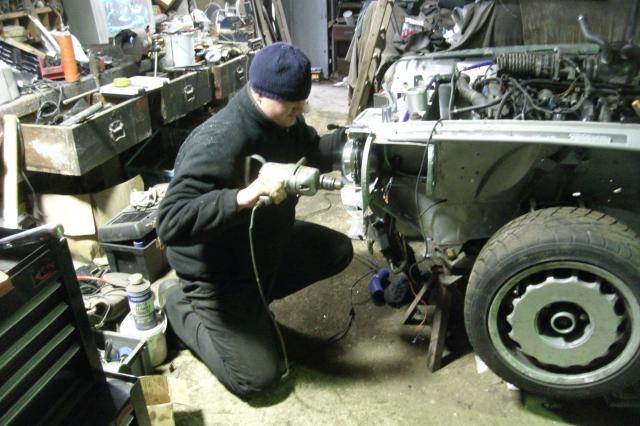
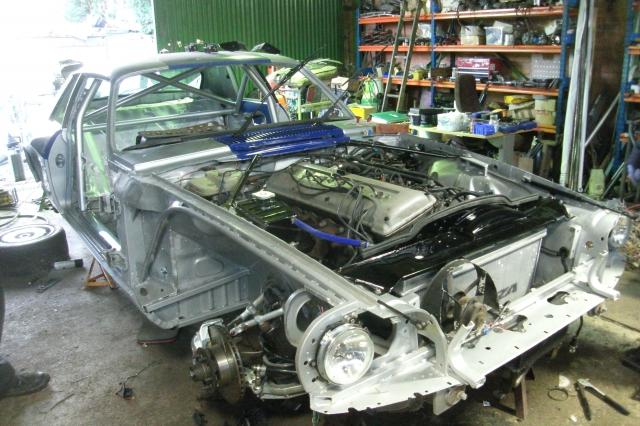
Fine adjustments to the headlight installation. When this drill grabs and hits Bear in the balls it is just too funny.
With salvage complete, Katrina is heading off to the scrapyard.
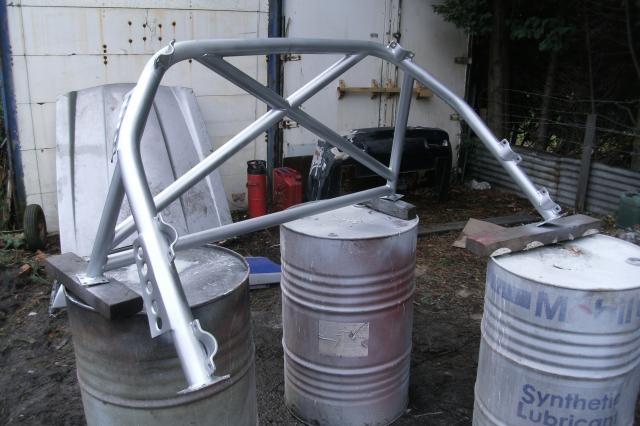
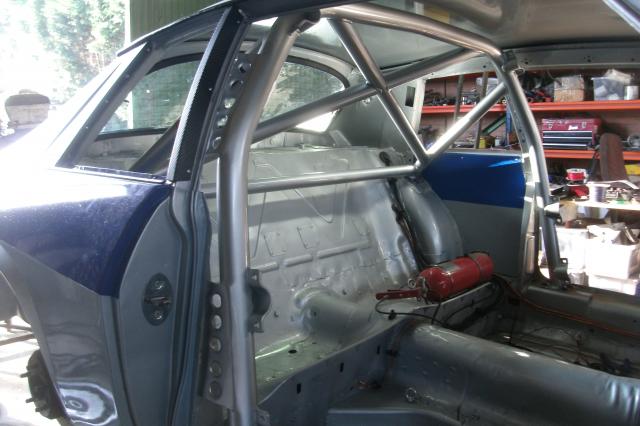
Painting the cage is a time-consuming task, but it does make a much nicer job of it.
See?
Shiny.
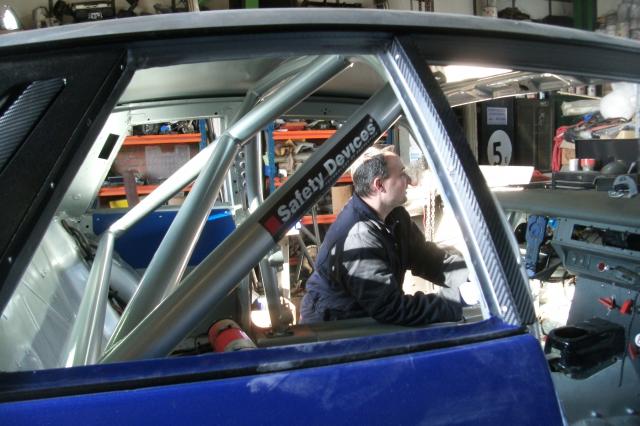
Officer David isn't tiny, he's far away.
Wiring underway.
Crouching David, hidden wiring loom.
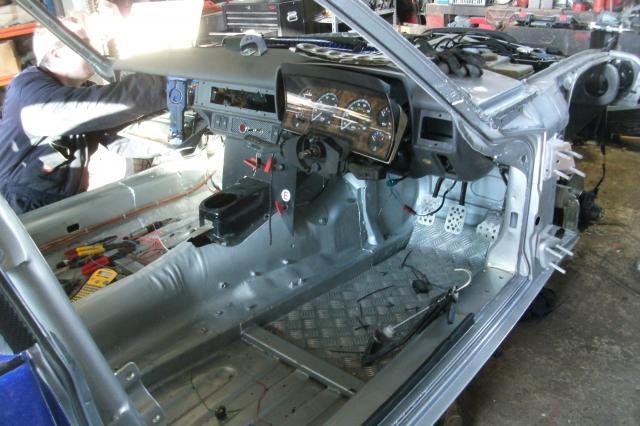
The dash is about the only part of the old car left. No centre console requires a new approach to the switch locations.
Well bugger me, the lights work!
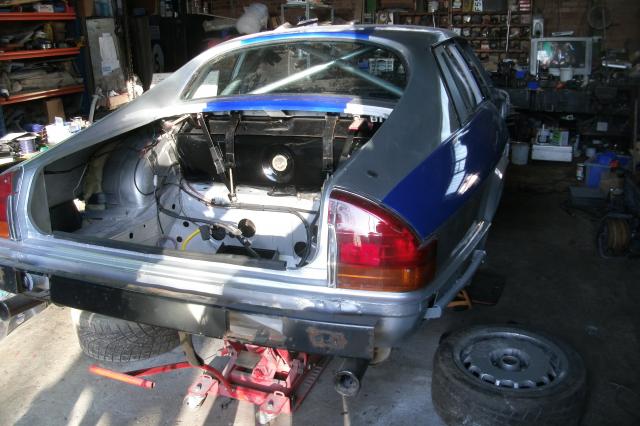
So, some petrol, and some wheels, and it's finished, right?
A little tidying up, and sling a bootlid on it, we're good to go.