KATY - PART III
Jaguar XJS rebuild
Racing modifications

Welded up and solid as the shell may now be, there are a number of modifications we do before paint.
Clearly the cage is the primary racing modification, but there are a number of other much smaller but important additions.
We fit a 6-point harness. I raced with a 4 point my first year, but really I wouldn’t suggest anybody ever should. The crotch strap, that V you fumble for, is not a difficult or expensive addition. Drill two holes, fit two more eyebolts, done. You must, however, put those eyebolts in the correct place. They will, in essence, end up right beneath your ample backside. The belts do not come up vertically through that slot in the front of your seat, they start well under the seat, come forward, up, and then back to you. That’s how the leaflet that came with your belts says they must be fitted.
By measuring the old shell, these holes can be drilled now, and the big plates that anchor them beneath the car can be welded into place. There is no need to weld these in, you can just use them as a giant nut, but we prefer this method.
The lapbelts come from the sides, but there is always a bit of an issue with them in the tight XJS cockpit, Jag drivers tend to be fat, and their seats broad, whilst the cockpit is absurdly narrow due to those broad sills and wide transmission tunnel.
For Philip, however, we have a car we have previously perforated in the right places to suit him, so it is a simple matter to copy the locations to this new shell.
The same goes for the seat. His location is actually about the best for a tall driver that we’ve encountered, it moves him a little more central in the car, away from the cage. It needs to, because he is tall, and the further to the offside you put him, the closer his head comes to the rollcage. We know from the Bear’s experience that it gets tight there. Our solution with the Bear was to put him absolutely on the deck, as low as we could get him, as far back as we dared. It just about worked, but it was very close.
Philip, on the other hand, sits higher, the front of the seat is on top of the tunnel, achieved by sawing a perfectly good side mount in half and reversing the front portion of it. That moves him more central, gives him headroom and cage clearance, but at the cost of a slightly higher centre of gravity. As we’re only playing with club motorsport, and only Jaguars at that, and roadgoing specification at that, the sacrificed COG is not worth crying about, better to be comfortable. The solution, of course, is to install a shorter driver, like me.
As it is a racing car, we have already cut off most of the brackets and captive nuts that we don’t need, but we have to be careful that by doing so we don’t create a panel that can be said to be modified. If you run a hole-cutter through a captive nut to remove the whole thing, you have created a hole that wasn’t there before, and a picky eligibility scrutineer could object. It’s incredibly petty, but then it could happen, and it would be a shame to lose a race entry, or points, for something so stupid. So captive nuts are ground off, rather than cut out.
The shocker turrets gain a couple of extra tabs to better attach them to the inner wings. The top chassis rails have already gained the extra tubular supports we fitted earlier. Not being linked to the rollcage they are exempt from the restriction imposed on cages, this is really a crash structure. A few extra gussets go in the corners of the A pillars under the front wings, nothing at all complex, just triangles of steel quickly buzzed in – more metal to fold up if it ever came to it. It’s a few dozen grammes of weight, well worth carrying.
Normal procedure is to fully assemble the cage in the car, properly, all bolts tight. Get it exactly where you want, mark the holes on the sills and rear wheelarches. Then you slide your 3mm metal plates beneath, and mark the holes on those too. Then you take them out, and the cage too. Drill the car where marked. Drill the plates where you marked them. Bolt them to the cage feet, then weld the nuts on the back to create the captive nuts. Drop the plates on the car, hoping the captives fit the holes, then fit the cage in, fully assembled again, bolt it to the cage feet, and check everything lines up. If you’re happy, tack the plates in place, take the cage out, weld the plates in properly, refit the cage.
For us, salvaging what were already oversized plates, we can pre-drill the holes in the car, slightly oversize to allow alignment room because we’ve so much room to play with. Drop the pre-formed plates in, fit the cage, bolt it together, bolt it down, line it up and tack it in place. Done in one, it saves a step. In fact, if you wished, you could fully weld the plates in and never take the cage out again. It does save a great deal of time.
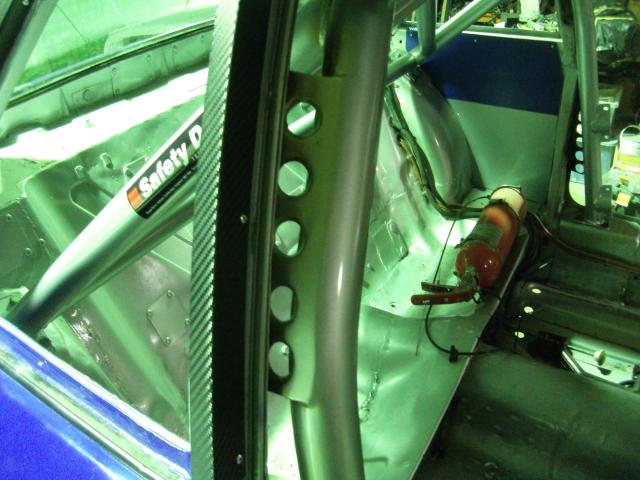
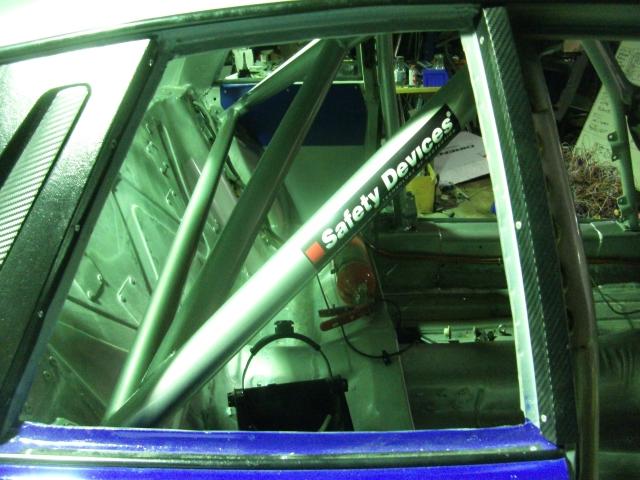
They slide into place on this car precisely where they did on the old, clamp them in place and they could weld in now. But we fit the missing piece, and make the long pieces that will join screen pillars to rollcage. These go, touring car-style, prominently on the screen side of the pillar, which is a change to this car. They are not welded in now, because whilst I can fit the main hoop with the extras already on, I’m not sure I can manage to do that here.
Cage out, and off for paint. Painting the cage in the car is not easy, so it is done off the car, the interior glossed, then it will be refitted, welded in, and the damage made good. This contrary approach is still easier than painting the cage in situ.
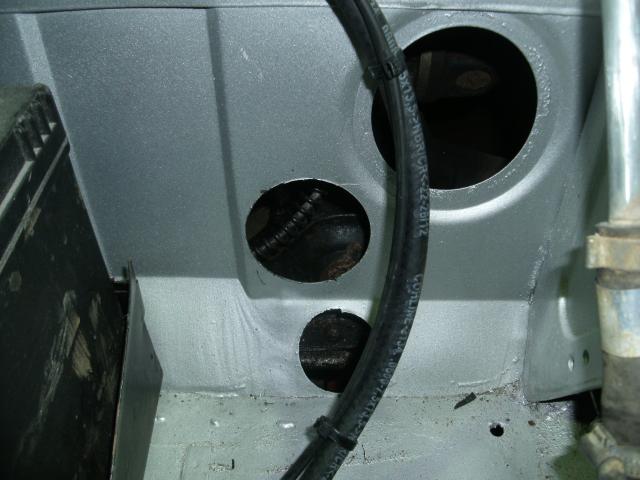
Holes are cut for the re-located fuel lines under the bonnet. Similarly, holes in the rear seat bulkhead for the same purpose, and for the main battery cable, all of which will now run inside the car.
The boot gains 5 extra holes, one to allow a ratchet extension direct access to the diff plug, 4 to allow bottom wishbone pins to be driven out of the subframe without removing it.
The rear end has also gained some impact protection. Little nudges that would otherside dent the rear wings and those blasted-hard-to-reshape wheelarches ought to be deflected, but nothing substantial, a thump in the rear will still bend these like a cheap spoon and tear off the exhaust as Jaguar intended.
Whilst welding on this car’s body therefore finished a week ago, only now may Mandy the Mig be put to rest. Yes, we do know there’s a song about her.
Time for the paint!
We bang on about safety, but it is because it is important to get right. The best dampers ever made are no use if the driver is swinging about the cockpit by his neck because his belts and seat were fitted with chewing gum and a prayer.
The belts tend to be of such a design and length that the adjustment buckle ends up precisely where the belt goes through the slot in the seat. Scrutineers don’t like that, the theory is the buckle could catch and loosen the belt. The only solution to this is to be careful where you site the hole for the eyebolt, it may well be that the existing locations in the car do not suit. You can end up fitting the seat, the belts, the driver, then taking it all out again and drilling a new hole. These are the toils of the car preparer.
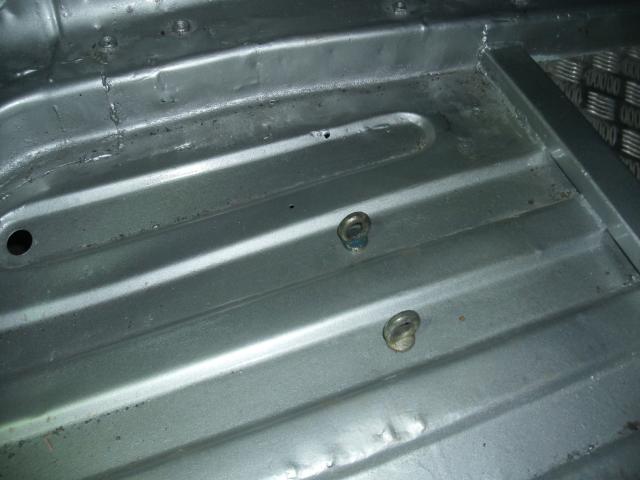
The usual rules about anchoring the seat apply. The blue book tells you what size the bolts must be. The primary issue is bolting it into the car with sufficient sized bolts and spreader plates beneath the floor. Washers are not good enough. This thing has to stop you going through the windscreen at 100mph, penny washers aren’t enough. For now, however, it is sufficient to drill the holes for it, and to reinforce the floor as necessary.
At the front, we now weld a piece of steel tube or box section the full width of the car, which does transform the strength of the whole front end. When we link that to the radiator crossmember with our diagonal V braces the rigidity of the front end box is such that you could happily throw away the original cross brace bars Jaguar fitted. We don’t, we fit those too.
In the cockpit, as usual, the gearbox opening is extended to facilitate a trackside gearbox swap. We always do this. So long as the bolt-in piece you put back in is the same size as you cut out, and made of steel, you haven’t altered the car.
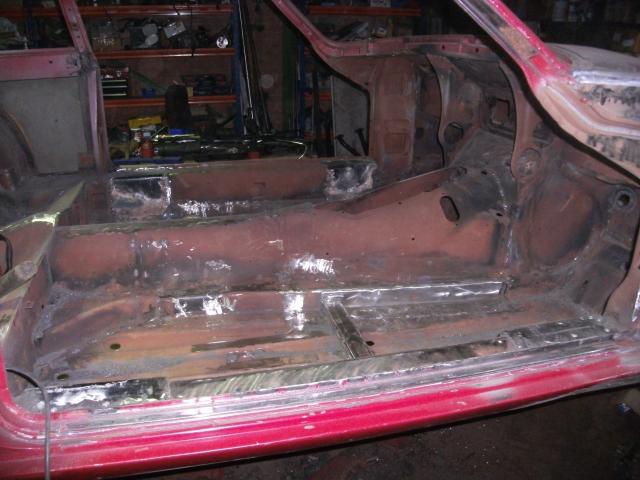
The side-impact/seat crossmembers are in, but are now joined by those massive rollcage feet. We have an advantage here, because these plates are large, and we know where they fit. The holes can be cut for the captive nuts on the back before we put them in the car, which saves a lot of time.
We do, because we want to do some reshaping, and we want to paint the cage out of the car. But first we want to add those swaged pieces that weld cage to shell. We know from the crash that these work, one of them had slightly deformed at the main hoop, demonstrating how much energy had been transmitted. It was a big hit. This one has to be replaced, but we salvaged the other three on the main cage by cutting the old car off them, rather than cutting them off the car.
It is a delicate balance to strike between protecting the car and turning it into a dodgem. It is not to allow cars to smash into each other, but to try and save little incidents turning into big headaches. And you only protect the rear, but not the front of the car, so that the driver’s mistakes punish him, whereas someone else’s may not. Of course we do retain the original bumper beams at both ends.
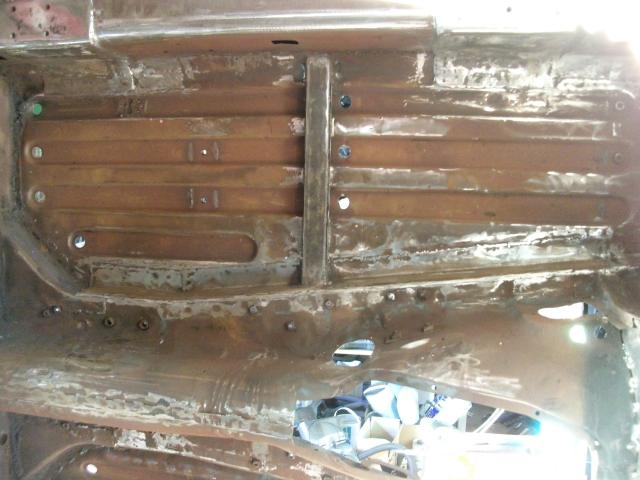
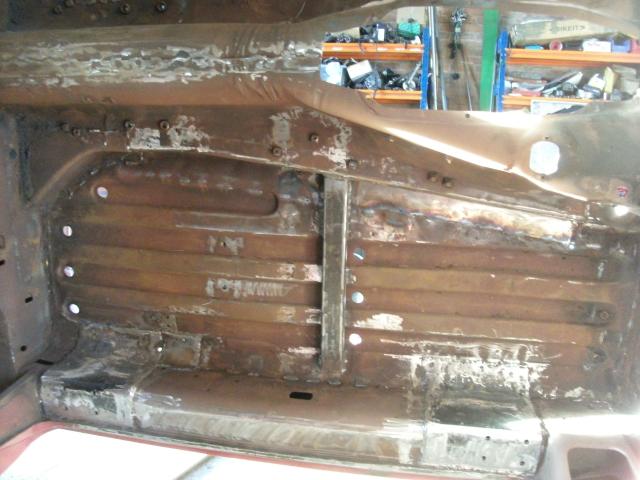
As a final step, the tunnel and firewalls are sealed at this point, before paint. All the holes in the bulkheads that we don't use are covered in a flurry of alloy plates and rivets. Usually we paint, then do this, but we're reversing the order so that these racy little touches become less obvious. Our thinking used to be that if we we removing all the steel covers and plates, and replacing them with aluminium versions, it ought to look like we'd done so. Not this time. This time it has still been done, but only we know. Well, us, and now you.
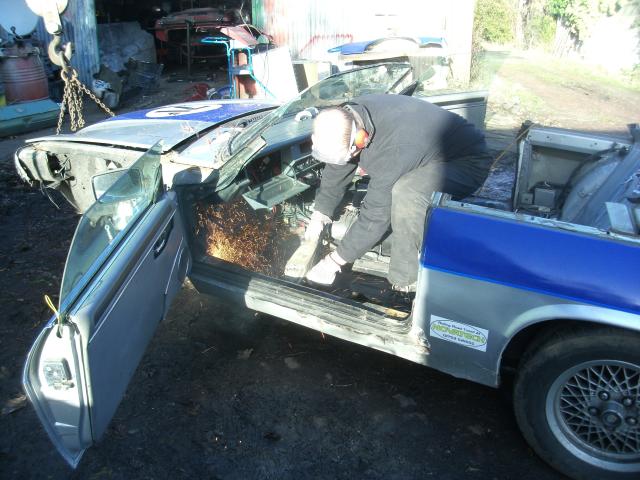
Salvage of the old shell is a rather brutal process.
Well, the car is dead, so why not harvest the organs? The pre-bent, ready made cage mounting points are recycled.
The seat mounting crossmembers are in.
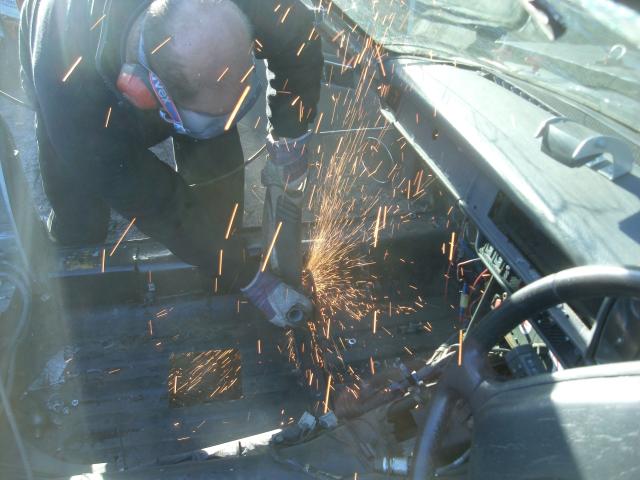
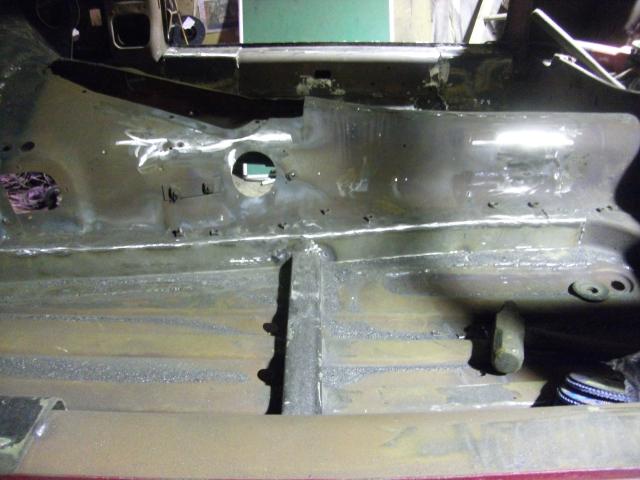
The silvery grey sand is made entirely of metal dust and grinding disc.
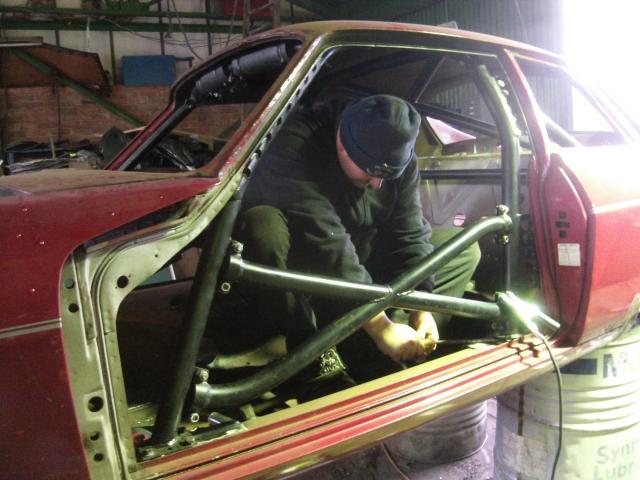
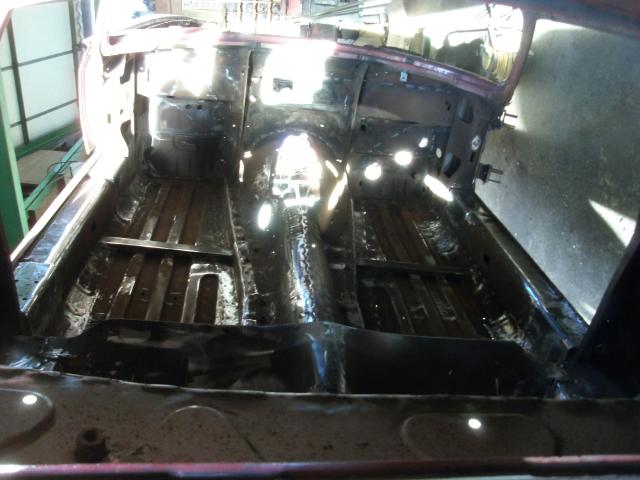
Now that's progress. Late on in the build now, interior pieces are all welded in and ground into a semblance of order.
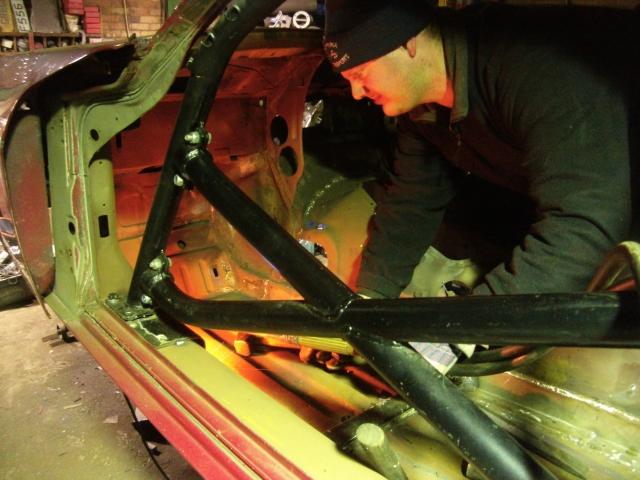
Bear helps fit the cage.
Mounts are being tacked into place. Not with his fingers, obviously.
The blast furnace look is in this season.
Heating and beating those plates to conform to the new shell.
Finished and ground, feet installed, all repairs finished.
Now ready for paint.
You have to stand back and admire your work at this point, because this is where your last few weeks disappeared to.
Seen from afar, the idea behind those new crossmembers makes a bit more sense.
Side impact, and shell stiffness.
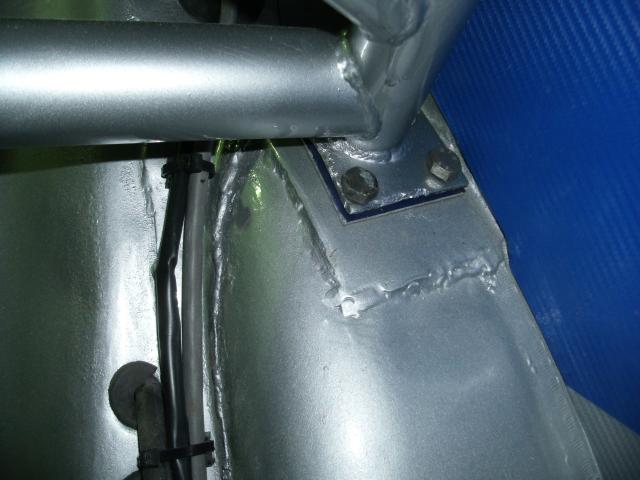
The blue book is a bit vague about the rearmost feet. In theory they could mount direct to the wheelarch, but we always add a 3mm plate too. We have seen one of these cars rolled, and it dented the shell here. No plates fitted to that one...
Time to weld the cage to the car.
The joiners are home-made. A vice, a hole cutter, a swaging tool, about an hour to make.
Once scurfed and painted, the welds disappear.
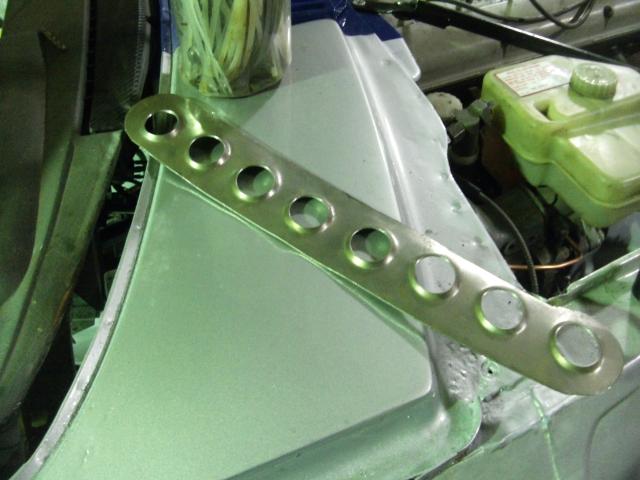
Blue book says you can have a total of eight of these. We fit six. Slackers.
Cage painted, fitted and finished.
This might be a much later photo.
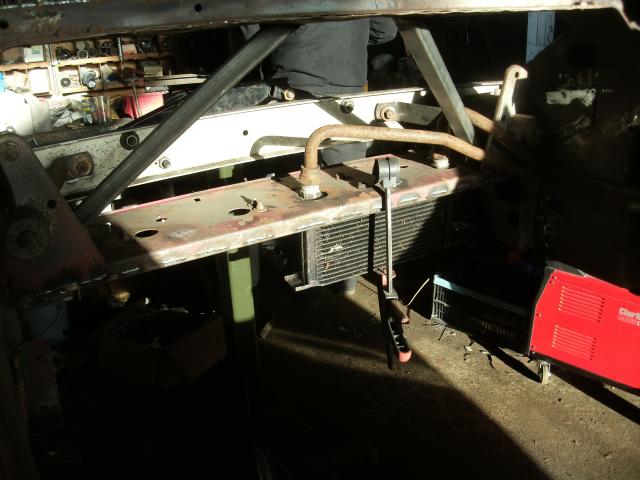
Old oil cooler clamped in place to allow the V brace to be fitted and welded into place without interfering with the pipework.
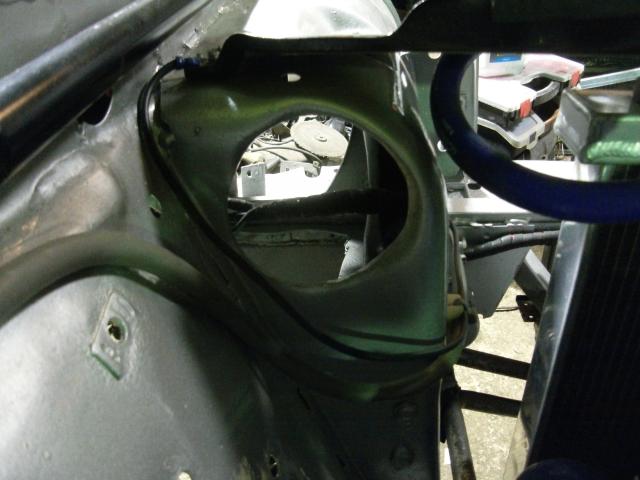
Large hole cut in headlight pod for air intake.
Sometimes we get them to be round.
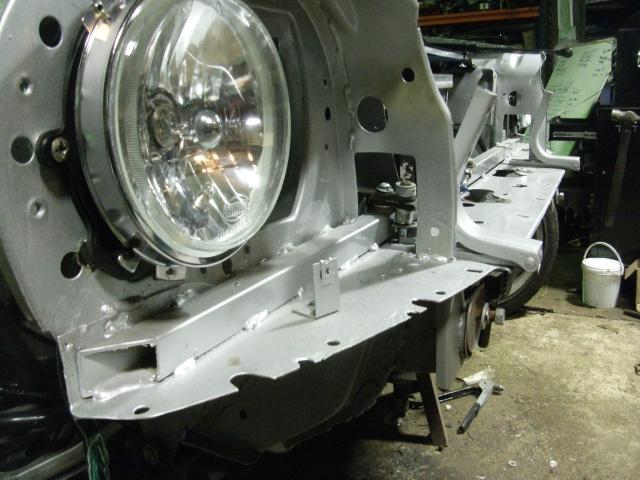
Box section runs full width of the car at the front. Crude, but effective.
It's about 2.5kg, but it's otherwise useful.
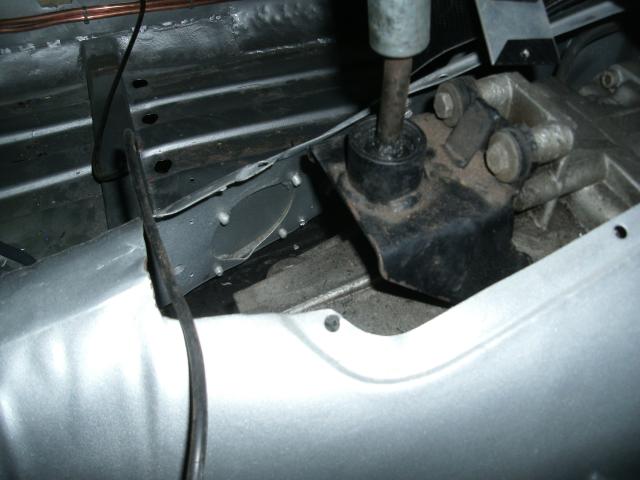
Gearbox aperture extended, as usual.
It just makes removal trackside that little bit easier.
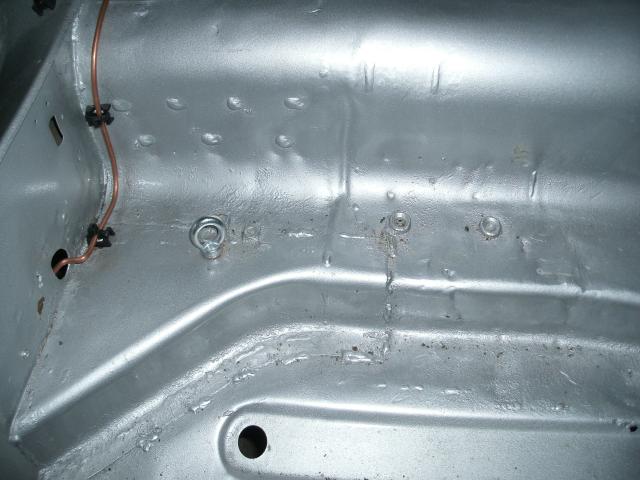
Crotch strap eyebolts fitted, demonstrating their correct location.
You really do sit right atop them.
Lapbelt lug fitted. Contrast this location with the two other more likely and easier captives that might be used.
Boot well gains extra holes for diff filling, and pin removal. Holes are allowed for brake cooling. These just happen to do both...
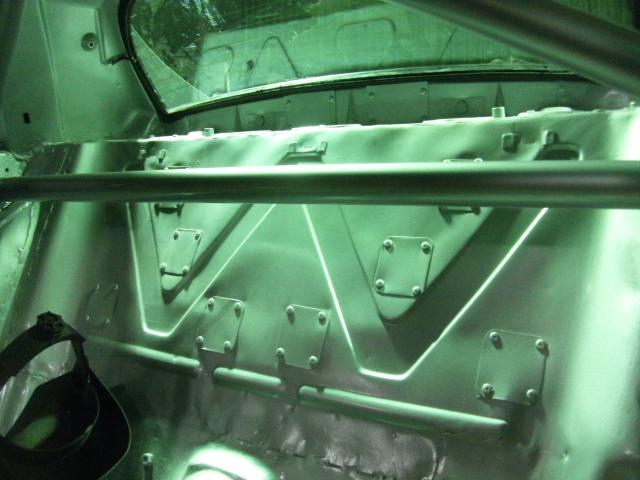
Firewalls sealed, there are a total of 11 alloy patches in this one alone.