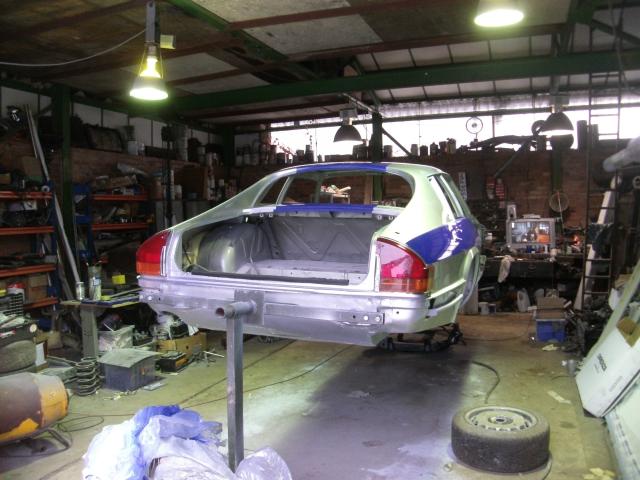
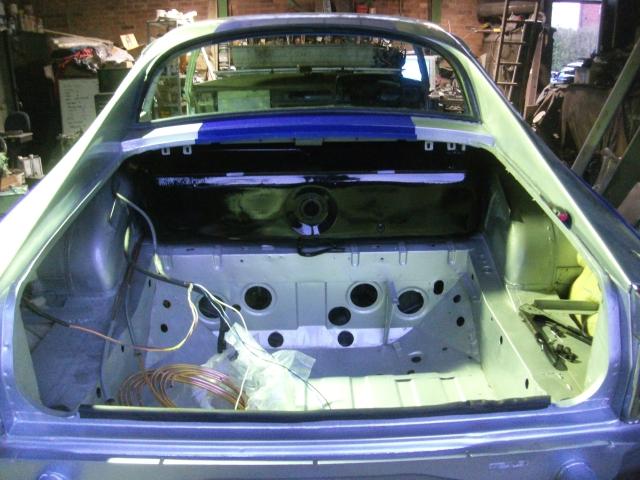
It is traditional for the backlights to be the first thing to be fitted. There is no point to this at all, but we do it. Breaking with tradition would be rude.
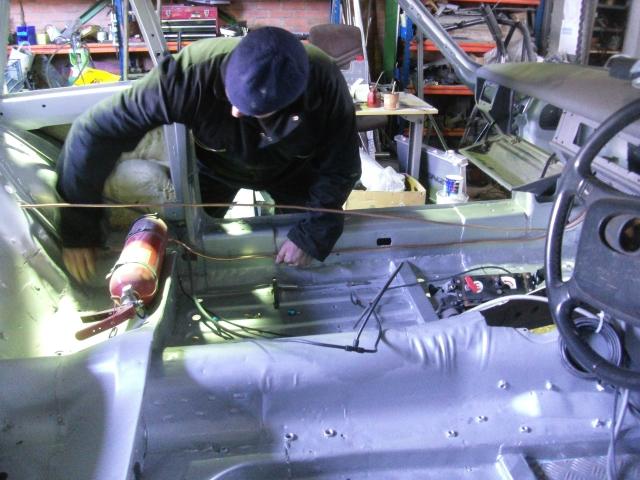
In an attempt to ease the burden on Officer David’s brain when he comes to wire this car up, the Bear takes it upon himself to lay the wiring for the lights. A bespoke job means everything takes time, but we know exactly where we want to be putting everything in this car. We know in advance where the kill switch will go, where the battery is to be located, where we will put the fuse box, the rain light, fans etc.
KATY - Part V
Assembly!
Laying the initial wiring is not, therefore, too much of an issue, but it does mean drilling many holes for clips to be riveted to the shell. A little patience, and a methodical approach, is not always the Bear’s forte, but on this occasion it works well.
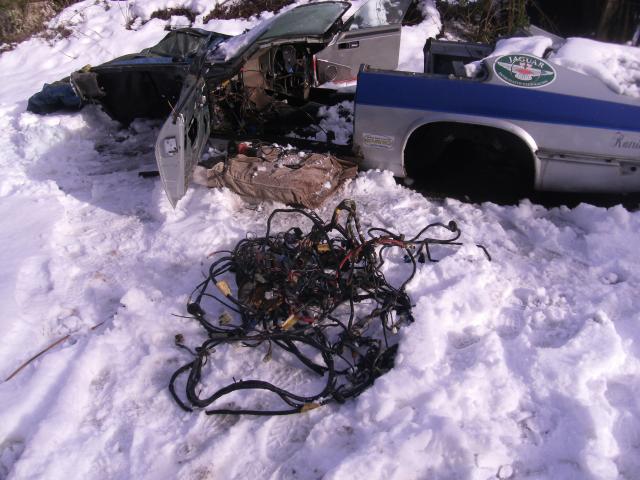
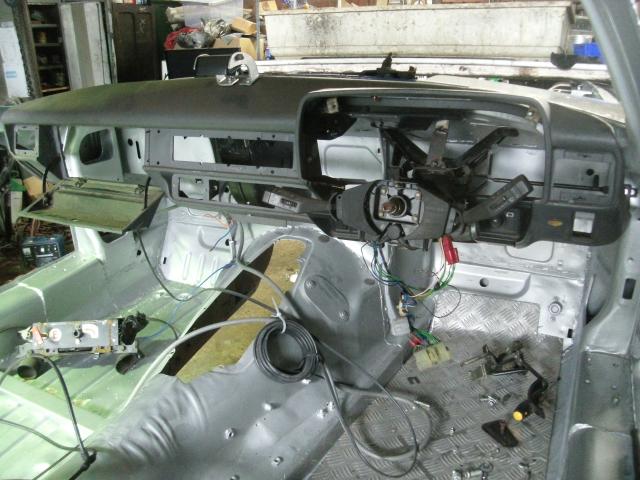
Whilst he’s taking the time over that, salvage of the old car continues, because now this is a question of unbolting things from one car and fitting them to the other. In theory. In practice, not so much. Facelift car into non-facelift car doesn’t always go. The dash is a straight swap, that part does fit, which is lucky. But very little underneath it does.
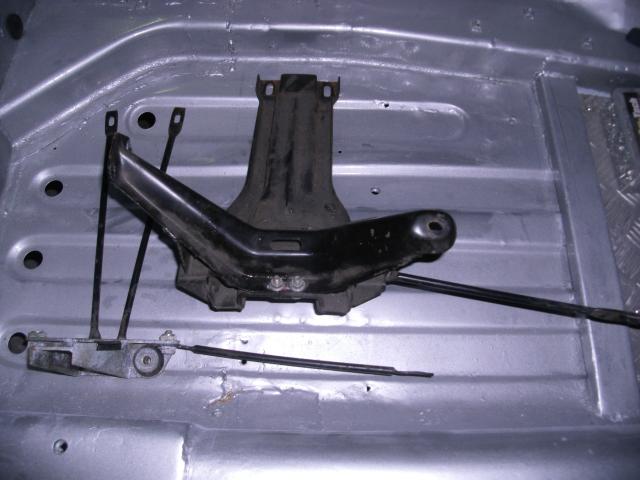
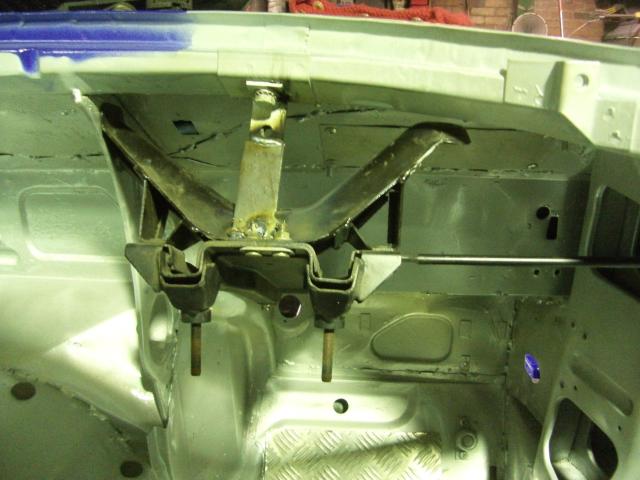
The later steering column is different, and the mounting bracket completely so. The early bracket fits the car but not the column, the later fits the column but not the car. A swift but simple bodge welds the bracket that bolts to the early shell to the later column, and now it all fits. Couple extra holes to drill in addition, and the end result is actually more firmly attached than either car had.
The new rules we’re eagerly poring over have driven a coach and horses through the old roadgoing class regulations. No more heater, passenger seat, centre console. It was, to my mind, a bit of a shame, there was a great joy in carting these things about, the faces of other racers peering into the car and laughing about how “stock” it all was in there, then the ol’ Jag blasting past them in a lairy, smoking wallow two laps later, it had real style. But it’s done, deal with it.
This change, in turn, changes a good few elements under the dash. Why? Well, the old car had all these things in. The big heater box and it’s cumbersome ducting, big twin fans, many controls, valves, vacuum lines etc, also did another job, which was to anchor the bottom of the dash. And the centre console did the same trick.
Delete these and the dash gets a bit more floppy, and all the switches – kill switch, starter button, ignition switch, window controls – that went in these locations now need a new home. Now, some of this we thought about in advance, some of the time during paint, for example, was spent cleaning up the transmission tunnel that would now be on display. But some of it can only be sorted when you have a car to play with. In order to sort our little selves out, we need to get a few priorities straight, and stop messing about with the little things, we need to look to the big mechanical pieces.
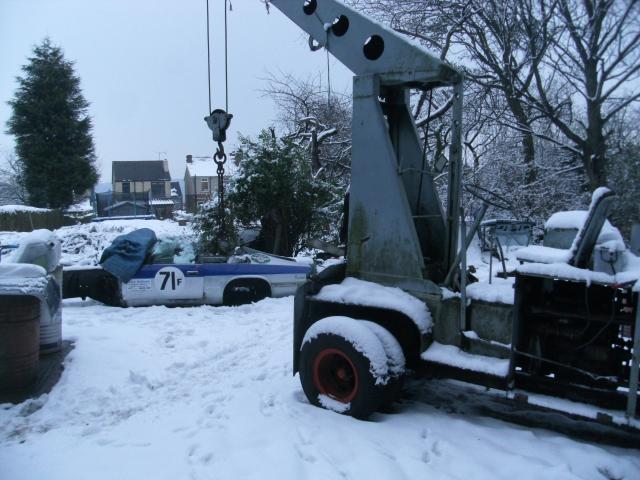
Snow has tried to hamper salvage, the crane is not a big fan of ice, but the smaller, organic crane we call Bear has all-wheel drive and can be used to pick big pieces up. Smaller parts can still be torn off the corpse. Cold on the knees though, this white stuff, and the periodic, violent snowball fights that spontaneously erupt are a distraction.
Anti roll bars, front and rear, are fitted. The front was in a big accident, so we have to check it out, because it looks bent. The car gets a replacement, though this one checks out as undamaged, it looks bent because everything else had bent, but when drawn around on paper and flipped it appears perfectly symmetrical.
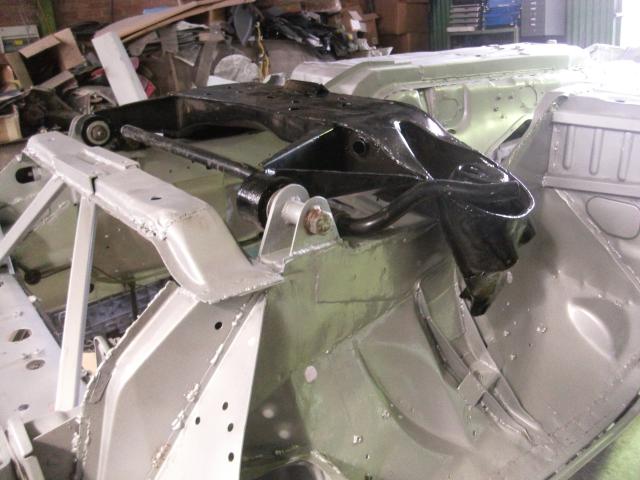
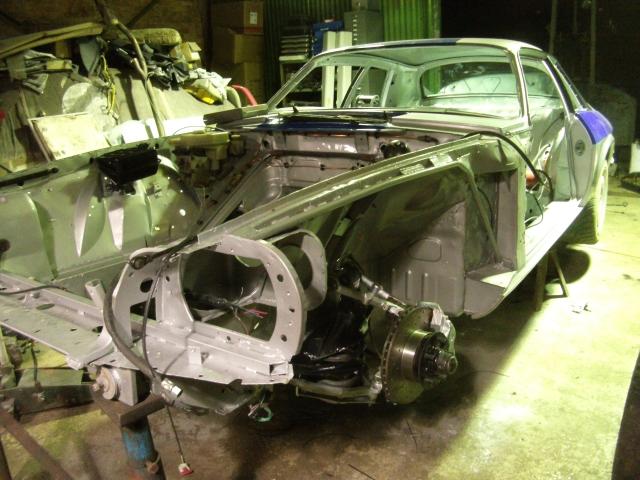
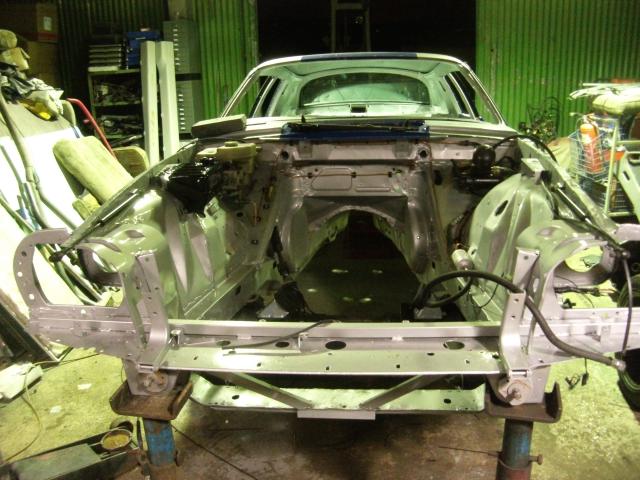
The new front subframe is fitted. This has already been strengthened, welded, braced, zinc-plated, and painted. Two new rear metalastic mounts, and two replacements for the front. Not allowed to be solid, that provision has not yet reached the roadgoing classes. The car is still on the spit roast, so spin back to right-side-up, and start bolting bits on. You can’t really assemble a car on this contraption, it needs to become solid again. So with a little muscle power the car comes off the spinning stand it has called home for the last 2 months, and on to large axle stands.
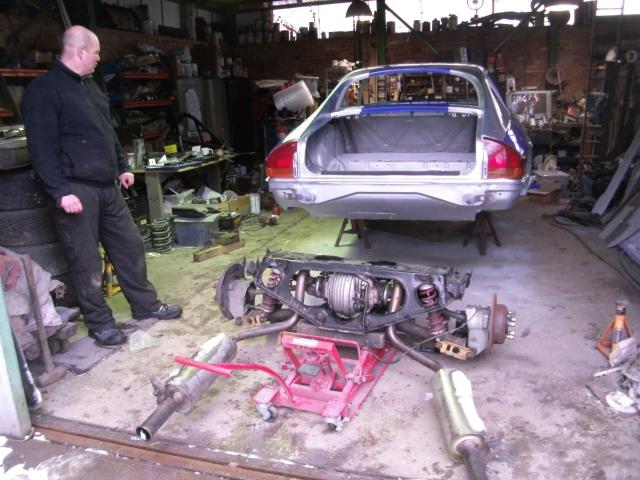
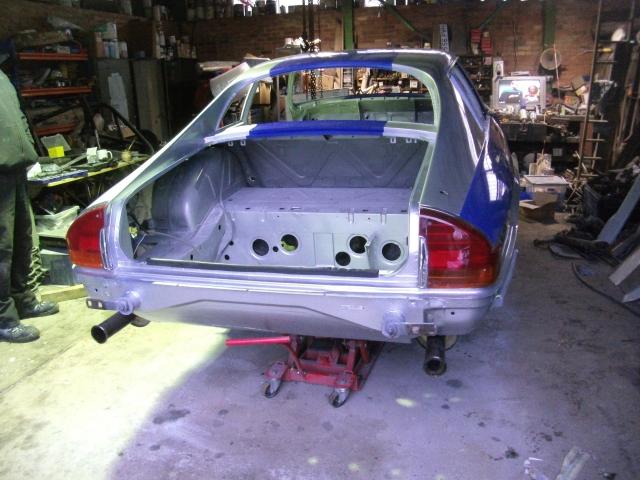
The next order of business is the rear subframe. This was undamaged in the accident, and other than a spanner check is ready for immediate installation, complete with the rear silencers and over-axle pipes. Once again the customary motorcycle jack is pressed into service, and very swiftly the subframe jumps in. Eight bolts, plus four nuts for the exhaust mounts, and that’s a large chunk of drivetrain in place.
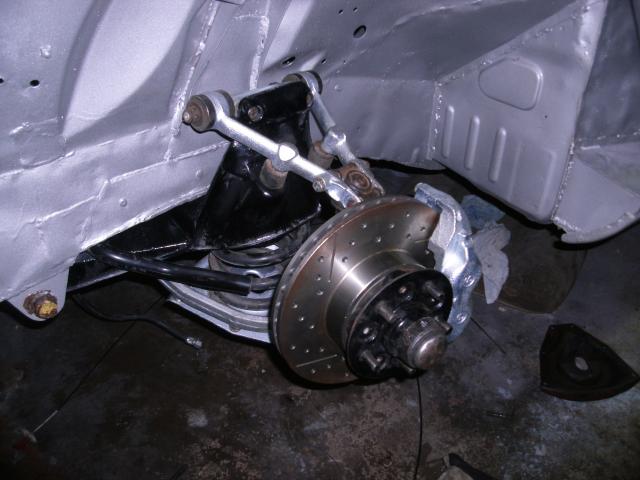
The front takes a little longer, but not by much. The necessary components have been salvaged from the other car, but very little is being reused. Everything from the nearside is thrown away. The caliper amazingly survived the crash, the impact tore the wheel off, broke the disc, and the rack, knocked the brake pad material off the backing plate, but the caliper was intact and resolutely still gripping a chunk of disc. But we throw it away. There is just no telling what might be invisibly damaged, and why risk it? The same logic is applied to the top and bottom arms, the upright, and ball joints, it all goes in the scrap, just in case.
The old subframe is bent. Not by a lot. It might feasibly salvage, but you would never be certain that the car was running true, you could spend years chasing setup problems and you’d always suspect the subframe, so that too heads for the scrap. It’s not like us to be so cautious, but you daren’t risk it.
Bear fits blasted and zinc-plated replacements for all 4 tops arms, and the same for the lower wishbones and spring pans. We reuse the upright that survived, and match that to one from stock, because these do change over the years.
Driver’s side ball joints were not old, passenger side were thrown away because of the crash so get replaced. The same springs go back, and the same ride height is applied. This might change later given this car is to weigh less.
The overall result is pleasing. Clean, simple, easy to inspect and work on. Steering next, and the old rack was rather broken in the crash, the track rod sheared in compression. We fit a complete replacement rack, the old one is taken apart and inspected, but for ease we simply sling a spare one in. A lot of this car is coming out of stock we had ready, one of the benefits of the year-round salvage and refurbishment we do between race meetings.
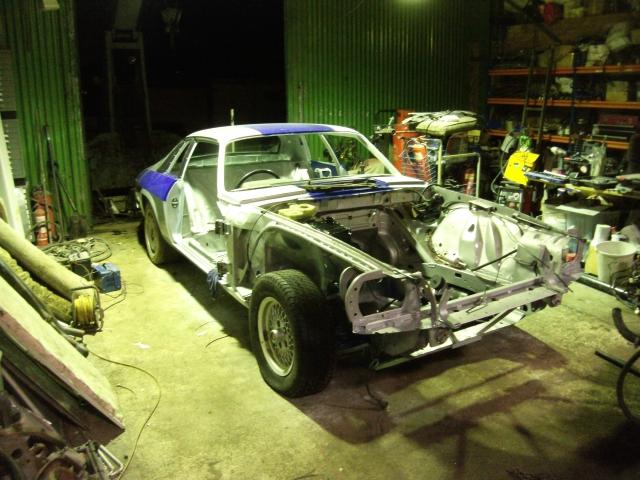
Suddenly she is ready to accept 4 wheels and become a rolling chassis. It is a special moment.
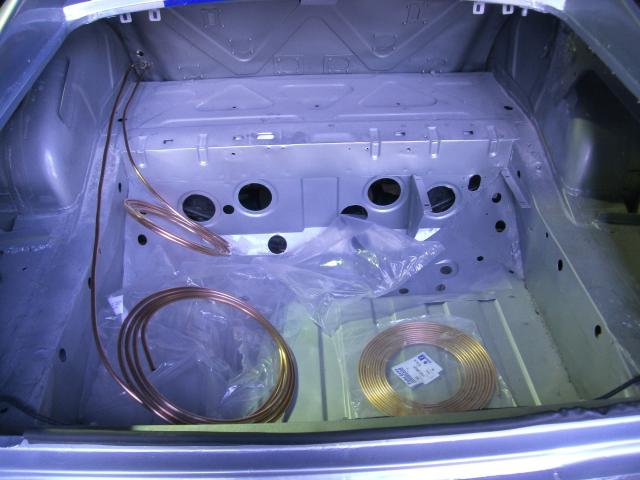
Before we do this, however, the issue of fuel and brake lines. They have to be laid early, before the engine and fuel tank go in. As before they are one single length of cunifer from engine bay to boot, and they take some wrestling, the Bear and his snakes will spend a couple of days exercising his steel grip on them to make a neat run of it, and then clip it all into position.
Installation of fuel lines means the tank can be fitted. Fitting the repainted tank means the fuel filler cap can be thought about at last. These racing-style caps are expensive, but reliable, a lesson learned in only my second meeting was that when thrown hard an XJS will find any hint of a dodgy filler cap, so we replace these whenever we can.
The rest of the fuel system will follow later. For now it is just getting the big pieces in, finishing it all off takes much longer.
The brakes will take longer again, for now he only needs to do the pipe runs that cross the rear of the engine bay, it is simply easier with the engine missing.
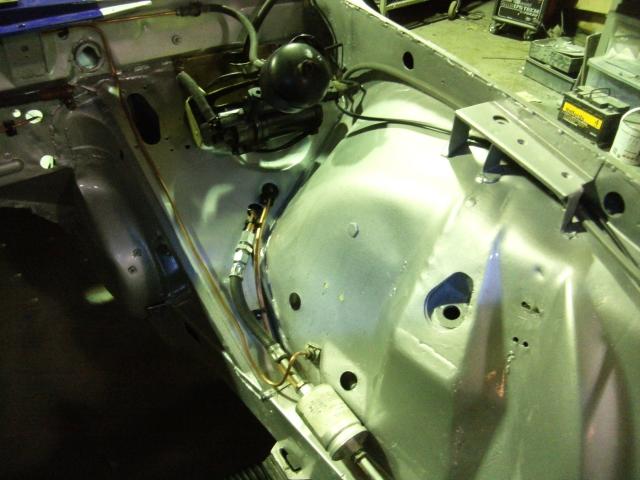
We close up all unnecessary holes in the firewall at this point, again it is easier before the engine goes in, cables and pipes are clipped up, grommets found for holes, several of which were for the now-missing heater. The heater itself has been replaced by a blower from an X300, mated direct to the old screen diffuser in a cunning and cheap way to give a lightweight but effective screen demister.
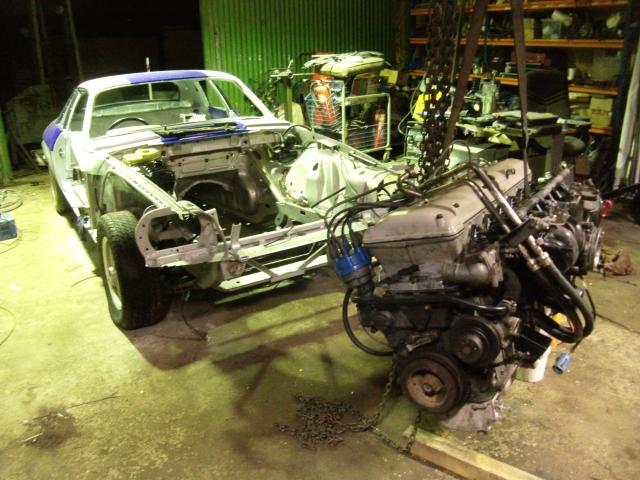
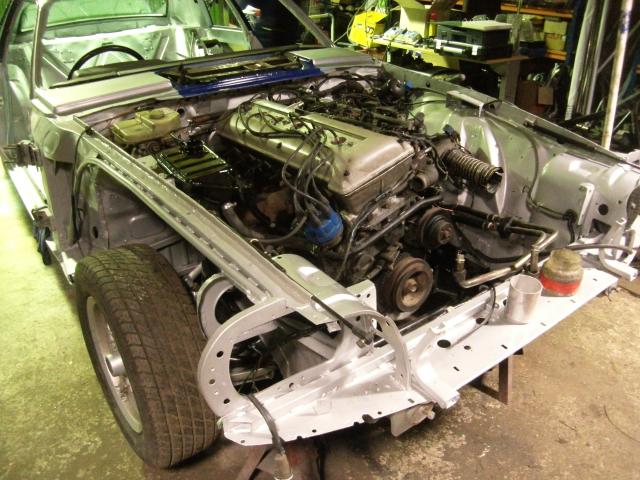
The engine itself can now jump in.
Before it does, however, that engine stand we used to rotate the car is now used for an actual engine. Off with the sump and check the bottom end. Oh dear. Not good. We knew it had ever-falling oil pressure, and now we know why. Those few seconds without oil at Donington can’t have done it much good either, but it’s clear that he ran all of 2012 with a pretty dead engine. But that’s OK, it’s encouraging when cars are quick with no power.
It is strapped back together for now, and will be thrown in the hole. New engine mounts, naturally, the old ones were 2 years old, and also torn in half by the impact. Why throw a dead engine in the hole? Well, we need to shake the car down.
In fact, given that the rules for 2013 allow different weights for different engine capacities, and given that we anticipate this car being quite light, we may even suggest that he runs a 3.6 engine for this year.
That will depend on the weight of the car when complete. It used to be thought impossible to get a legal "D" class XJS to the 1510kg limit. We disproved that handily, we used to have to ballast my old car to get her up to the limit, so you can build them legal but light, and the new rules allow a much bigger diet again, there must be 50kg extra to shed here. If we're right, we can have a 1450kg 3.6, and we'll know when she's weighed.
For now, however, what we need is a powerplant to make the car move, so we can check the car works. A new build can have a snag list, we need to know what it is before we start the season proper. Anything that makes her move under her own power will do for now.
And that ends this rushed, breathless phase of the build. A lot of progress in only a few days, but that comes from having the bits, knowing where we want things to go, and getting on with it.
A lot of the parts were readied a while ago, replacement pressure accumulator for the brakes was dug out of the dusty stores and cleaned up to be fitted. We don't use these ourselves, but we don't throw them away, they're very expensive. Just as well, as Philip's was flattened in the crash.
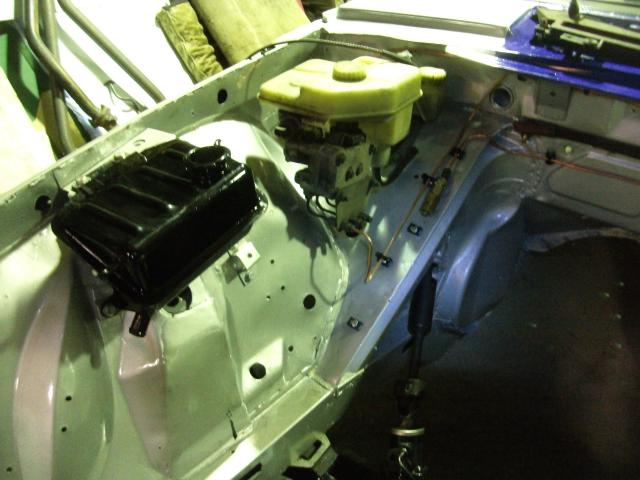
Header tank was treated to a clean and paint. No obvious corrosion as often found on these, so pressed back into service with a new cap.
Pedal box, well, we replaced the whole master cylinder on this, we just weren't convinced by the old one, despite re-sealing it never seemed quite right, so junk it and try another one. Again, from stock, we don't use this electro-hydraulic rubbish on our own cars, so we have a few.
The surprise is that there are no surprises thus far. And we’re now in a position that we can demand that the wiring genius make an appearance to make electricity flow to points that want it. That is, in itself, another one of those landmarks.
For now, however, we will revel in the luxury of a car on 4 wheels, with an engine in. Time for a beer.


Backlights first, as is the rule.
It just looks more like a car.
Anti roll bar and subframe.
Plus about £50 of new mounts.
Off the rotiserie now, the Bear glares threateningly at the car as if it should fit its own subframe.
It jumped in without delay. Though the motorcycle jack did rather assist, to be honest.
Old style on the left, new(er) type on the right.
Not a direct swap, unless...
...you have a welder.
Welded to the old bracket, drill a couple more holes and Bob sleeps with your aunt.
Facelift dash in non-facelift car.
Wiring, stalks, footplate, the usual stuff.
Somebody upstairs is having a hell of a pillow fight. The crane was not amused.
Wiring salvaged.
To be honest, not a lot left of poor ol' Katrina at this point.
Bear fits the new fuel lines.
Even when as large as he is, it doesn't bend as easily as you'd like!
All the way from nose to tail in a single, unbroken run. Lots of bends, but no leaks.
Look ma, a fuel tank.
Also, a rear window. Your turn, I spy, with my little eye...
The Bear does put together a half-decent subframe.
Shiny.
From this angle it doesn't look like we quite got the brake line straight. That's going to bug me.
Other than a wheel or two, time to put the old girl on the deck. It's a big moment.
Ta-da!
About 11 weeks since we started. It's not bad going really.
Fuel lines erupt from nowhere.
We elected to keep the facelift-type fuel filter under the bonnet.
Pedal box and tarted-up header tank.
Power steering to go in here somewhere too.
That's a serious game of conkers.
It's screwed, but it's good enough for now.
This really did go together pretty quickly.
The next steps, however, take rather longer.