KATY - Part 2


The regulations, published a fortnight into this build, allow for the headlight pods to be modified to assist airflow and cooling. They get some extensive reworking, not least because the air filter on this car is pretty broad and wouldn’t otherwise fit.
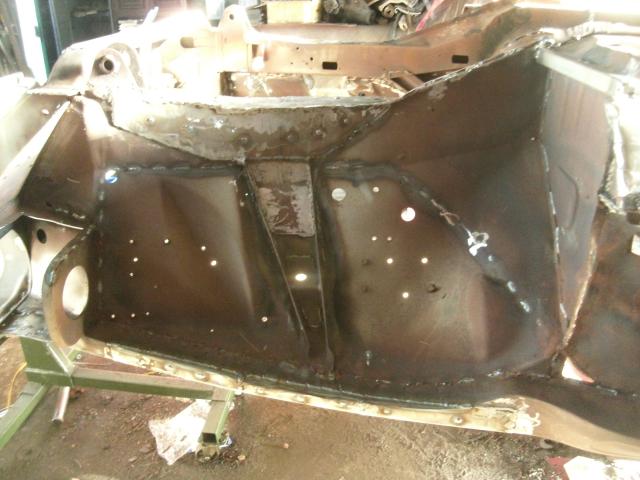
Front jacking points are intact and solid, more son than we've seen on any car to date, so other than chopping off the nipples, little to be done save for some repair of the sills to both sides, driver’s side as noted above taking additional steel for driver protection.
The floors are generally OK, but they do seem to have bowed significantly downwards now that we’ve chopped the seat crossmembers out. The passenger side does need a fair amount of work to it too, more thicker-gauge steel repairs the floorpan/tunnel join in a pretty neat flurry of welding, if I do say so myself, because there was a 2” run missing the whole length of the floorpan here, which was very odd.
Something had specifically corroded this piece of the car, and not replicated itself anywhere else. Leaking windscreen perhaps? The inner to the same repair takes the far lighter 1mm steel, mostly for cosmetic purposes, though the act of searing outer to inner and fusing the old steel into the mix does make for a repair that produces a most satisfying thunk when hit with the nearest hammer. Daft as it sounds, you can tell how solid a repair is from the noise.
The seat crossmembers are chopped out of the old car, with the seatbelt anchor plates too, ground clean, and welded into this shell in the exact same measured locations as they appeared in the previous machine. No need for driver fitting, just put everything where it came from. We did check the cars measured the same in the floorpan first, because you can never be certain. The floors have to be jacked up to meet the crossmember, so far had they bowed, and this does seem to pull the floors back into an acceptable state. All that heat distortion has to show somewhere.
The seat crossmembers don’t actually support the seats in this car. Close enough, but they don’t. They are more about strength and side impact. To complete our footwell protection another piece of box runs across the front of the firewall/wheelarch at an odd angle dictated by the sill. We’ve never done this to a car before, but we know what Pam will say if some horrible co-incidence has Philip hurt his feet in this car, and he doesn’t need the earache.
The construction does create an only-partially-intended box structure. That length of CDS down the lower sill is welded to both the rollcage mounting plate, the extra crossmember, this box section, and all are joined to the tunnel. Inadvertantly we have linked three vital structures in a manner we've not previously done. We like it. We'll be doing this again.
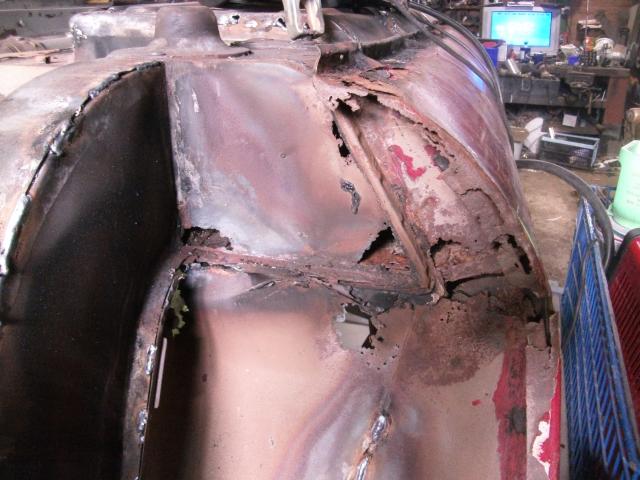
The radius arm/rear wing areas of the car do need attention, and it gets it. The driver’s side is worse than the passenger side, by some margin. But at least getting into it deep means it was strong when finished. In some ways it’s better to have to do it than find one that’s just good enough. Again the standard of repair reflects the purpose of the car, it’s for the track, not the road. It’s strong, it could be tidier with more time, but it doesn’t need to be.
The “thin” metal of the car does cause me to add patches in places that are merely suspect, rather than outright holed, in places I think are of structural importance. There is no training course I know of to educate someone in the key elements to XJS bodyshell design, I’m using common sense only. That in itself would be a worry had said common sense not been crash-tested previously. If two major assemblies happen to meet in one particular location, the odds are that it’s important, and if the steel looks pinholed or has even that rough finish that metal goes when rust has had a good go at it, replace or overlay it.
This process does take some time. Much like when we built Vanessa we replace so much of the car out of fear that whilst I’m left with this nagging feeling about the whole machine, the reality is the whole shell has been welded, ground, and scurfed, then modified for further strength. Small additional gussets are discretely welded in numerous locations.
The concern is always that you will miss some corrosion somewhere, or that a weld hasn’t penetrated, or that what you welded to was weaker than you thought, or that you simply got something wrong. We’re not dealing with new cars anymore, it’s not a Civic that just rolled off a production line, it’s a 30 year old rustbucket that was already rotting away before the warranty ran out.
Happily, there is the cage. We put a lot of faith in the cage, we think we fit these pretty well. Having gone to so much trouble to serve up a solid shell it is easy to forget that in reality all that work was to make it so that there is a point to fitting the cage properly. No sense welding it to a sill if the sill is rotten.
Fitting this cage is swift, and will be dealt with in part 3 in detail. The massive anchor plates are cut out of the old car, and cleaned up. There is no harm to re-using them, and they are pre-bent to fit an XJS sill. Measuring their approximate location from the old car allows us to drill the oversize holes the captive nuts will sit in. Assembling the cage in the car proves that, amazingly, we got this right first time, other than some minor shuffling of the cage to equalise various gaps we are able to immediately tack all the feet in place. They do still have to be warmed and re-bent to fit this specific car, but it is not the same as starting from scratch.
One change to be made is to the foremost tie-in plates, which will now run the other side of the screen pillar. Katrina had them on the rearward side because I put them in with the screen still in place. This time they will go screen-side, which I prefer. The pieces are made now, with the cage in place, then the cage is removed.
The plates are now fully welded in, then the part I hate. Having seam-welded the interior, the entirety of it now has to be ground flat-ish, and a finishing disc run over the whole lot to get rid of any sharp edges, which also takes off much of that bloom of protective rust that has misted the surface of all that bare steel. Despite all the protective gear going, there is about 4 hours of grinding involved here, and at the end of the process you look like you’ve been rolling on an Icelandic beach. A trail of grey, sandy, metallic dust follows you about. If you stand still for too long you are in danger of cats using your pockets as a litter tray.
One word for anyone indulging in such a build – protective equipment can let you down. Buy the best you can. You need a breathing mask because of the vast amount of grinding disc you would otherwise swallow. You need goggles. You need ear defenders. Add all three, however, and the odds are that one or more of them no longer works properly. Having spent Christmas morning in A&E with a lovely lady rooting around in my eyeball for pieces of steel, my advice is that it’s probably the goggles that will fail you! The improbable solution I hit upon eventually was an old pair of ski goggles, with the vents sealed shut. But why can you not buy proper goggles? No cost would be too high to avoid those minutes in the chair as the probe snicked its noisy path across embedded steel, none.
There is a last spin of the car on the home-made stands, a few extra gussets blasted into place for luck, and we’re done.
Again, the location and purpose of these extras are down to my best guess. There is consultation with our on-site engineer of course, the Bear is the one with the engineering degree, which is why I do the heavy and dirty work, I'm the unskilled labour. But there is still no text book on this stuff, we're guessing.
Finally it all comes together. The rear end, eaten away by time and water, salt and years, is made whole again. The rear corners we gone, but can be purchased. They look expensive, for what you get. Given we have added some wheelarch intrusion protection to this car it makes little sense to buy and then cut up the new pieces, so I formed them from sheet steel into the best approximation I could. In fact you cannot tell, for the most part, that it was anything other than standard. Except for the two dirty great holes in each side for the intrusion bars. It all goes beneath bodykit anyway, so that I bothered at all is a little odd, a lot of the class cut this away anyway, but that's never been how I read the rules, so it goes in.

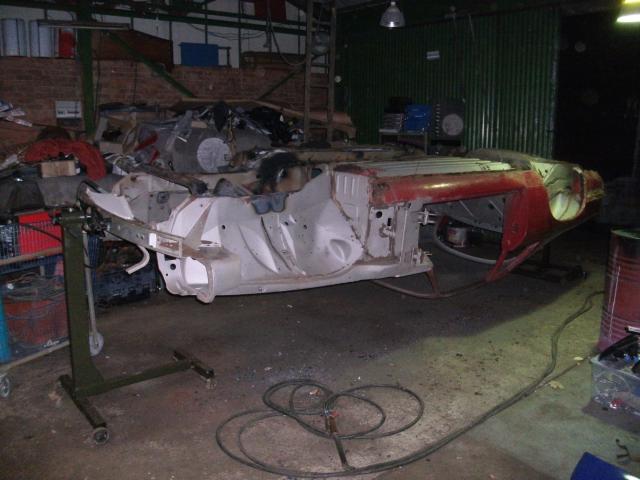
Front end completed - nearly, it's time to attack the mess at the rear.
It is worth mentioning that this car, rough as it looks in the photos, had an MOT and was not meant to be broken. It was the drunk guy's car, and his man took this apart by mistake.
It was only the fact that it was broken up, then stripped and blasted by us, that revealed the extent of the damage. How many others are out there looking cosmetically intact but in this state? But as we've noted before, we can tackle pretty much anything now.
Fortunately, at this magical point, we can throw some paint. We have reached that milestone whereby anything that is now finished is actually finished, there is no other weld that is going to attack it from the other side later, so once done with a section of car, it may be painted.
And thank Christ for that. It has taken a full month of welding, more than one complete cylinder of Argoshield, and 7kg of mig wire. But it doesn’t look anything like the car that we bought. But that’s the idea.
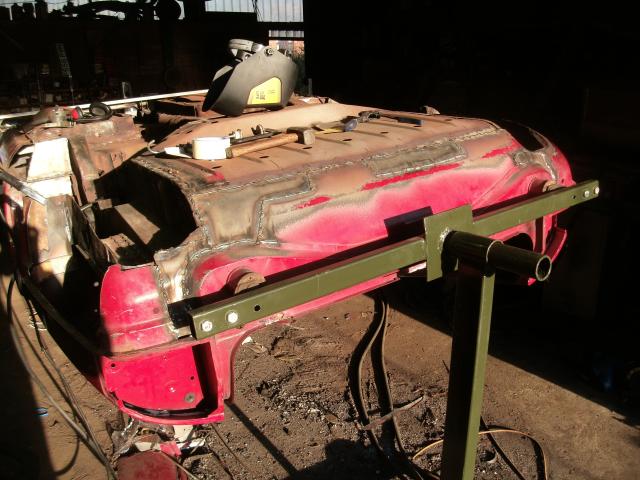
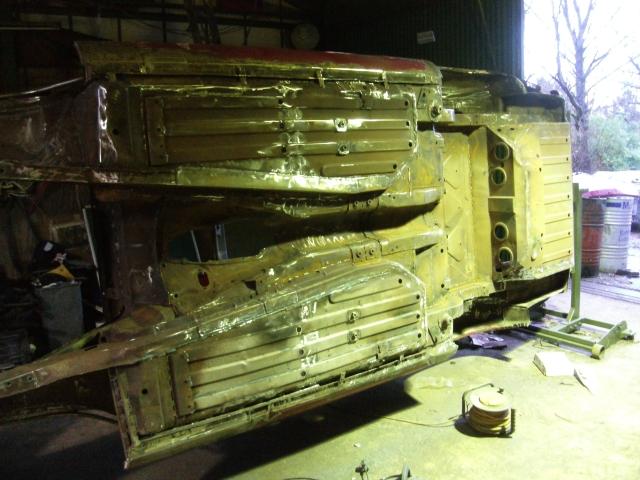
Chassis strengthening, and the insidious spread of seam welding creeping across the car.
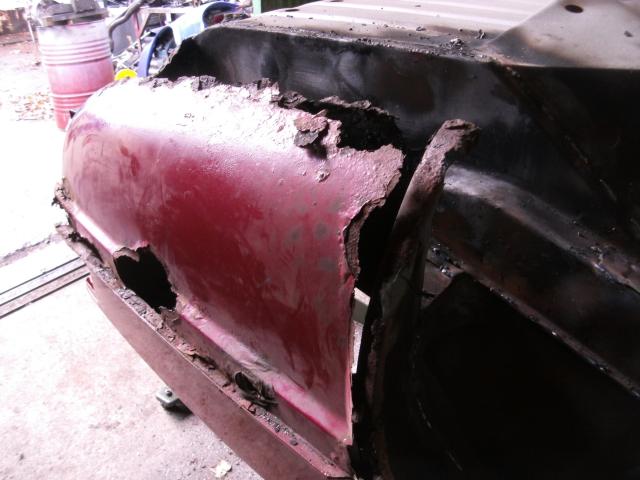
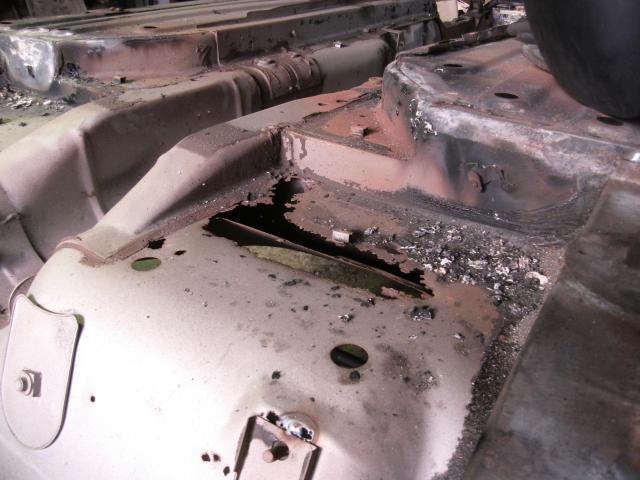
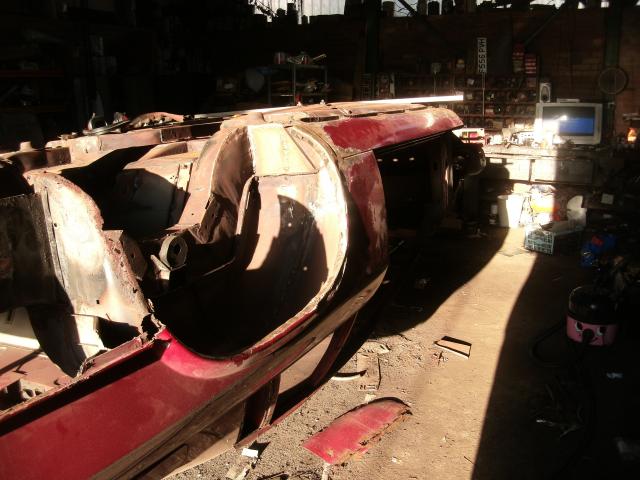
The tinworm has been at the rear end.
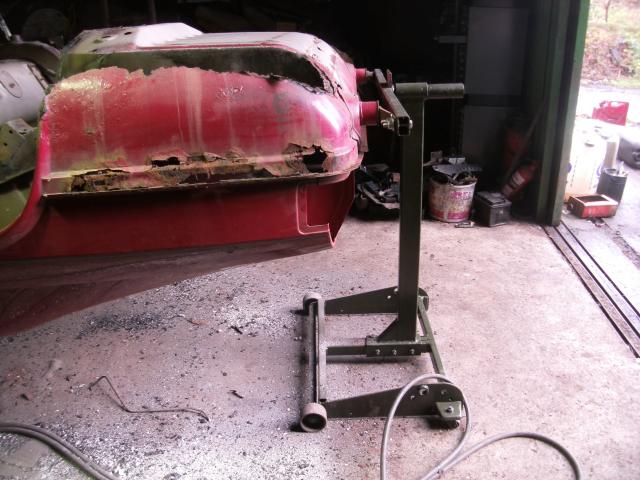
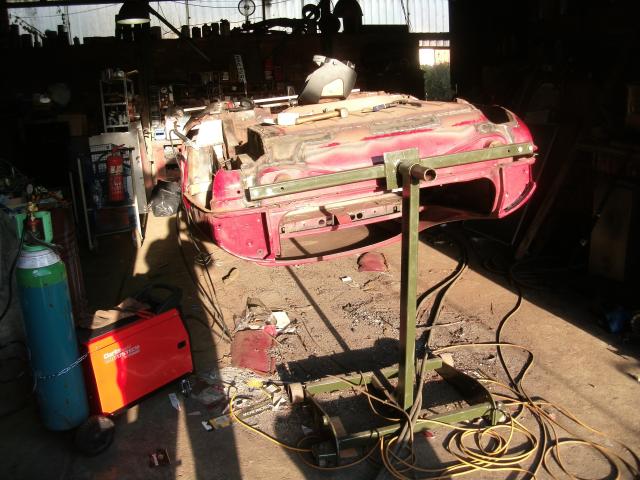
We're still impressed with the Bear's car roller though...
You expect them to rot here, but that was worse than usual. At least the shape is there to copy.
The radius arm/rear wing areas of the car do need attention, and it gets it. The driver’s side is worse than the passenger side, by some margin. But at least getting into it deep means it was strong when finished. In some ways it’s better to have to do it than find one that’s just good enough. Again the standard of repair reflects the purpose of the car, it’s for the track, not the road. It’s strong, it could be tidier with more time, but it doesn’t need to be.
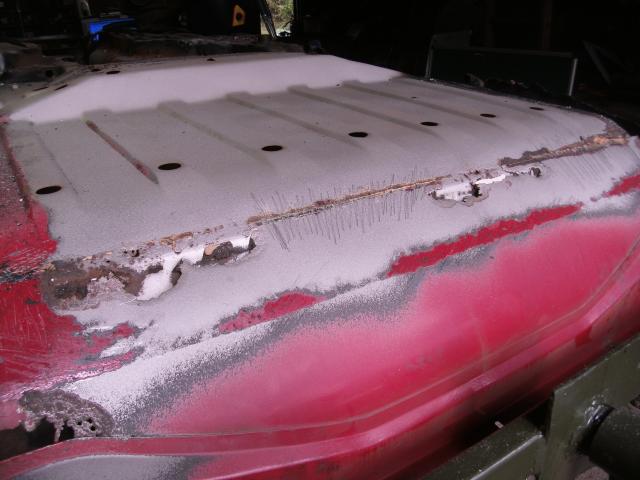
Boot floor has gone in the expected place, but it's hardly critical or difficult to fix.
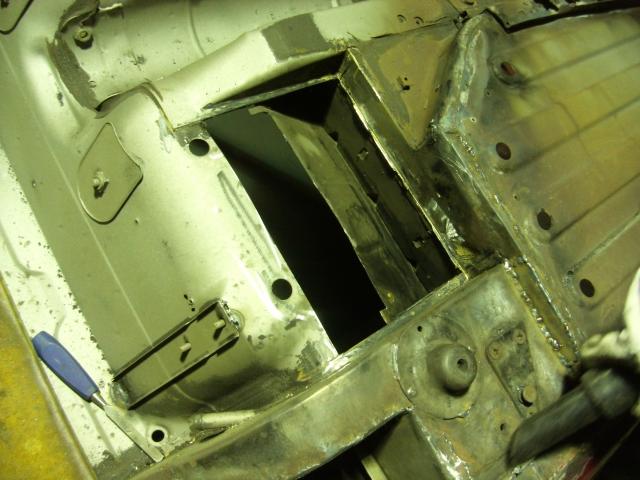
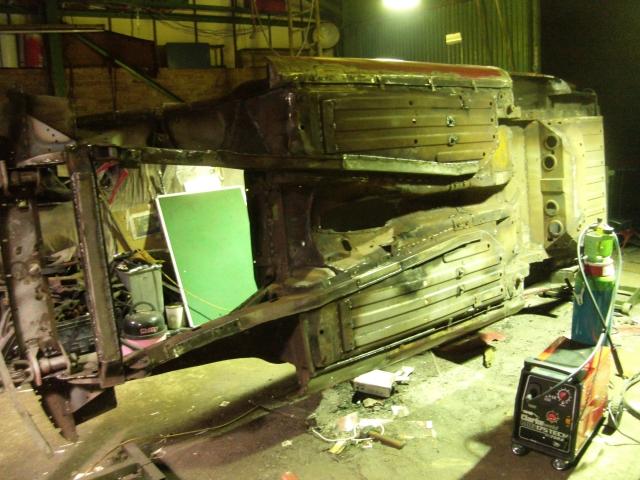
This, however, is worse. It was intact until blasted. A lot of work to do in here, it will take at least a day.
It's on this side again, must be Tuesday.
But that welder is creeping ever-rearwards.
And one side of the rear seat has gone. One only. Whatever happened to this car to rot the nearside worse than the offside?
An early-morning welding spree.
My tall, thin, black helper takes the photos.
And we have a boot floor again before the first coffee has cooled.
New and expensive welder makes the old toy look like a right xxxx.
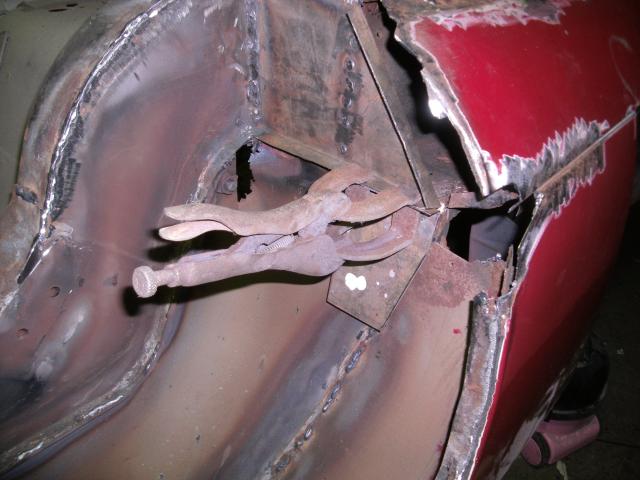
Deep into the repair here, we even found the special grippers to assist.
Not quite factory standard, but at least as strong as original.
Repair completed.
And pretty much a carbon copy to the other side. Getting to this point is when you know you've cracked it.
Old piece cut out, new, thicker plate about to be welded in.
Why thicker? Well, passenger side, and if we want to install any ballast...
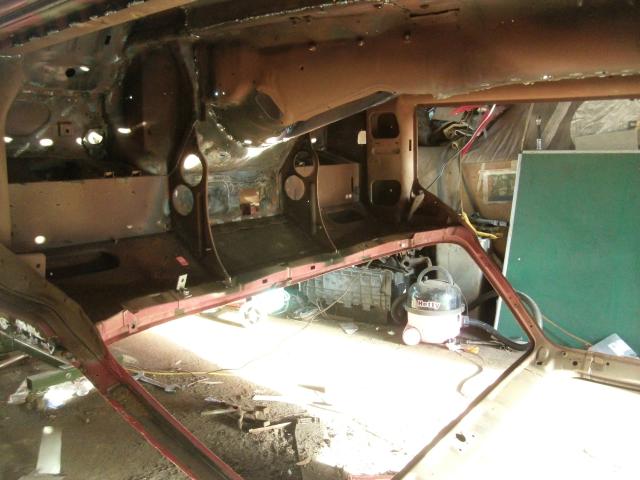
The interior was seam-welded and repaired as the car was repeatedly flipped, so here's the odd world we've inhabited for several weeks - what the interior looks like inverted.
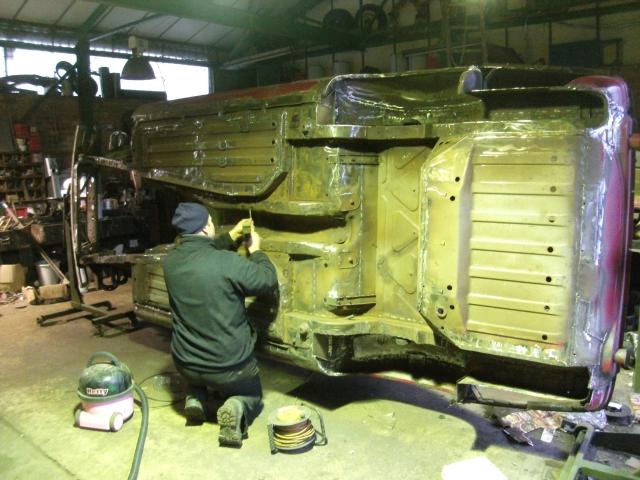
Bear and May make the final few preparations, you find tiny bits to scrape and scurf and chovel right up to the moment you call it finished.
Ground, scurfed, and ready for paint.
6 weeks from collection to this point, but we're ready for primer.