EVE?
STAGE 2.2
SPRING 2011
Injury of the month: mostly burns. Lots of little ones. You don't notice them til you get in the bath, and then start howling like a horny werewolf as they all make themselves known.
Note to self; wool only works as fire protection if there are no holes in the weave...
REPAIRS - PART 2
The floorpans don’t end up looking pretty, but they are intact and whole, and that’s all we need. The patches that have had to go in are extensive, I mean huge. The inner skin where they meet the tunnel is repaired, both sides. The outer skin in the same area needs it too. The inner skin is done in thin steel, the outer in thick. High power on the welder fuses both into one, they are going nowhere.
Putting a 27” section of sill in the driver’s side was not a small task. Once the outer sill corrodes and water gets in here, the inner does not last long. That's if the inner didn't fail first, they are always rusty along the join twixt inner sill and floorpan, I blame the carpets and 20 years of leaky windscreens.
The repair changes the design slightly, as we make the repair one piece, inner and outer are one and the same now, which also makes forming the longitudinal lip easier too. It’s a drastic and pretty bold repair, but having done it, it’s done. No worries about whether a patchwork of little patches – and I’ll bet 75% of the grid have or need them – to the inner sills are going to hold, it’s a big shiny piece of new steel welded to intact and sound steel along a six-foot perimeter, and it’ll outlive the car.
Repairing the floorpan once there is a decent sill to attach to becomes much easier. Once the floors are in we go back and add more steel to the areas that are going to be drilled for seatbelt mounts, seat bolts etc, the reinforcement does leave the underside looking a bit Frankensteined, but it all serves a purpose.
Whilst I’m in here, with the car on its side, you can get to the hard-to-reach areas up under the dash. Holes cut for the pull cables, seams welded, that sort of thing. Much simpler when it’s a vertical to work on, instead of an inverted horizontal!
The nearside rear radius arm mount has gone completely, the inner, outer and middle sill and chassis are simply missing once I cut the rust away. It sounds bad. But, oddly, the utter lack of any of these pieces makes it much easier to repair. Build the chassis back up with heavy gauge steel, then spread out from there, build up the big box sections, put new inner sill in, and box it in with some good stuff to form a structure that might lack a few of Jaguar’s curves in there, but is stronger than ever before.
This in turn gives something to weld to to reconstruct the rear wheelarch inner, and then the delicate task of tacking an outer skin to it to rebuild the cosmetic bit without warping the whole panel. It takes a little time. I am now applying for a job on that American Hotrod programme. Just so I can pointlessly scream at hardworking staff whilst ignoring the mindless reprobates who appeal to someone’s idea of what constitutes good television.
The repairs to the car are to the sections within the wheelbase. Anything in front or astern are modified more significantly, and for the most part removed rather than repaired. The chassis only really needs to be stiff and strong in the wheelbase, not so much in the overhangs. We want the four wheels to talk to each other, but anything that doesn’t help do that doesn’t need to be here.
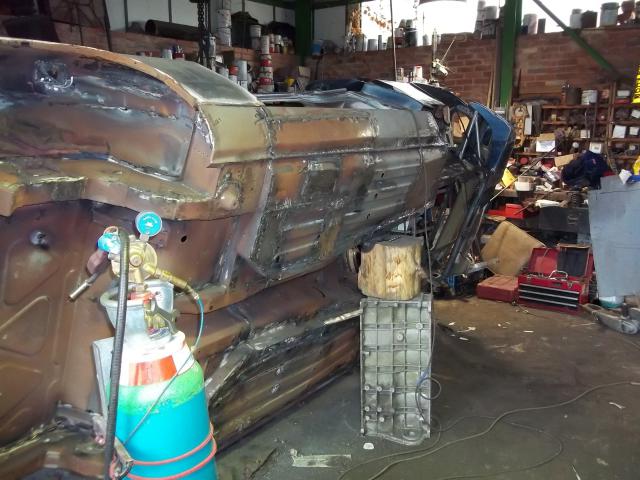
With the work done, about two weeks of evenings, this car is now ready to be turned into a race car. It might be patched to death, but it is now solid. An orgy of grinding to neaten it all up, and we can think about the modifications, and then some primer. Would we advise anyone else to repair a shell like this? No. We tackled this one because it was my car, but it wasn’t sensible. We’ve seen worse, and fixed worse, but it wasn’t an economically viable repair, this was obstinacy, not reason.
Now that it's fixed it's time to start hacking it about a bit!
MODIFICATIONS - PART 3 TO FOLLOW...
.


Offside complete.
Big front jacking point to match the nearside.
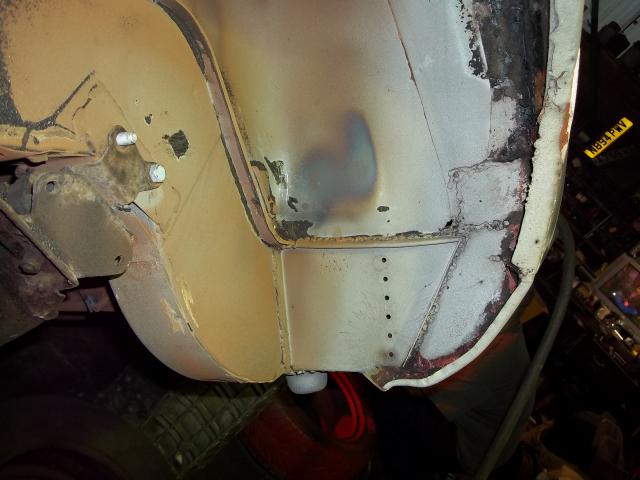
Big sill repair, floors patched.
Floor then over-patched with thicker steel where the seatbelts and seat mount.
Then the mounting plates for the belts go on.
Old repair to the offside radius arm/sill.
Intact, but the welding is a bit gnarly.
Angle grinder and another dose of the melty steel glue will solve this.
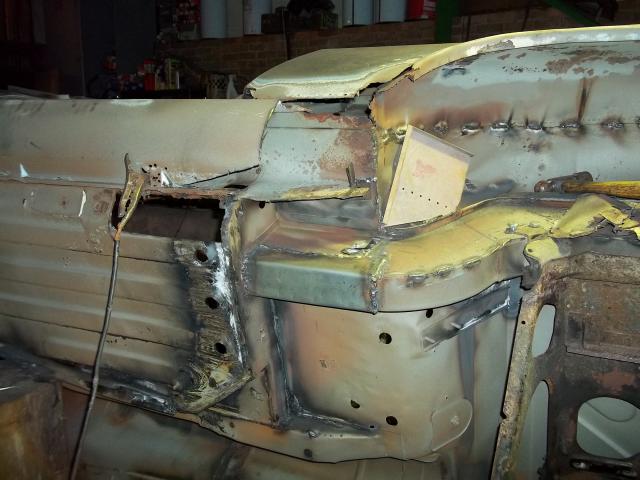
The nearside, well, erm, not quite so much...
Inner wheelarch skin gone. Outer gone.
Chassis holed. Inner sill rusted. Outer sill gone. Upper sill holed.
Rear sill pieces missing.Floor gone.
If you say it fast it sounds fine.
It's actually easier when you start with a blank canvas.
Did I mention I'm also a solicitor?
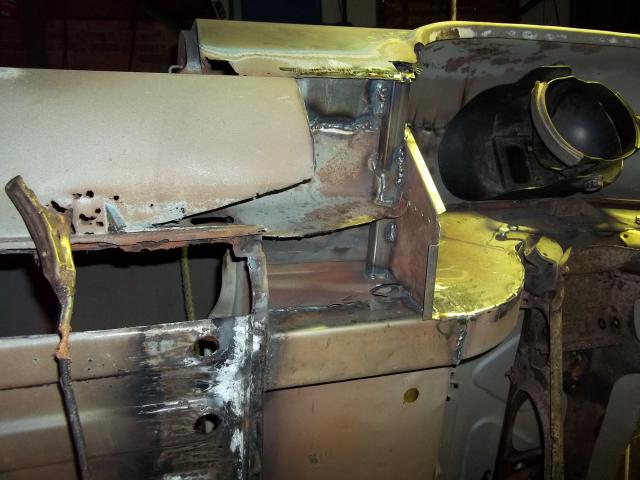
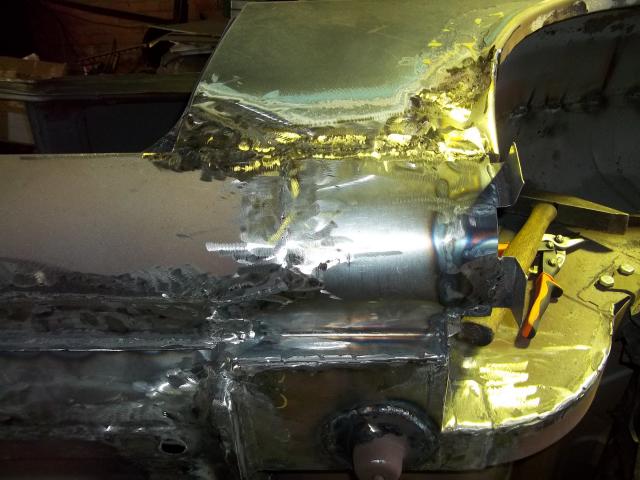
The chassis repair is heavy steel, better than original.
The piece of inch box braced off the chassis holds the outer wing in the right place, and we build off from there. It is a reference point, as well as extra strength.
The bottom to the inner wing is welded back in place, the radius arm mount plate and inner sill goes in next as a single formed plate.


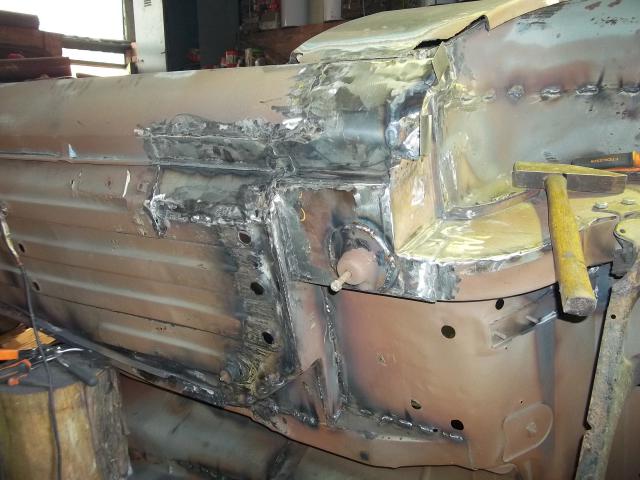
Floors now intact again, we're nearly there.
You cannot imagine how much cereal I had to eat to get enough cardboard to make all the templates to get this far.
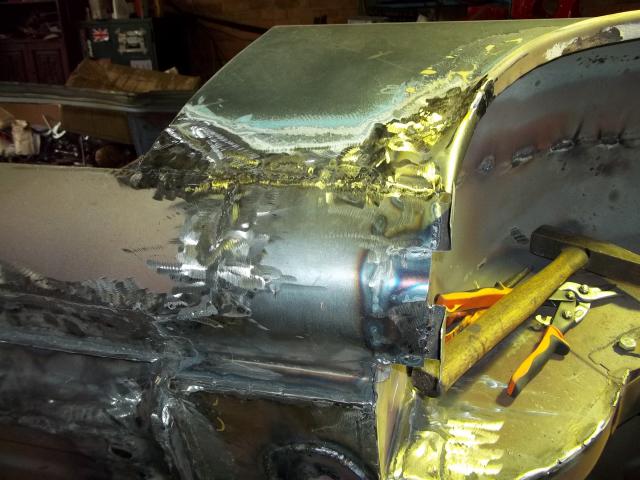
Radius arm mount back in place, outer sill formed and welded in.
Chassis fixed, floors fixed, sill repaired. Just the cosmetic part left.
Really NOT looking forward to this bit, mess this up and find myself a week of bodywork.
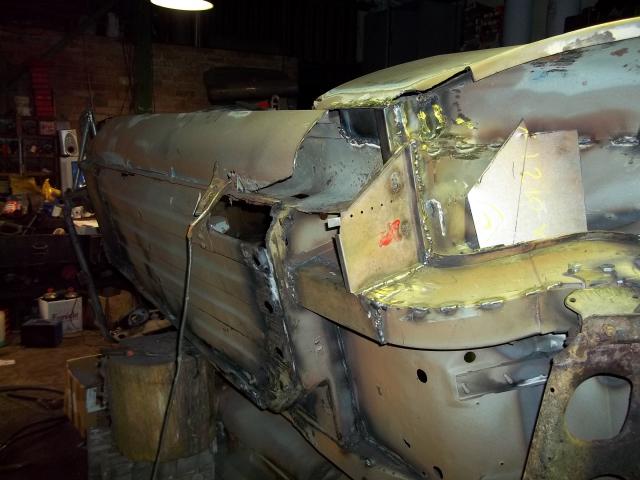
Chassis repaired, box section inserted for additional strength, and as a guide. First piece of the upper sill put back.
Bit of T-cut and it'll be finished.
Yes, this is an epic repair.
Progress at last.
Tacking the outer skin on the wheelarch without warping the entire panel, well, not sure even now how I managed it. Tack a quarter inch, leave it ten minutes, come back. Time consuming, but it saves on filler...
I also sue doctors....
Before you snigger at the quality of the work, remember I'm a medical negligence lawyer, not a metalworker.
Rear end repairs complete, radius arm, sill, chassis, inner and outer wheelarch. The little tabs are for the bodykit.
Welding complete at last. 2 solid weeks, every spare hour of the evening and weekend.
Front spoiler and wing trial-fitted. Actually the pieces from the rolled Comer car, but the Kutuka recycling department has been busy...