LARA?
STAGE 2.4
SPRING 2011
Injury of the month: everything is just so very, very burned. Everything. You lean against something for a moment and find it's hot, I've been branded like a steer...
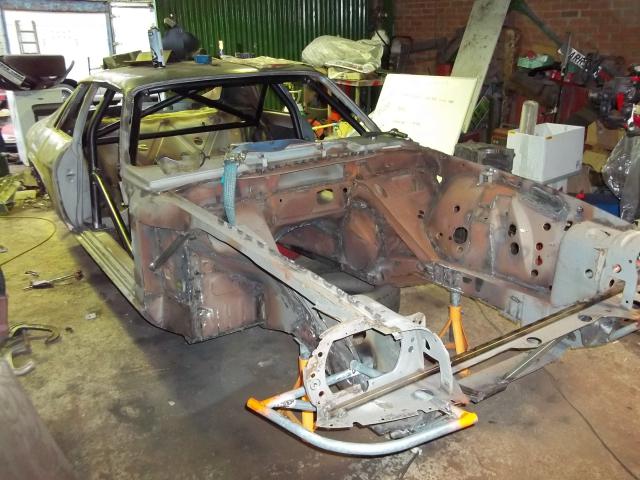
CAGE
Time for the cage. We like this part, it’s time to get racy. Fitting the cage now is easy, we’ve done 4, and it’s second nature to us by this point. There is no great mystique to this process, you just need to take a bit of care. And to that, add a big hammer, lots of heat and violence.
The 4 large plates that fit under the feet are pre-bent to roughly conform to the sills, and with them loosely thrown in place the cage is assembled in the car. It is then moved to the correct position, carefully measuring the gaps each side to make certain we have it in square.
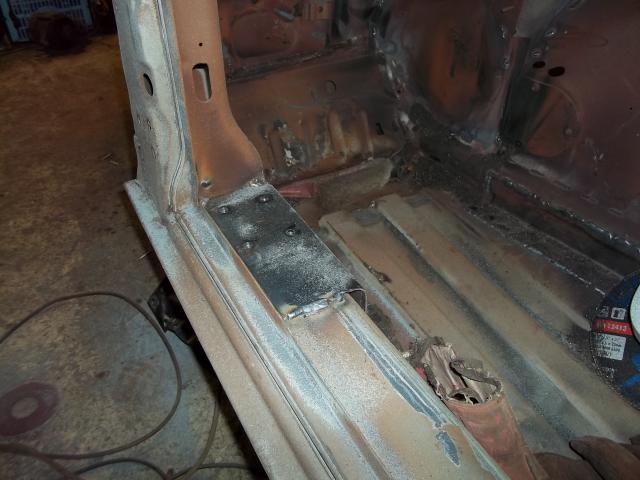
The plates are then clamped in place. The bolt holes are marked onto them through the cage feet. The rear-most feet are marked too where it meets the rear arches, we weld plates both sides of the wheelarch for these, for extra strength.
The plates are removed and drilled, then refitted. Bolts are tried for alignment. Confirmation that they do indeed fit, and the sills are then marked through those holes. Plates now removed, cage removed.
The plates are now bolted to the cage feet, and the nuts welded to the back, making the captive nuts the cage will bolt to in the car.
The holes in the sills are drilled out with a step cutter, well oversized. The captive nuts on the feet will sit inside these holes. The sheer dimensions of the plates we fit means you can remove large pieces of sill with impunity, though we prefer to keep them as intact as possible.
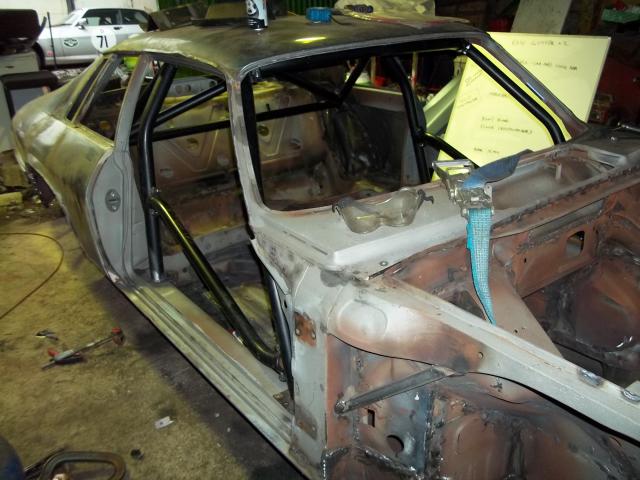
The whole thing is then put back in the car, plates sat on the sills, the captive nuts fitting in the holes we just cut. The cage is then bolted to the plates. All bolts are now tightened, the cage is fully assembled, including the door bars. It is so easy to forget the door bars, weld the cage feet in, and then find that they don’t fit.
With it all assembled, those plates are now tacked in place. Once tacked, the cage comes out, and the feet are welded fully into place. Some people only weld three sides of the plate, if that. A lot of welding you see in roll cage installations is poor. Once you're certain you've welded it in, job done, it’s in, you could now bolt the cage in and call it done.
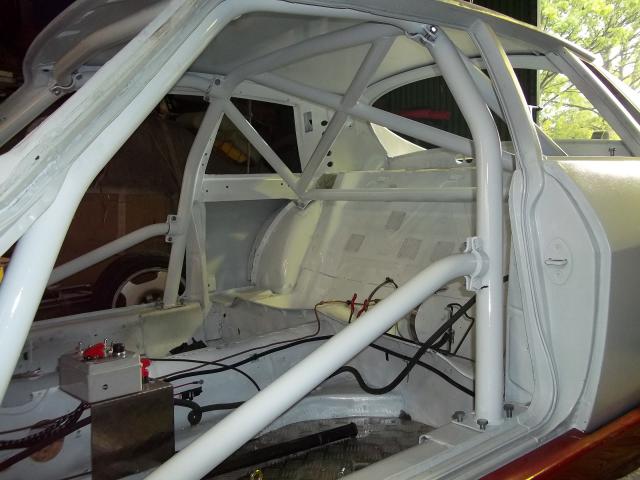
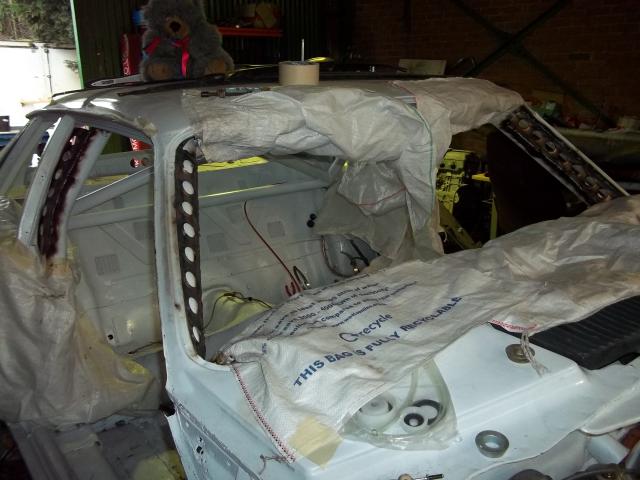
The basic cage install is now complete. The interior is now primed, with the cage out. The cage is gloss painted off the car, because with it in it’s a right pain in the bum to get each side of every tube. The interior is also glossed, again because it’s so hard to do with a cage installed.
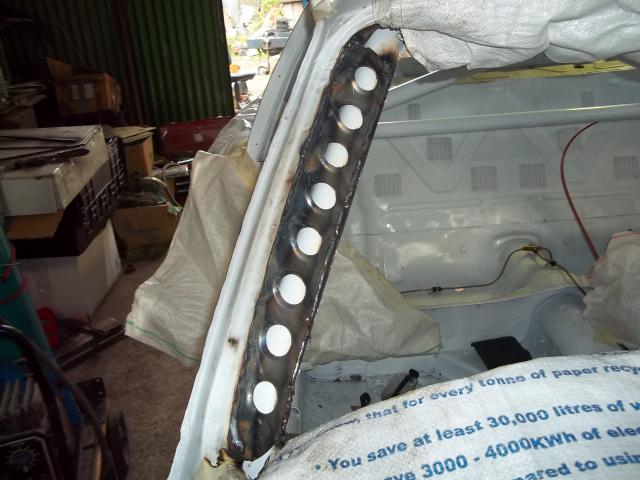
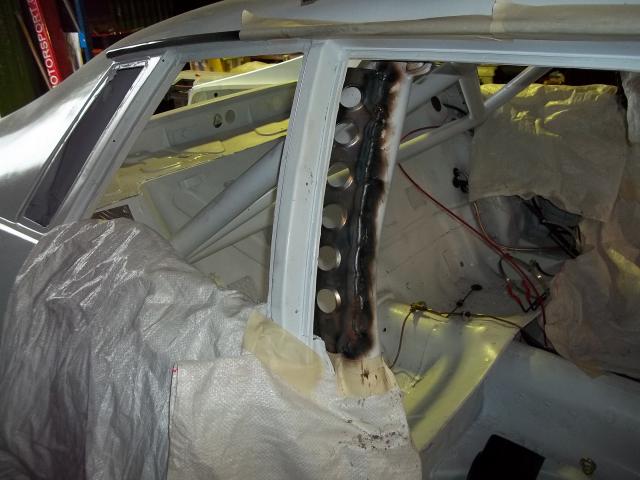
Daft thing is, the cage goes back in, and we now grind off some of the paint, because we haven’t finished yet. The pieces that tie the cage to the A and B pillars now have to be made, fitted and welded, then repainted. Finicky, oh yes. But look at it! Shiny.
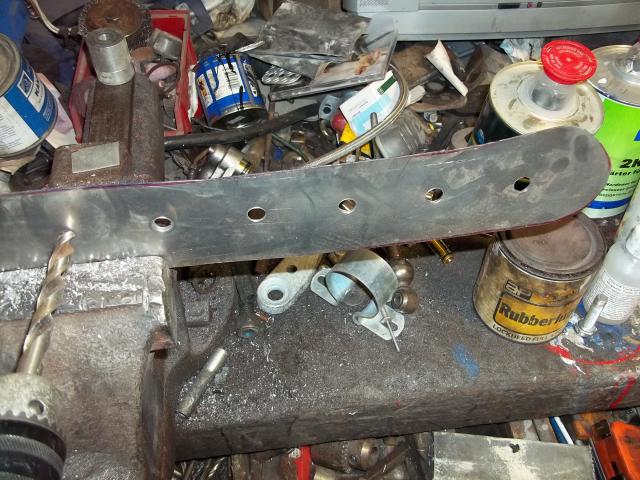
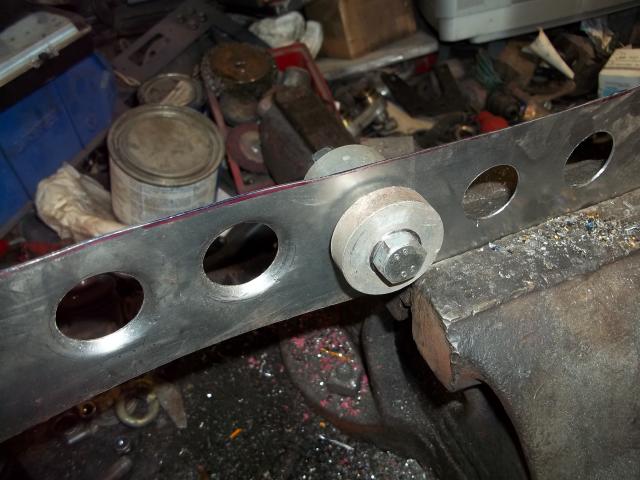
The pieces that tie the cage to the car are home made. You can buy them for £60, or for less money you can buy the swaging tool that does the job, and do the next 4 cars with it.
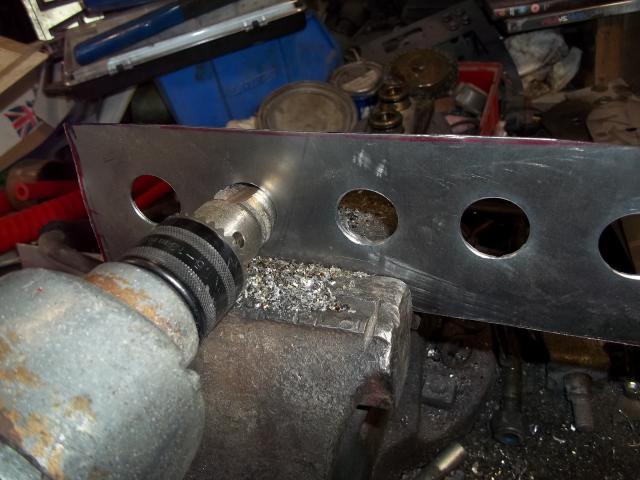
Sheet steel of the right size, holes drilled in it, then a step cutter, and then swage away to your heart’s content. About an hour of work in each one, but we’ve an infinite supply of them.
Clamped and welded in place, then carefully ground and scurfed smooth to try and eliminate any hint of the join between plate and cage, then primer, gloss, beer.
Competitors have been reminded of tweaks to the blue book regs re cages. A detailed read of the new regs shows we don’t need to panic. The cages closely follow the screen pillars, and have only one bend in the front leg, which is all the new regs are worried about. The beast has been caged!
Part 2.5 to follow - bodywork!
.


Cage is in, but it's not in, if that makes sense.
Stage 1 is to assemble the cage in the car, but that doesn't mean it's fitted.
Properly assembled too, every nut tightened, and door bars must be fitted, or you're wasting your time, they just won't fit later.
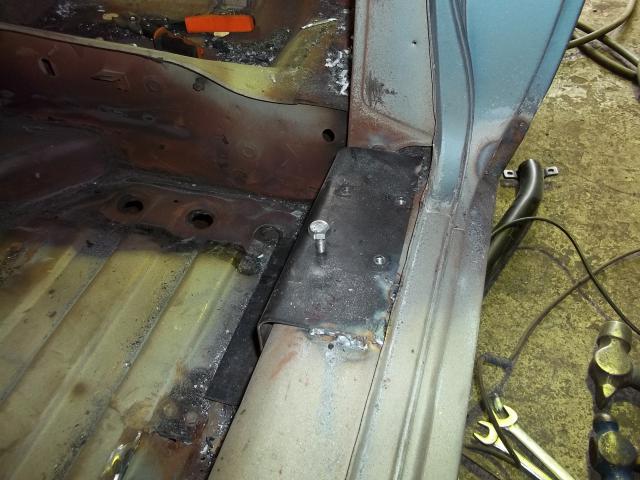
The ma-hooo-ssive plates that anchor cage to car going in.
Regulations do not necessarily demand this sort of size, but we do, and the fact that they extend all the way to the floor helps strengthen everything that little bit more.
Excessive? Probably. But I didn't ask for opinions.
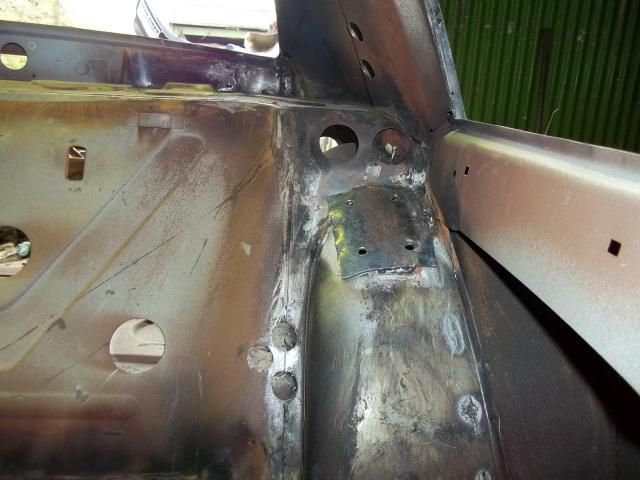
Tacked in place, captive nuts already welded in place, cage removed. Ready for welding. Matching the shape to the car requires a lot of heat and beat. Blacksmithery is standard training for anyone living within 20 miles of Sheffield.
More footsies.
The size of grinding disc creeping into view shows the delicacy of work being undertaken here...
Rear footsies!
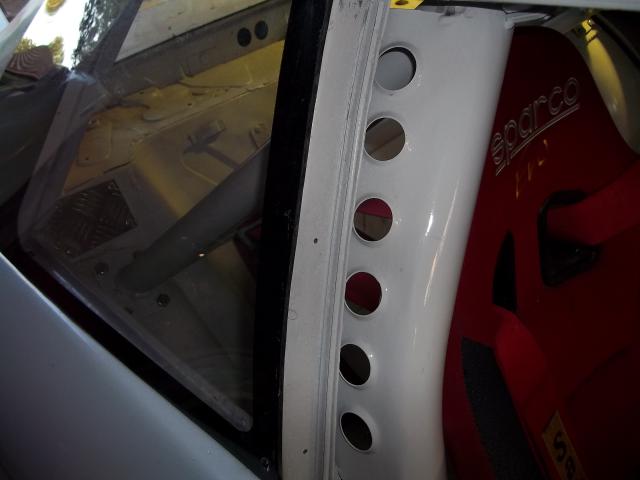
Heated and beaten to conform to the car, but plates fit both sides of the wheelarch to avoid the bolts pulling through.
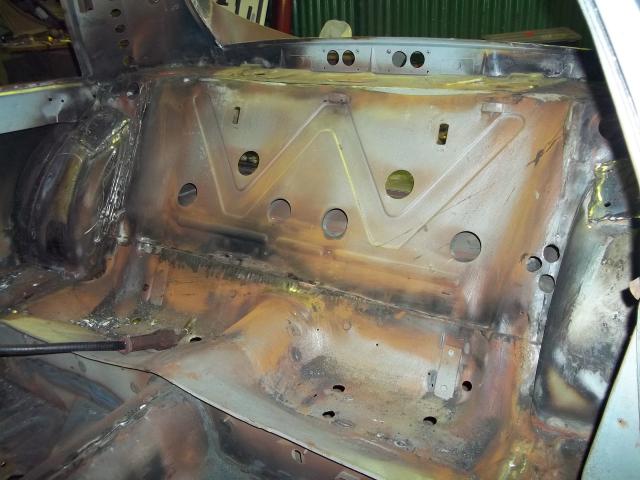
Hurry up and finish, this thing needs primer fast, it's on the verge of going brown.
Which I understand gets you into trouble with the stewards.
Phew, made it.
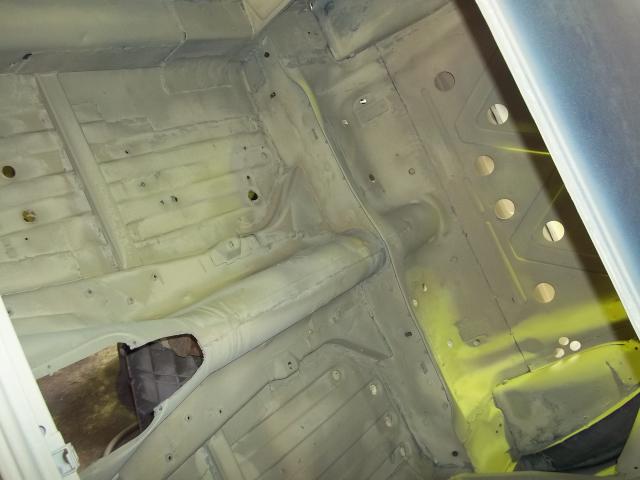
Beige etch primer floods the now-welded interior.
Also making a guest appearance here are the seat crossmembers.
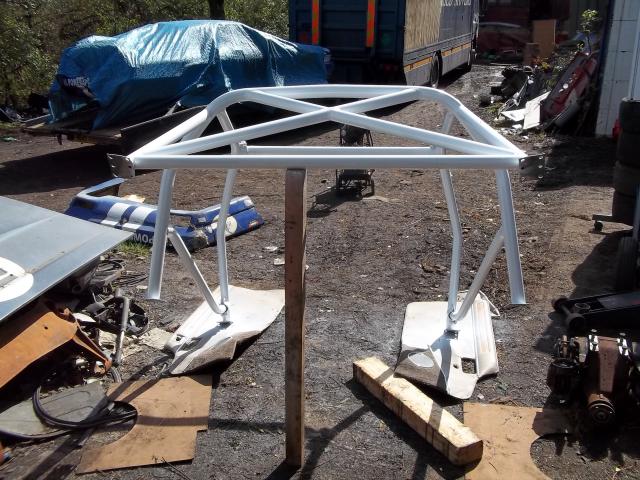
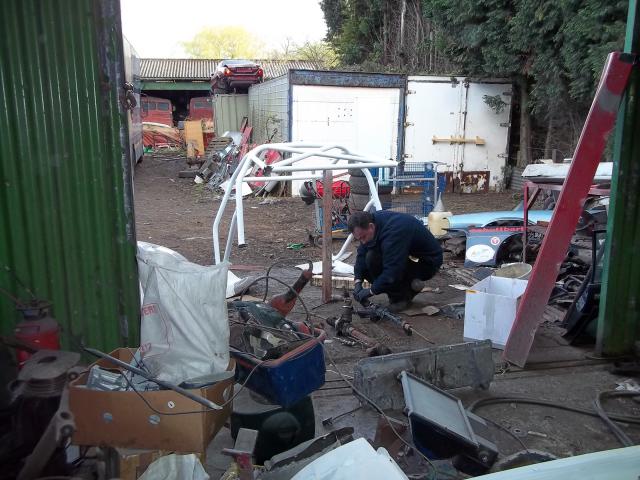
Cage being glossed. Propped on a stick and suitably baited, it also makes an excellent trap for Chief Engineers.
Helen lurks in the background, fresh from her Cadwell exploits...
He's creeping closer. Just one more step and we pull the string to capture him...
This sort of shot might make some racing drivers want to touch themselves in a bad way.
Cage tie-in panels begin construction.
The shape was planned, honestly, I marked it off the car with a cereal packet and everything.
I even measured the distance between the holes. That's not as dirty as it sounds.
Enlarging the holes ready for....
...swaging.
Swaged on the left, swaging tool in the middle, untouched on the right.
It's as easy as it sounds.
Welded in place.
Looks almost as if we planned it.
Now for the fun grinding part. Joy.
And the B pillars too.
We think it stiffens the shell.
We might be wrong, what do we know?
Rubble sacks are excellent masking.
Except they're flammable.
Yes, I had to discover that.
Ground, scurfed, sanded, primed and glossed.
As Eric Morecambe might have said, you can't see the join...