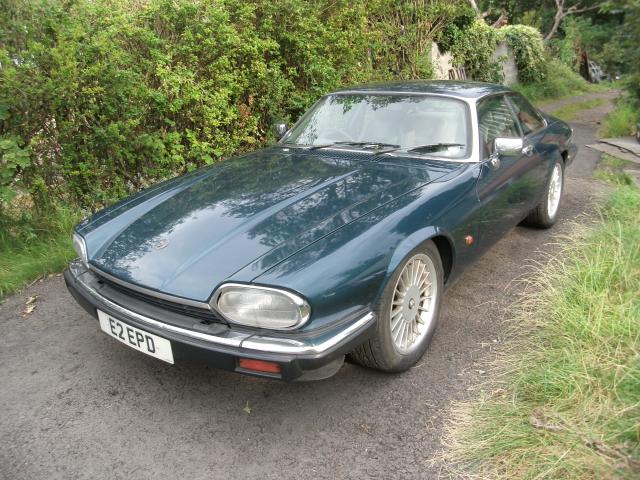
KACEY - roadgoing 4 litre facelift.
Slightly different to our usual car projects, this is a much more conventional blog.
We bought a 4 litre facelift XJS, intending to break it, but it turned out to be a very nice car, so we kept it. It needed work doing to it, and we keep getting in ever deeper, but we wrote about some of it, and took pictures.
Here is the story, as it unfolds. It will be added to periodically, and archived when the older stuff makes the page too long to work with, but for now, here is the rambling tale of our adventures in XJSing on the public roads.
Part 1 - initial repair.
This car came into our hands because the front subframe had died, and the owner had simply had enough. The quotes that are given these days for a front end swap are heinous, but to us that sounds like the work of a pretty decent day, or a lazy weekend, and the use of a spare subframe. We have some of those.
So instead of scrapping the car, we save it. A spare subframe is checked over, blasted, then painted. Nothing special, just primer and 2-pack gloss black. A lot of the suspension will get swapped here anyway, we have a pile of blasted and zinc-plated parts on the shelf, so “new” top arms with new poly bushes fit to a “new” top pivot pin. It probably has a proper name. We can’t help but add a washer or two to give the car a degree of negative camber. Let’s face it, in our hands is this car ever going to potter round at 30mph?
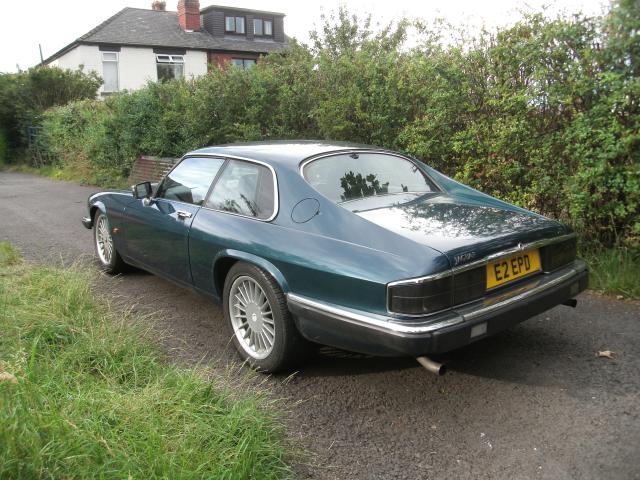
"Kacey" after her 17" wheel upgrade.
The name is the combination of the initials of two young ladies who asked. We can rarely say no to pretty girls.
“New” bottom arms take rubber bushes though, we’re not convinced a road car wants all poly everywhere. Plated spring pans too, for that extra sparkle. In fact leaving these parts bare is an experiment to see how well they last when used on the road. We have a lot of faith in zinc plating when overpainted, but curious how it endures by itself. It goes dull very fast, but it takes a long while to actually corrode, but how long? We like to find out, and the moist cold of the North is the place to test it.
We are re-using uprights, stub axles, bearings and springs, but they will be transferred across after the subframe is fitted.
Steering column disconnected, metalastic engine mounts undone. Power steering hose clip unscrewed – we always forget this on the road cars – and the earth strap undone.
Sling the jack under, undo the rear mounts, whistle out those giant front bolts, and away it comes as if it was meant to. Which it was.
Engine mounts pass inspection, they don’t appear to be very old. The subframe rear mounts, however, do, so they are swapped now.
The subframe is harvested for the bottom pins and arms only at this point. They are fitted to the subframe, and the subframe in this denuded state is fitted to the car. We just find this easier. Once bolted to the rear mounts, and those big pins back in the front, the engine can be released onto the mounts and the nuts put back. Which then makes this a simple suspension reassembly job.
Top arms and uprights, complete with hubs, bearings and discs go straight back on after only a swift look over and clean up, the springs are put into place using nothing more complex that a pair of longish bolts as a guide and a trolley jack under the springpan. It is crude, but swift.
Brakes refitted and bled, and finally the rack. We swapped the rack because we wanted the rack it had. We have noted that there are different rack speeds, and we have no idea why, but they do vary. We want the quick racks for racing, whereas for road use you may sometimes want that extra half turn that the rack we refit appears to have.
Back onto the deck, retracked, and she’s done. Turnaround time, as it turned out, was a Friday.
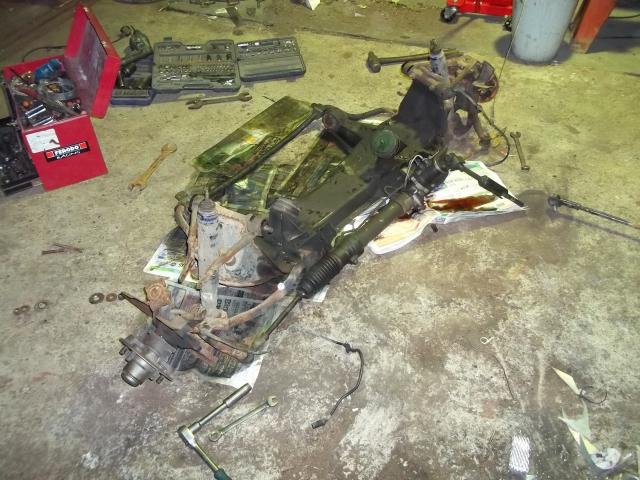
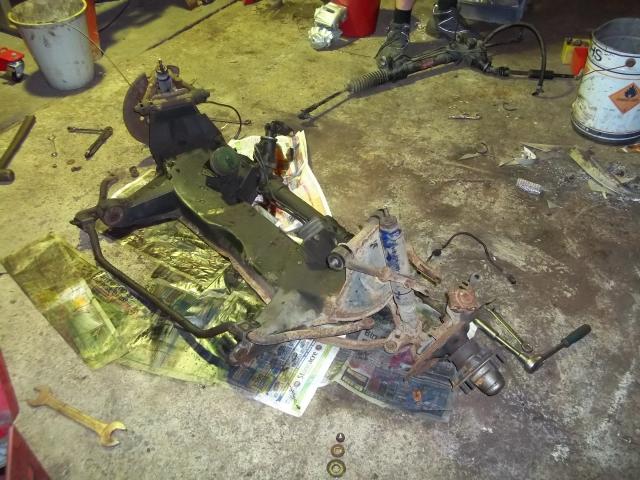
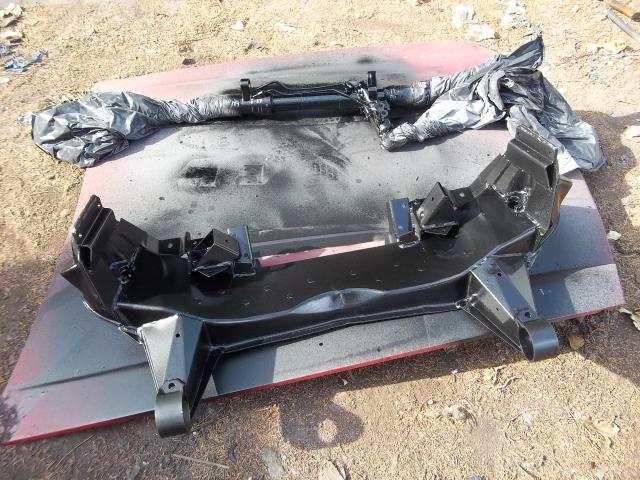
Removed front subframe being examined and harvested for the useful parts.
The subframe itself, however, was as rotten as a pear.
And upon examination the subframe already bore the Frankenstein patchwork of repairs from previous MOT bodges. Naughty.
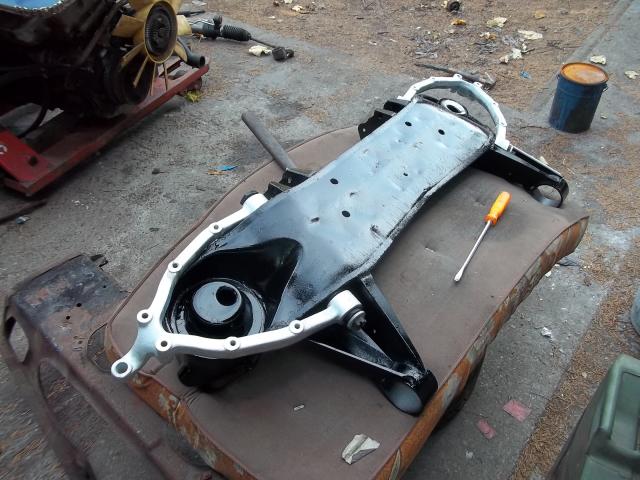
A quick flash of paint to the replacement subframe. It doesn't matter, and yet it does make a big difference. The gradual renovation of the car is to be achieved in tiny steps like this.
Fitting blasted and zinc-plated components.
We blast and plate every salvaged piece from everything that comes through our hands these days. Seriously, we have a ton of this stuff.
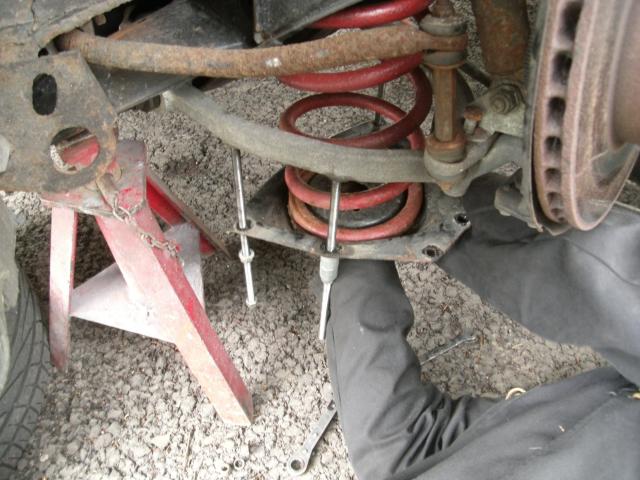
Bear makes a ride height adjustment, the car was nose-down and clearly not right when it arrived. Removing the springs and adding spacers is an interim, but effective, measure.
You can buy the proper tool to compress the spring, but they are very expensive. We used to use the trolley jack technique, but now we use threaded rod, which saves a lot of time.
Freshly MOT-ed, and now sitting on a set of nice 17" wheels that came attached to an X300 we got in.
Total amount actually spent on repairs: about £110.
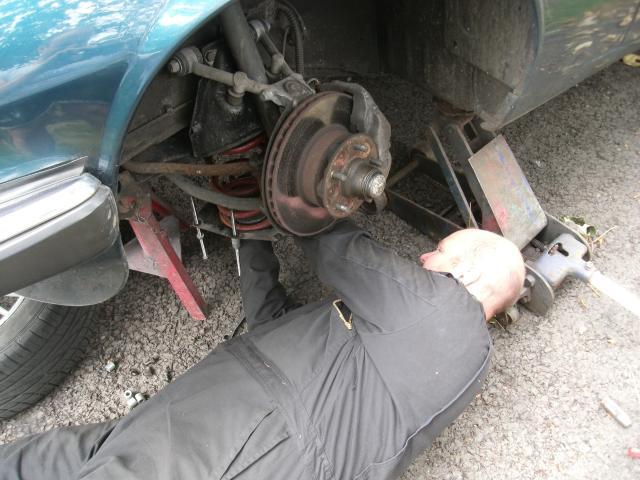
Obviously we’re leaving the engine in place whilst we swap the subframe, which is very easy to do. Bear has made a suitable cross-beam we strap the engine to, and then the subframe can be dropped away.
Road cars are harder to work with than race cars, but not impossible. Springs are dropped first, whilst there is weight on them. Then the brakes are disconnected, both fluid lines and ABS sensors, the latter unplugged under the bonnet and the wire pulled through.
That gets the car back on her wheels and it's not a question of making her fit for MOT, which is going to require a few odd jobs, but nothing more significant. The idea is to get the car back into service, and then it becomes a rolling project instead of a sculpture for the garden.
These are not, yet, cars to do a full stem to stern restoration to, they are not E-types, but they are increasingly in need of serious work doing. We think you get them into regular use and work on them as you go. They turn heads these days like never before, and climbing into that low-slung interior is something of a novelty. Well worth saving, whilst even 5 years ago they were the eccentric aunt to the Jaguar family.
Phase 2 coming soon.