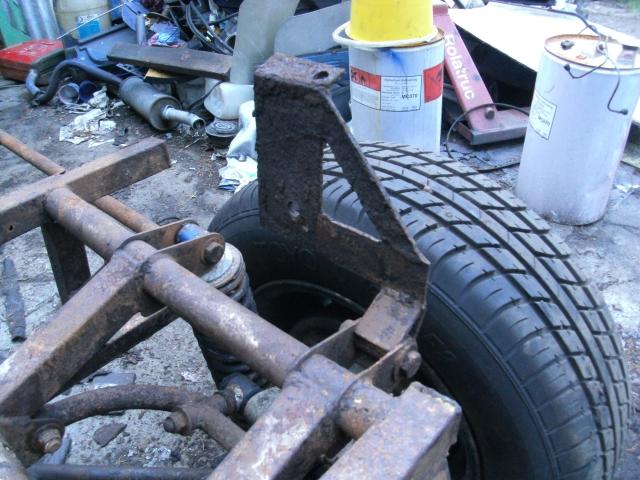
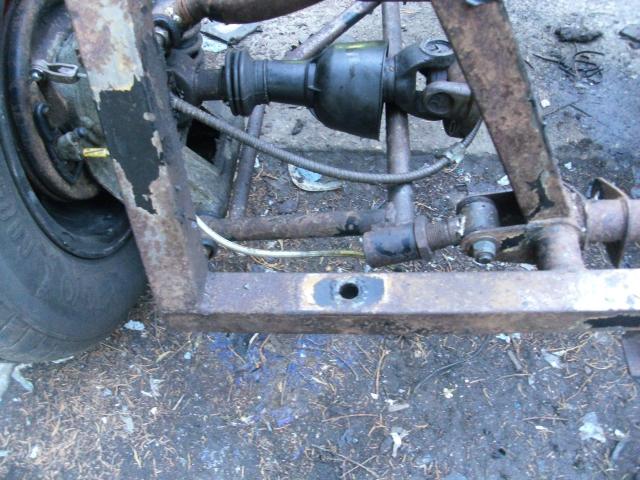
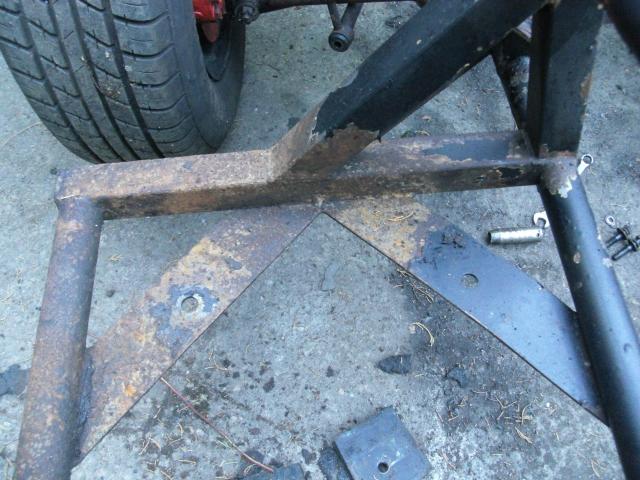
The steam-cleaned chassis is priority number 1. Much of it is mercifully intact, it looks like we only just got here in time, but there is only one piece that has rotted. The foremost of the rear crossmembers, right up there above the back axle, was obviously out of reach when our late uncle greased this thing up, and it has let go.
PART 2 - REPAIR

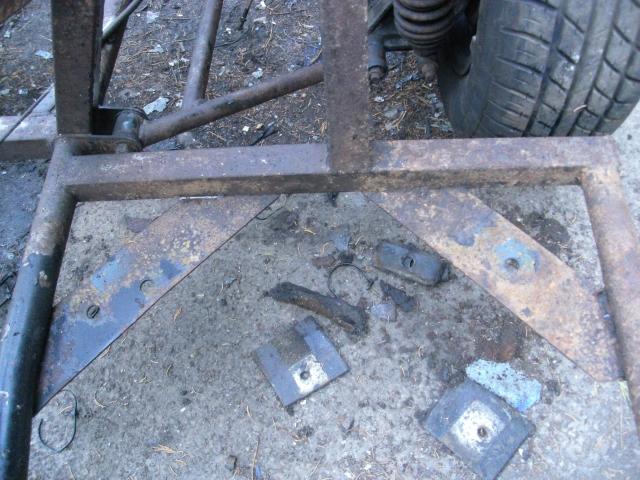
Given the lack of info online about tearing a Taimar to bits, here's a handy guide to the bolt locations for body to chassis mounting.
Two in the rear rail.
Replacement presents a small problem. The chassis is made of imperial sized box section, not metric. We have a lot of metric in stock, but not one piece of imperial. Metric sizes are either just too big, or just too small, and we’re trying to do this right. Purchase is the only sensible solution. We don’t like buying things.
The answer, actually, is that there is a bit of wiggle room under there. Whilst the body sits atop the chassis quite snugly, it’s not computer-guided laser-cut precision. A few millimetres – sorry, imperial does not come naturally to me, what do we use, sixteenths? – won’t matter if we did go wrong.
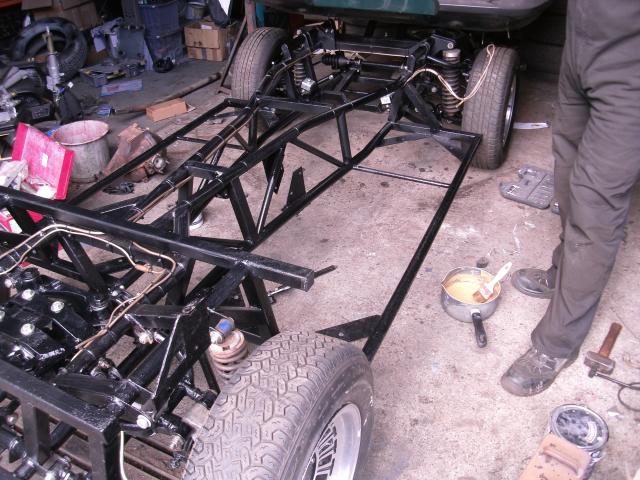
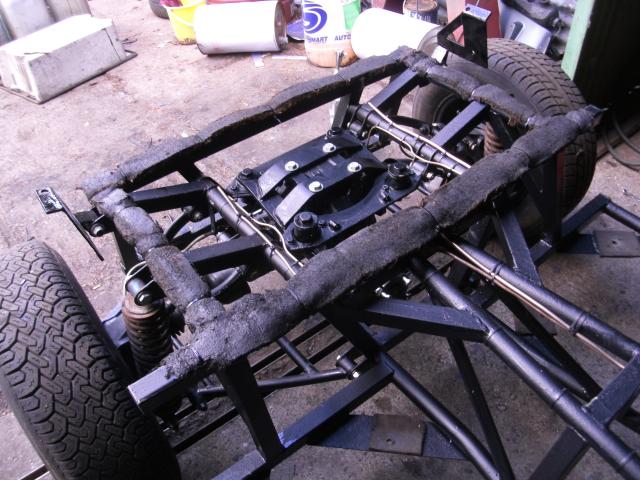
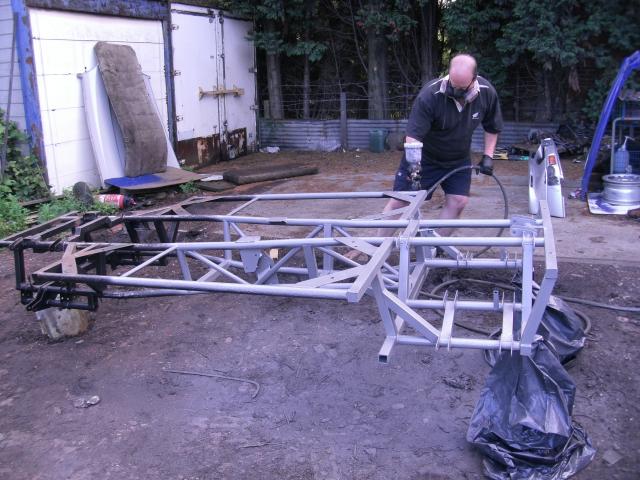
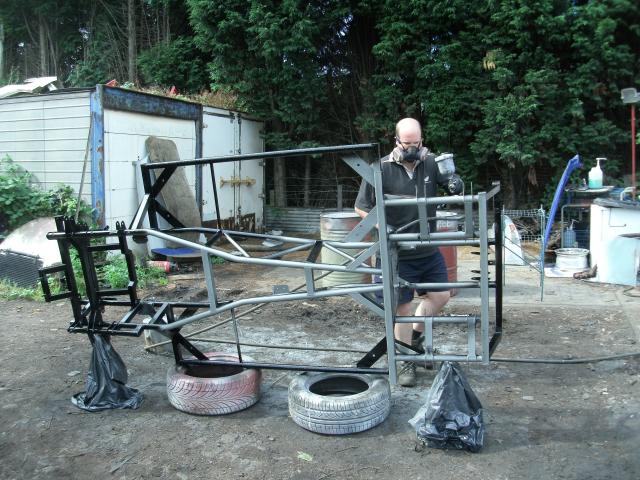
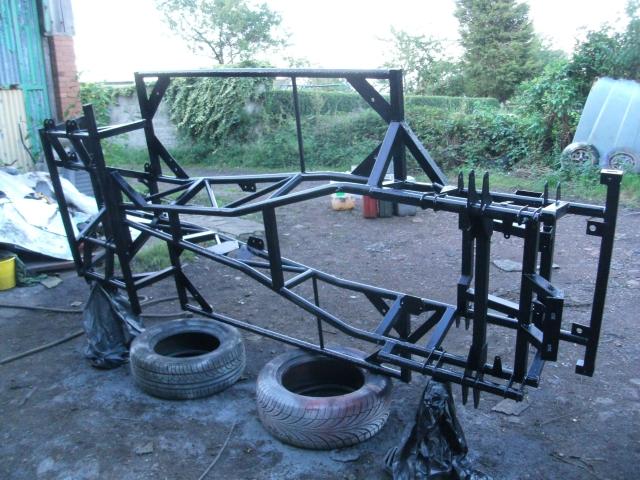
Over to Bear then to finish this. He wire-brushes the whole thing back to bright steel, and then time for paint. A 2-part epoxy primer coats the entire chassis. Takes him 2 days to make sure he got it all, because it doesn’t set fast, and you have to flip this thing from side to side to get it all. Then, because we’re tarts, 2-pack gloss black over the top.
All told, it takes a week to prep the chassis. Why a week, if we only have 2 weeks to play with? Because the desire to do it properly overrides the deadline we set. Which was inevitable.
Replacement is a mixture of polyurethane and rubber. We want the improvements offered by poly, but without the harshness they can create. Sports car it may be, but it wasn’t actually a particularly loud, visceral, bone-clattering machine before it came to bits, and we don’t want to make it so. So a half and half replacement is in order, try to get a compromise.
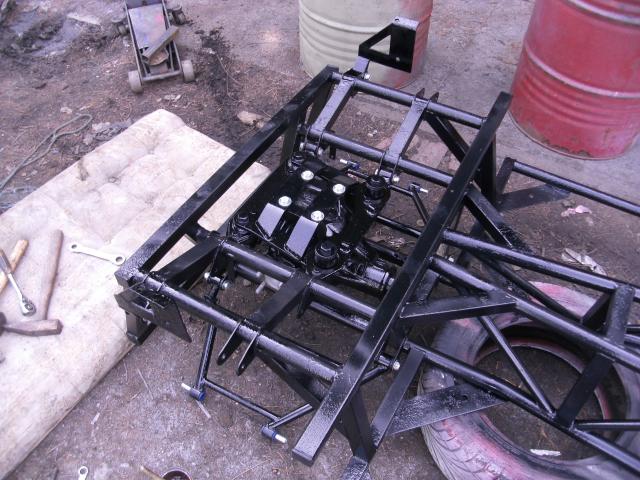
That means the diff can go back in, except it’s not going back in. It’s a Jaguar diff that comes out, an open 3.31 ratio. We’ve got a few Jag diffs about the place, including a 3.31 powerlock that Bear built, but there's a 3.07 powerlock he wants to try. To make this car more capable of high-speed cruise, and to afford the joys of a limited-slip diff when coming out of roundabouts like a hooligan, that’s what goes in. With the extra time afforded by the moved deadline, everything gets painted with epoxy and a top coat of gloss black.
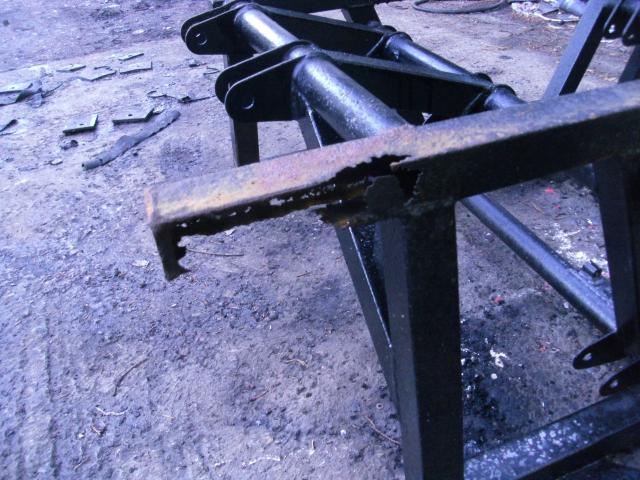
We briefly considered patching it up, but Bear attacks the entire chassis with rotary wire brush, and it is swiftly apparent that this rail is too far gone, it’s thin enough that repair is never going to be adequate.
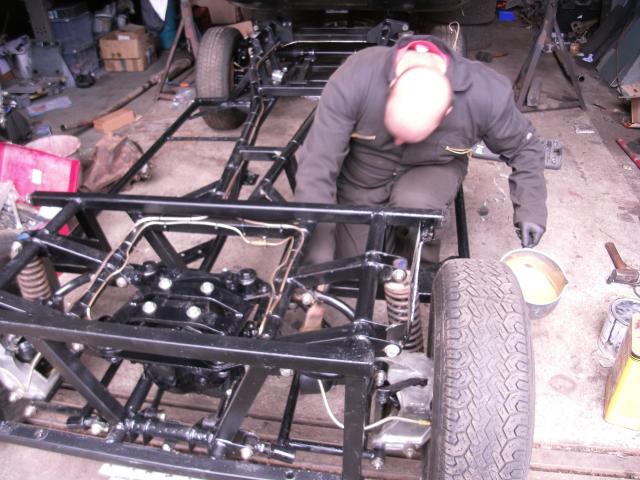
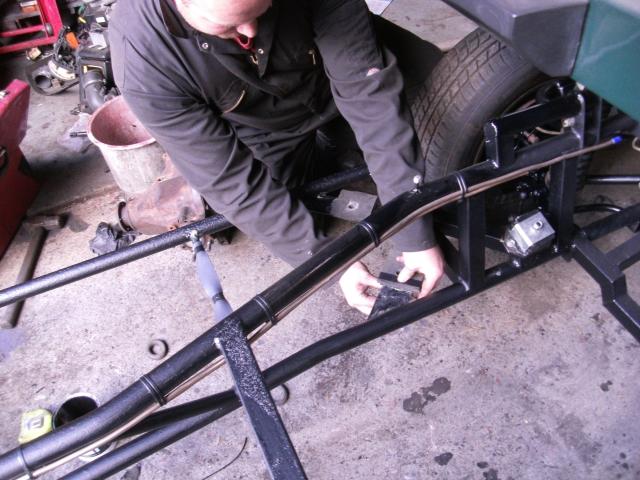
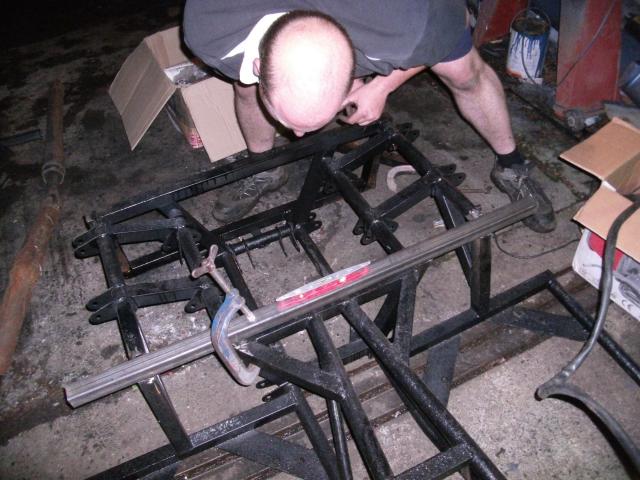
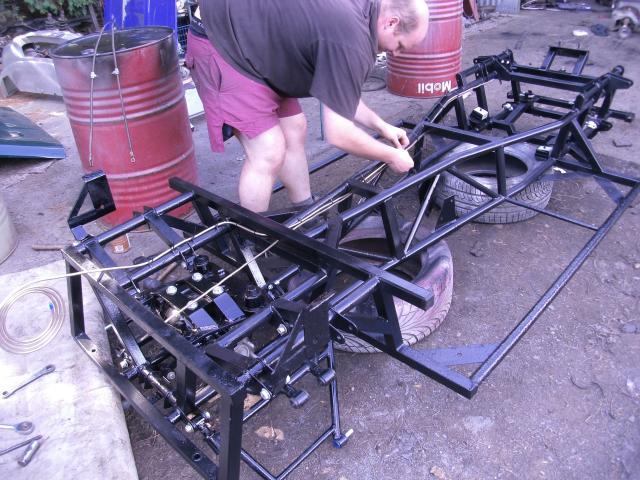
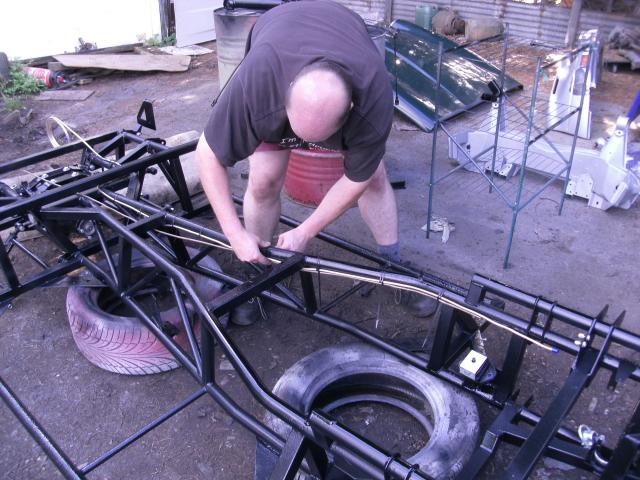
Working on a chassis requires a degree of accuracy. Fortunately, there are a few instances when race-prepping Jag shells that also require us to be accurate, we’re not complete virgins to welding pieces in the right spot. With the old “measure twice, cut once” reinterpreted to mean “measure, ponder, look, photograph, measure again, go for a cuppa, worry, measure again” Bear takes a good sets of readings from every point, and checks beneath the floating body for good measure. He’s looking for how much room there is under there should we get this wrong.
Bear takes a deep breath...and hands me the angle grinder. Very carefully the old box section is cut out. New one aligned, measured fourteen times, and welded in place. Just like that. Awkward in places, there are two welds here that clearly originally happened long before the rest of the chassis was attached, but it’s on, and it’s not coming off again easy.
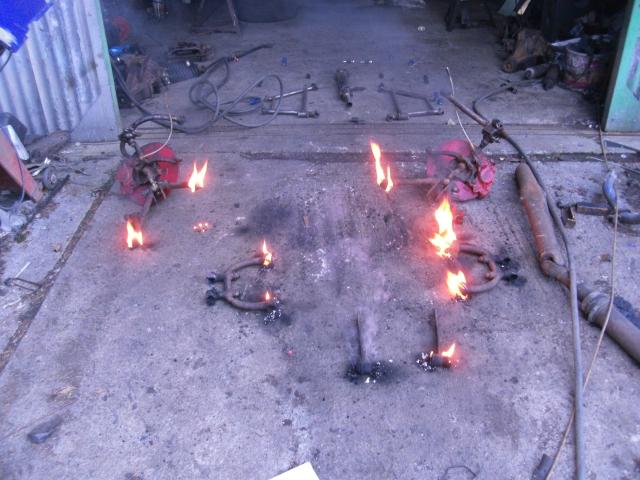
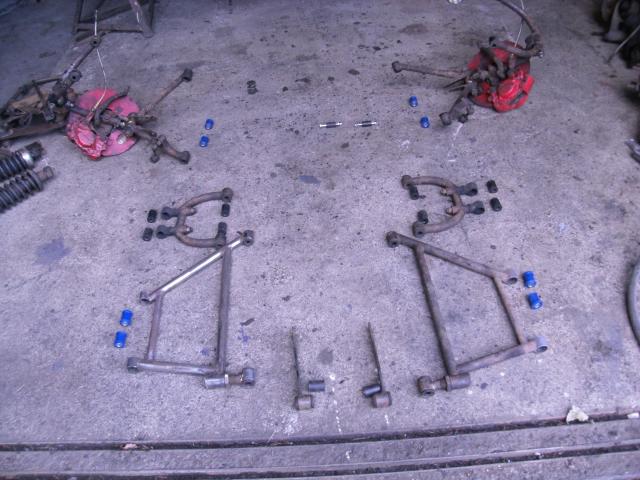
In the meantime, Bear has taken apart the suspension, and burned out all the old bushes. Nothing sophisticated here, set fire to them and let the ancient rubber disappear. There must be a reason why this is not correct, but we don't know what it is. The bushes were intact, but not pretty, and you do have to ask after 35 years whether spending the few quid for new ones isn’t something the old girl deserves.
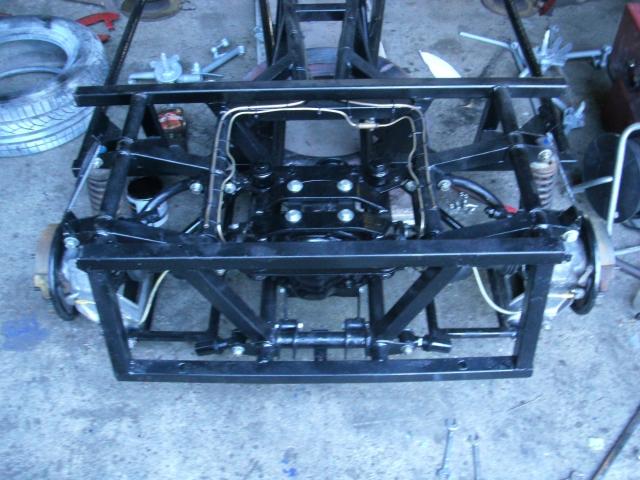
The diff in this car mounts direct to the chassis, in fact we like this idea so much half the photos we take are with a view to future duplication for Jaguar racing purposes, it’s a part of the car we can really learn from. Four big rubber mounts atop, two braces on the sides. The top rubbers aren’t available so must be retained, but the side brace bars are, and so aren’t. They are about £3 each, it’s just not worth cutting the corner.
Diff in, suspension hanging about the place drying, Bear turns to renewing fuel lines. Out with the old, in with new cunifer. We can’t help ourselves, really old fuel lines just have to go, and one-piece cunifer runs are standard when we go racing, so that’s what she gets. Bear follows the original route, for the most part, and the original method of fixing, tie wraps! It’s an odd fuel system in many ways, a carburettor-ed engine, but with a fuel return line. Odder still, the tank is in the body, twenty feet away, the lines are on the chassis, the engine is further away still, and the carburettor is on the bench. It would panic me were it not for a) all the photos, and b) the original lines to copy.
Brake lines were already cunifer, no need to swap them. Bear rubs each of them down with wet and dry to remove some of the old grime, and to check them for damage, but all appears intact. They too, with time and tie wraps, go back on the chassis.
The rear uprights did present only one real difficulty, a bizarre design allows the long pin that runs through them to sit in a bath of captured water for their entire life, and teasing them out took time, patience, heat, and careful violence. But they did come out. And Bear’s policy with everything that comes off is to have it zinc plated. So when the painted suspension gain their new bushes, then in a single, happy afternoon, Bear throws the wishbones, driveshafts and uprights at the car with a shower of bright fasteners. Not new, they are the old ones with a new lease of life. It’s all rather nicely done, it’s almost as if he’s not an idiot.
As the weather is still good, Bear’s working on the chassis outside for the most part, which means carrying it back indoors of an evening. He does, however, have a specific order in his head as to how he’s going about this project, and for some reason this doesn’t include the shocks and springs yet, or the wheels. As he has crap knees and a back made of glass, he can’t lift this and walk with it. What this means is that his brother is now asked to take the heavy end. After giving birth to his own colon, said brother makes the suggestion that perhaps wheels might be the next priority.
As the car is in many pieces, there are a dozen projects around the garage. Engine, gearbox, and brakes are next on the agenda.
Whilst this little lot has been ongoing, the front suspension gained new paint and bushes. This is now thrown at the car, and with shockers finally attached, wheels go on, and the chassis rolls once again. No more worrying lifting that leaves that worrying pain in the spot that you think hernias happen.
The car is gaining an oil cooler, so this is trial-fitted. It slots perfectly between the front chassis rails at such a height as to not get hit by every last pebble coming up off the road, yet still allow air to reach it, and the pipes to take such a route that they neither foul suspension nor get sawn in half by the big whirling plastic fan of engine death.
For a modification then, it's the holy grail, in that there are no downsides. That's rare.


Steering rack and front anti-roll bar go on, the latter gains one of our spare race car tow straps looped around it, because there is no official method of towing a Taimar so we invented one.
The transition to a rolling, steerable chassis, means that we're making substantial strides, putting the body back on cannot be all that far off.
Whilst he's gone to some effort with the paint on the chassis, it's still a chassis. There is no sense leaving it unprotected, so Bear waxoyls all the top surfaces that will be hidden by the body when it goes back on.
That he uses one of the saucepans from the kitchen and a paintbrush doesn't even raise an eyebrow, though why he was dipping a brush in what looked to me like chicken soup did.
Thus protected, we can now all get covered in the stuff as we work on the next phase.
The simplicity of the design works in our favour here. Just as a pair of spanners took everything apart, once the bushes are pressed back into the arms it all slithers together as easily as it came to bits. We're used to wrestling with old cars, even racing cars seem to like to fight back, but working on it all seperate to the bodyshell does allow such amazing access, you can simply get to everything. We finally understand why Seven-derived kit cars are so popular.
With that in mind, Bear refits the rubbers that isolate chassis from body. TVR strapped these in place with electrical tape. They don't need to be held in place once the body is fitted, but they do when fitting it.
There is no need to reinvent the wheel here, Bear uses electrical tape. And he puts them all back where they came from. Well, he says he did. Frankly I don't think it matters one whit, but he does try.
The open ends of the chassis piece we put in are plugged with plastic, well, plugs. No sense leaving these open to the elements given it's the bit we know rots!
As phase two of the project ends, we’re already at beyond the original projected date, primarily because we have other projects on as well, but we’re making progress. Repaired, painted rolling chassis, rebushed suspension, new diff fitted. It’s not a bad workrate.
Stage three requires the loud heavy thing to be put in the front, and that is already in progress. Estimated time to slip the body back atop the chassis is under a week away. Three guesses whether that deadline will be met? On the other hand, I can't fault the quality of what he's producing, and there is a trememdous benefit to doing this right, and once only.
Two in the front of each floorpan, beneath the carpets and whatever sound deadening is still intact.
Two in the rear of each floorpan, behind the seats.
And four in the rear seatbelt anchorages, which go through this structure at each side. Because the Taimar has an opening tailgate.
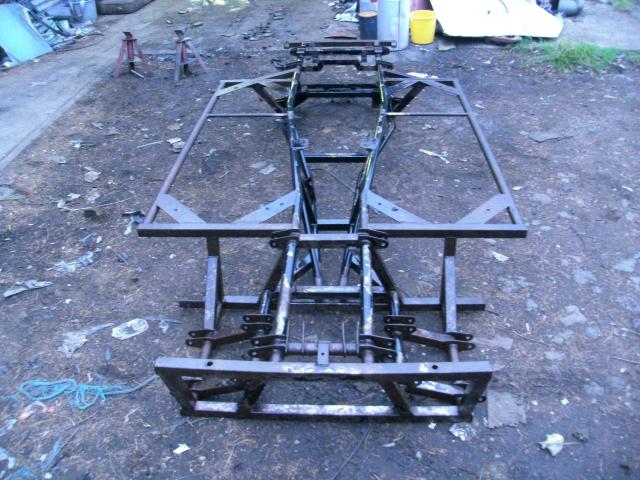
Fully stripped, and looking rather naked.
Bear was caught picking it up and walking about with it.
This crossmember showed the only discernible rot.
All hail the man obsessed with greasing everything. It must have been messy to work on, but we do appreciate the effort now!
In fairness, even we are not going to attempt to plate this, replacement is the only sensible option.
New rail going in. The last time I saw Bear being this careful he was playing jenga.
Hang on, isn't that the bad guy from the last Batman film?
The silver colour is the epoxy primer.
Whereas the black is the topcoat.
Yes, the epoxy comes in black. But the supplier had run out.
Life is hard.
Shiny.
Pretty sure I've seen one of these on a plinth in Leeds town centre.
Crude the construction may be, but there are some very strong elements to it.
Your feet would survive a crash....
Burning bush.
Not sure whether to reference Moses or redheads.
Suspension gets some hot modifications.
I'll get my coat...
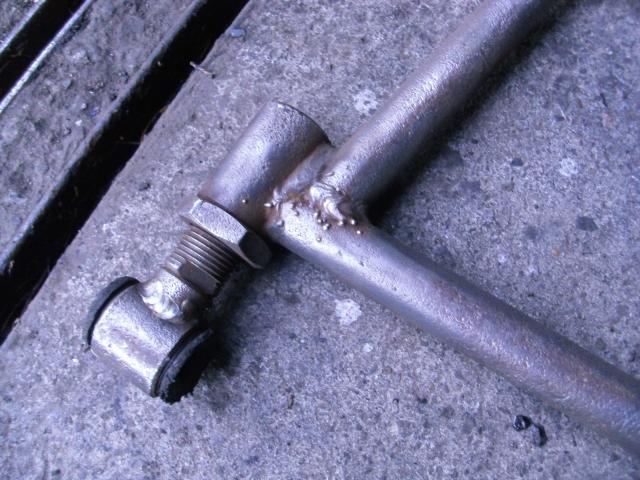
With the steel brushed clean, the simplicity of construction is clear.
The weld spatter isn't ours, it's original!
Bear got all organised and methodical when it came to rebushing.
Cheap to do, and very worthwhile.
Jaguar 3.07 powerlock diff.
Repainted or replated fixtures and fittings.
Bear gets to work on the fuel lines.
One-piece cunifer lines, it's almost as if he's done this before.
They do all follow the exact same route as the original, save for where they are arranged at the rear, which is now a little neater than before.
The brake lines, however, follow their original route, because they are the original lines, merely cleaned up and refitted.
And look, suspension!
Wheels!
And the felt padding, cleaned, dried off, and re-tie wrapped back on again, with a little waxoyl addative to try and prevent water absorbtion.
Fitting the rubber pads that isolate chassis from body.
With insulation tape.
If it works, then why not?
Bear paints the chassis with chicken soup.
Imagine that, as I did, you have just walked in on this without knowing what it really is.
Rolling chassis complete.
Time for the loud and heavy bit that goes in the front.