TVR TAIMAR
RESTORATION PROJECT

Time to reassemble this thing. You might think that this is just a reversal of the way in which it came apart. And you'd be right.
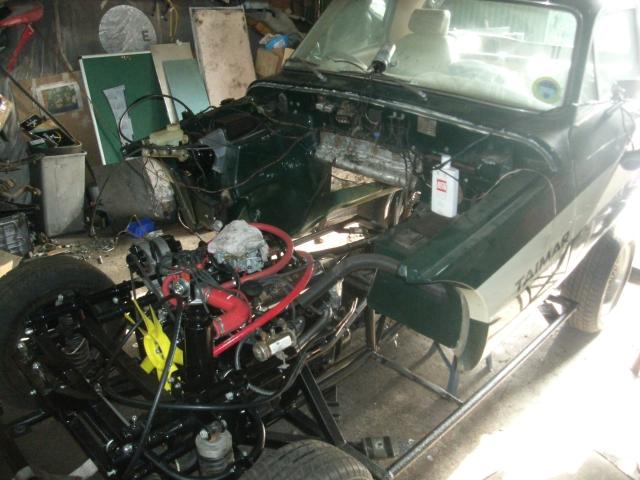
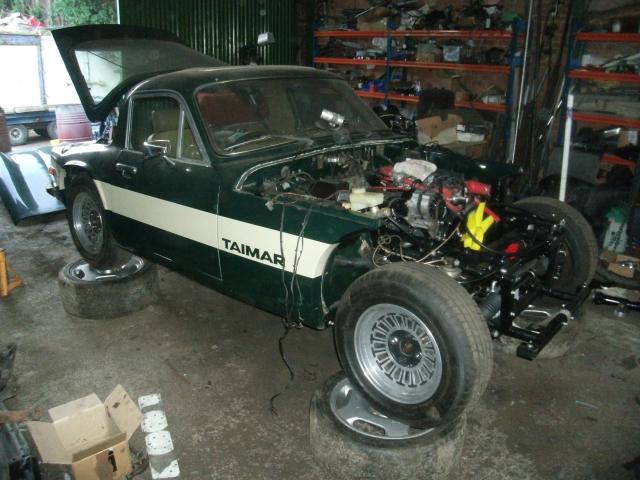
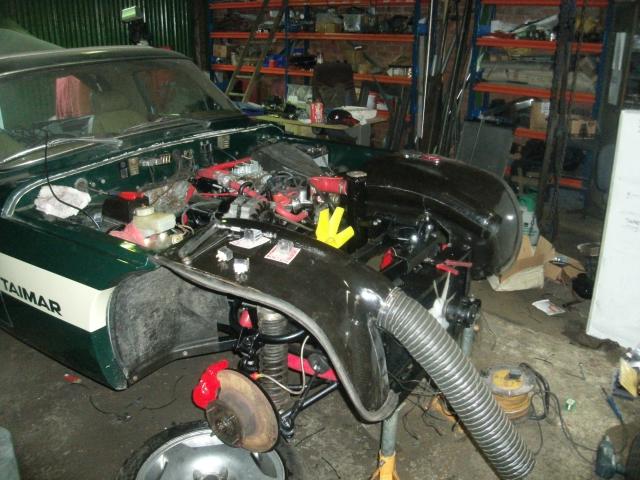
The chassis simply rolls under the body, and, now knowing the angle it wishes to adopt to slot together, the front end can be eased into place. The slope of the big canoe's sides fits the sloped chassis, it doesn't just drop on like Lego, it's more like a jigsaw piece as it slides into place. Or one of those clever woodwork joins. It's the V of the engine that dictates everything.
To make life easier this time, the Bear has left off the handbrake. Those with memories will recall we said not to do this. Don't. It doesn't work, you can't get to refit the handbrake with the body on. So once he'd fitted the body the first time, he took it off again, fitted the brake, and tried again.
The issue, you see, is that to drop the body on you want the handbrake vertical, ie on. And then you can't move the chassis if you've connected the cables, which he had. And that makes fitting it much harder.
Once lowered into place the bolt holes all, amazingly, appeared to line up, and it was a simple matter to plug all 14 of the freshly-plated bolts back into place, a flurry of ratcheting, and she's back together.
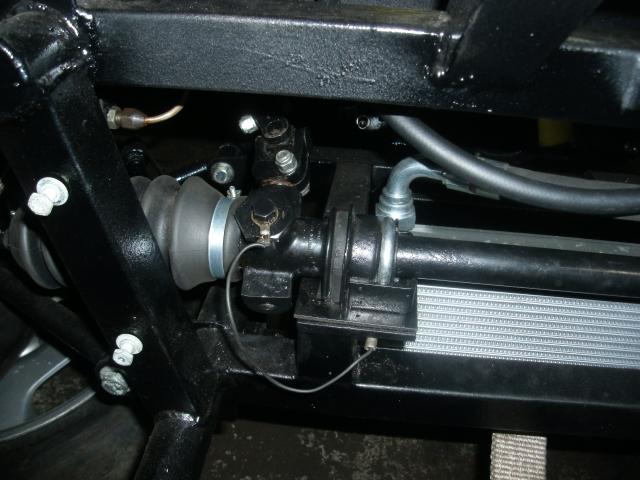
That does not, however, make it a finished car. The brakes are simple. The repainted servo is already fitted, so simply reconnect the brake lines and bleed. Easy. Nothing else is so simple.
The electrics, for example, had the Bear pulling his fur out. Remember when we said that a fibreglass car has its quirks? Earthing is one of them.
Whilst everything earths via the chassis, and there is plenty of it, the car does in fact use very few, and hunting down which of them is making all his electrical systems go mad drives him similarly nuts.
Fortunately, with time, and a multimeter, he is able to trace the flaw, and normal service is resumed. It is hardly an unusual problem for any restoration, when you paint everything you do tend to lose the bare steel contact you need!
A trial churn on the starter suggests the engine will turn as asked, which is helpful.
Fuel lines reconnected, fuel pumps active - this car uses a supplementary Facet pump in addition to the mechanical - and time to see it he put the new dizzy in the right place.
There is really no excuse not to trial start it. Timing is not a lengthy process, though for the Jaguar owner it is tricky. Muscle memory wants you to put your hands in places that TVR and Ford unhelpfully put nasty spinning things. One can only hope that somewhere some Ford specialist is asked to work on a Jag and finds the same problem.
She fires swiftly into life, and after a brief flirtation with cherry manifolds because the dizzy goes the wrong way, all is swiftly well.
With that headache over, the smaller items fly on.
The cooling system is connected and filled. No leaks, straight away, one of the benefits of silicone hoses and the fast care and attention that trackside repairs teach.
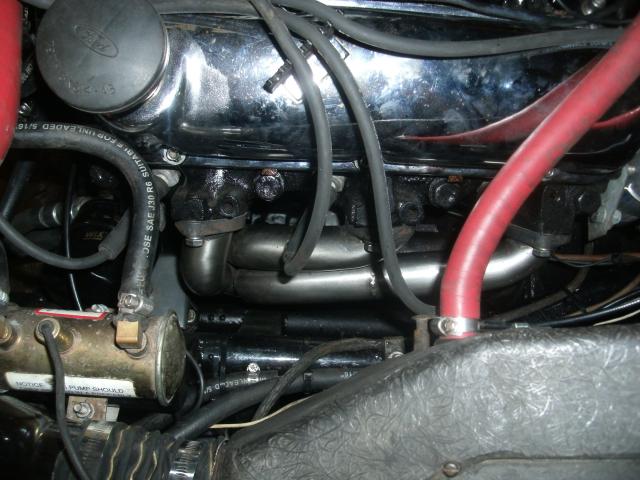
A longer engine run produces an unholy noise, which is traced to the fuel pump. Eventually the problem is embarrasingly clear - the stud has been screwed in too far when reassembled. It is what we might call an easy fix.
The heater airbox is refitted, and the cables refitted. The reason that the heater controls have always been suspect is quickly determined. The interior controls don't appear to have actually ever been connected to anything. At least with that discovery a fix can be invented.
The fibreglass inner wings are attached, and with them come the integral ducts that feed the heater.
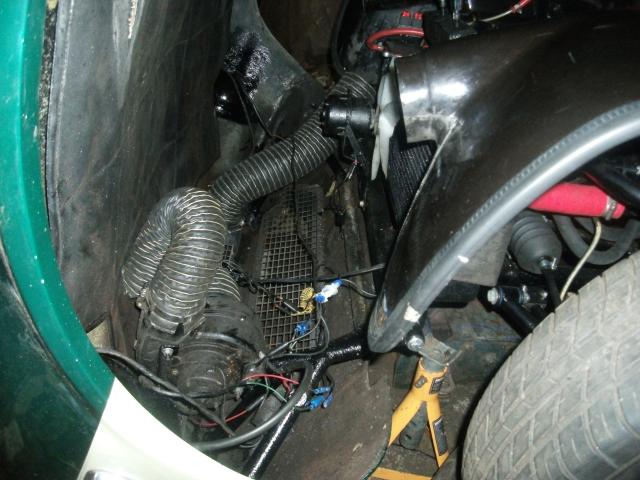
The anatomy of the car is odd, in that the heater blower is in the bonnet. Not attached to the car and fed from the bonnet, it's really in there. The forced air is then ducted to the car. It's a bit strange, but it seems to work.
This leaves the car with long tongues of ducting hanging out, waiting for a bonnet, which of course comes with its own wiring not only for said demister, but lights.
The world's tiniest electric fan is perched before the radiator. How it can be up the job defeats us both.
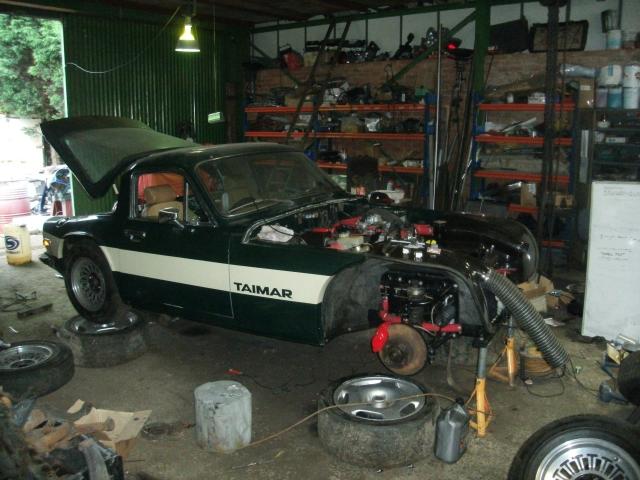
Air cleaner, in all its pimped chrome shinyness, is planted atop the carb, and the car becomes a viable propositon again. Throw a bonnet at it, and it can go.
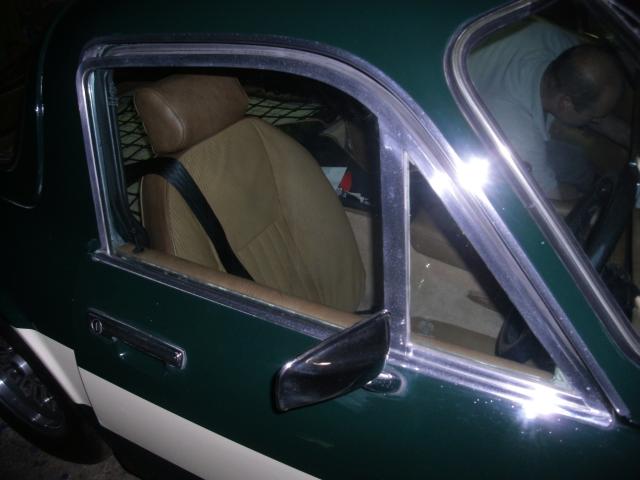
Minor details to be attended to. The revised headlight wiring, with actual relays for once, is finished and tested. The inner wings have rubber seals which have frayed and fallen to pieces with time. Jaguar X300 bonnet seals make near-perfect replacements, and are rivetted into place to add the pretence that we know what we're doing.
The button to engage the overdrive is stealthily concealed in the centre glovebox, and appears to make all the right noises when pressed, which is helpful.
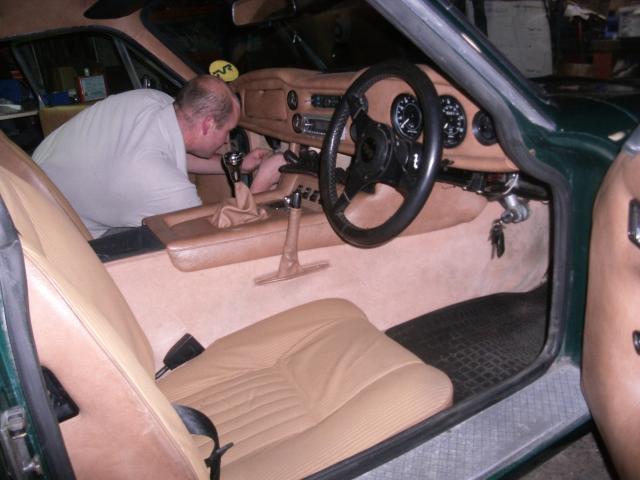
The interior is put back together without further changes, it was repaired and replaced during the last renovation and needs no further attention.
Spare wheel refitted after a last check that there are no leak of either oil or water, and a tie-wrap check for random, floating wires. A final check of all hoses, vacuum tubes and cables, and time to refit the giant fibreglass clamshell that is the bonnet.
Adjustment of this is simple, but not easy. It takes time, two people, and strength. Also the patience not to shout at the person making the adjustments whilst you stand there like a giant organic clamp.
Into the final throes of this now, and time to refit any missing wheels, plus torque the nuts correctly. Easy to forget this simple step after any long build when the wheels have been on and off a lot.
And time to look at the cosmetics. We don't want to do any paintwork, but can the standard be raised without?
Well, yes. A good T-Cutting will bring back a little sparkle, but the paint isn't exactly thick on the car to begin with. Some of the paintwork looks like it has been rained on, 35 years of whatever fibreglass does with age making itself known from beneath. Nothing you can do about that, it's simply one of those things that tells you the car is old and untouched, and that's how it is to stay.
A good buff, being careful not to have the rag turn too green, does make a remarkable difference, but then this is the first time that this has been done, probably ever.
The car's aluminium trims are given a good metal polishing, and come up very well, though we're not sure just how sparkly the car was meant to be when new. They don't appear to be anodised.
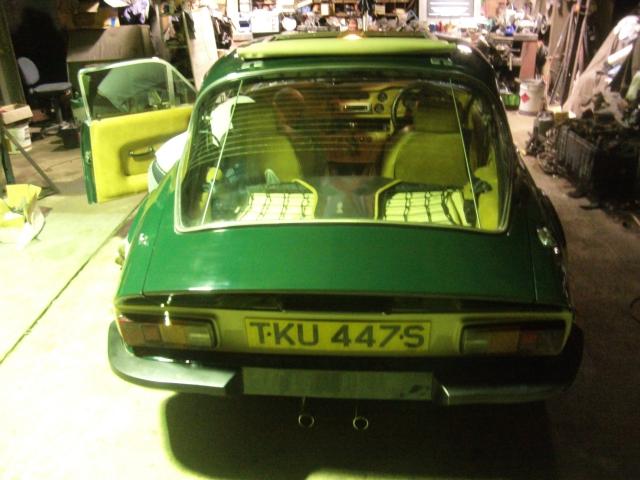
One of the rear rubber bumpers has split. It is unclear if you can get new ones, though fibreglass replicas are available.
Our solution is to bond it back together. We have some goo that claims to be able to stick a battletank to an oily window, so a good dollop of this, and the bumper clamped together by the crude method of stacking a pile of wheels against it, produces a remarkable result, a repair that passes casual inspection.
The car flies through its MOT as one would hope. Our local MOT guy is a master of understatement. He notes that "some work" has been done on this.
Pressed into service within 24 hours, the Bear heads off to see if a shiny new old TVR can pick up girls. Apparently so.
This extended test drive offers the opportunity to test the modifications.
Bear's verdict? The powerlock is a nice addition. The motorway cruise is vastly improved with the higher diff and overdrive.
Acceleration is compromised, but he's not sure how much, given he's been playing with powerful racing cars in the interim period, and memory is often flattering.
The gearchange installation, however, was a mistake. The solid mounting was always going to make it loud, and it is. A rethink to introduce some rubber to isolate the vibration will certainly now be needed.
In terms of what he set out to achieve though, success.
Quieten the gearchange, and raise the power levels, as is planned in the near future, and the crude canoe will continue to amuse in her own unique way. We suspect that Trevor would approve.

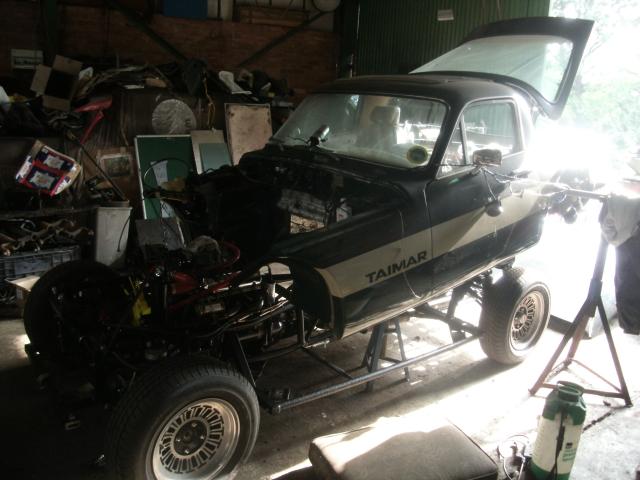
Finally time to drop the body back on.
What's amazing is that nobody had at any point walked into the axle stands.
Reuniting the systems that fit the chassis with the controls that are attached to the body.
Wiring is not extensive!
Now this we call progress.
There's still a week of work to go mind you, Bear refused to drive it like this.
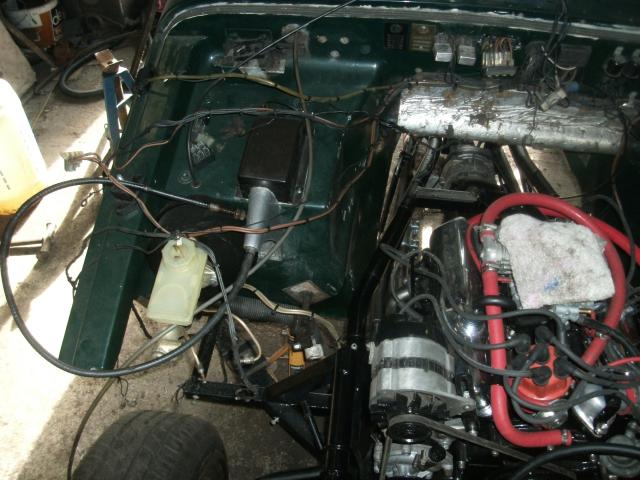
Final oil cooler installation, and one of the irritating wires that each had to be carefully earthed.
People will insist on painting things!
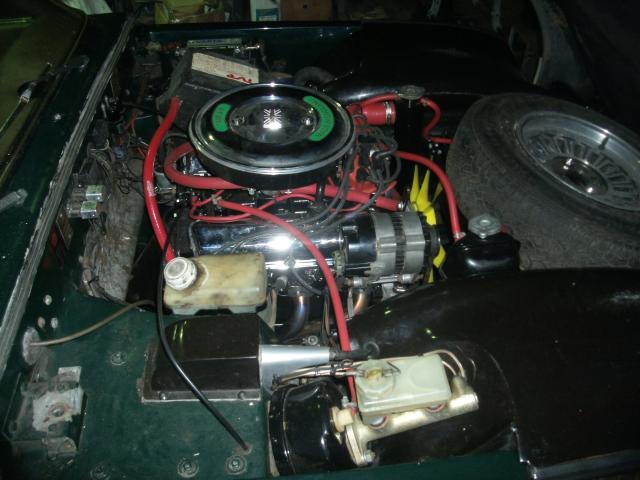
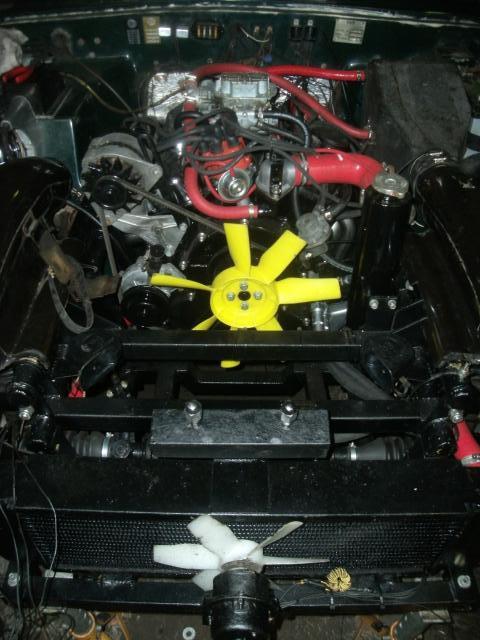
Engine bay does end up quite tightly packaged.
Supplementary Facet pump doesn't exactly help with space, but it's not critical.
Inner wings bolted on. Ducting hanging out.
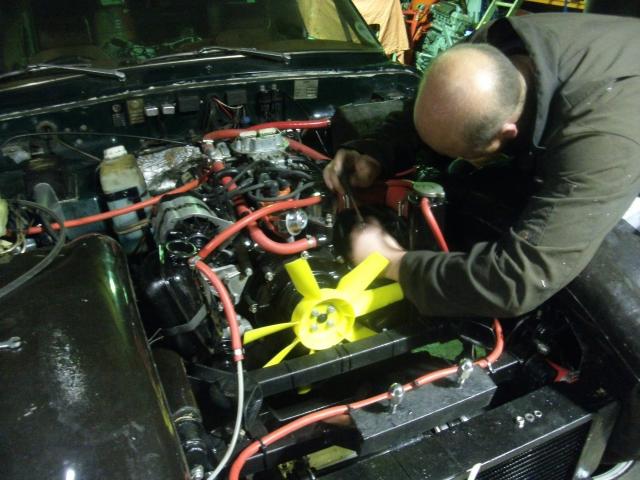
Brakes being bled.
In fairness, he's not made a bad job of it.
Fixing the errant fuel pump bolt that made us both panic about imminent engine death.
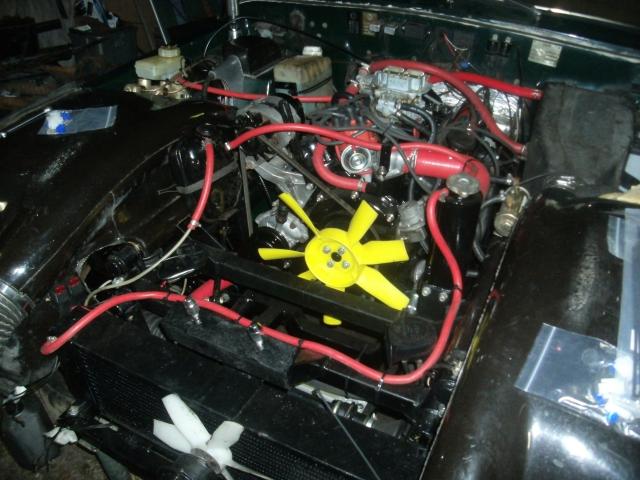
Nearly done in here at last.
It would look better with black hoses, but they are disproportionately expensive.
How can that fan be man enough for the job of static engine temperature control? How? It is, but how?
Chromed filter is a purely cosmetic affectation.
What a place to hide the heater fan.
I suppose in any car of this size space is at a premium, but still...
In the final stages, but he's still found something that needs copper grease.
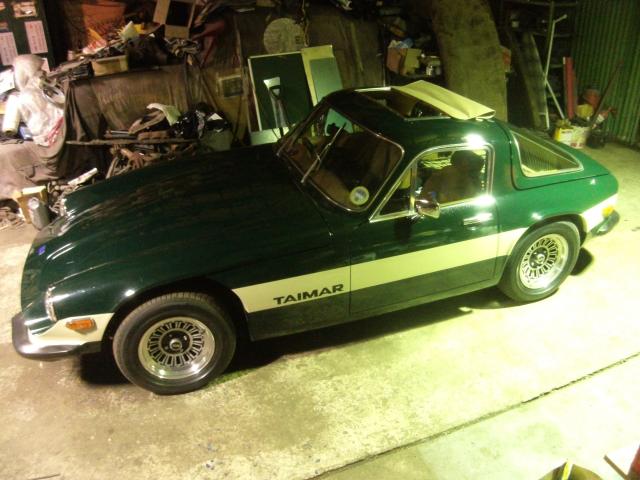
Finished!
Whilst elbow grease brought these trims up well, we were unclear how far to go with it. How shiny are they supposed to be?
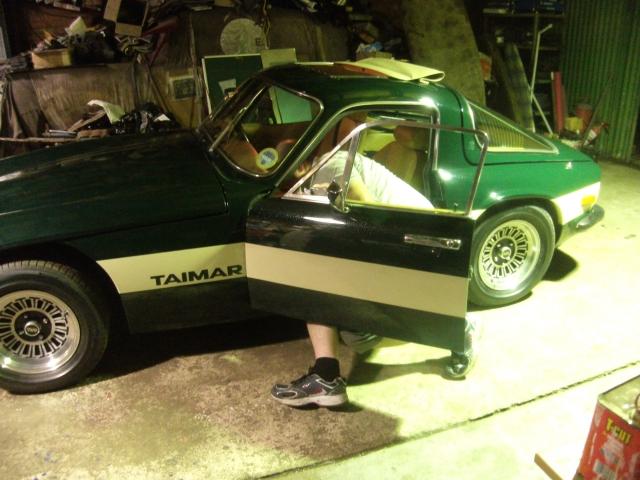
Don't assume that merely because he's in shorts that it is in any way warm.
Same applies to the open sunroof.
Spot the repaired bumper?
No, me neither.
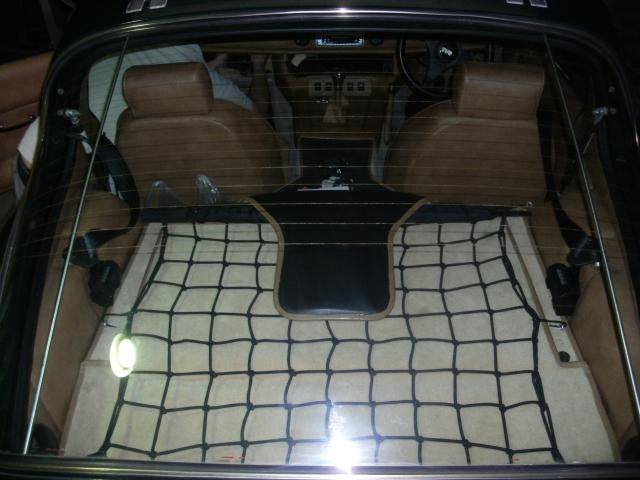
A practical touch - any luggage in this car can go wherever it wants to, this is the boot. One touch of the brakes and you can be wearing your sandwiches.
A mixture of original and replaced interior - the original brown carpets were not something you would willingly put back to original, some parts of the '70s should stay gone.
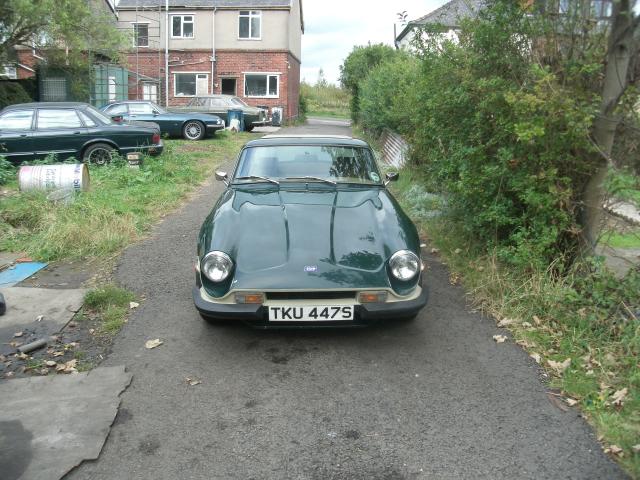
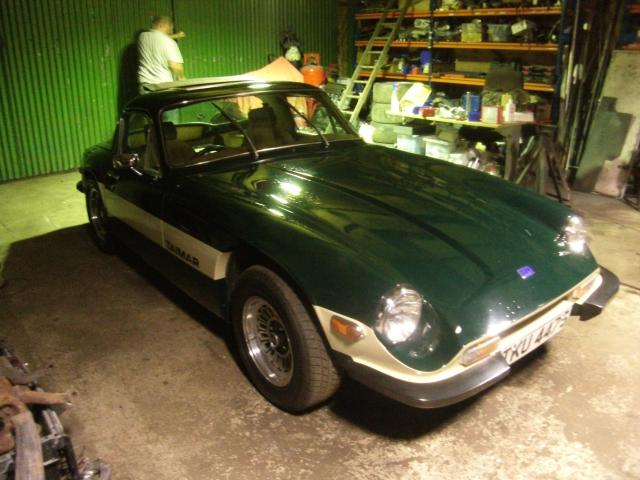
Fresh from MOT, and maintaining our accidental obsession with green British cars.
The finished product.
Total turnaround time - 6 weeks.
Not bad for amateurs.