VANESSA
STAGE 4.3
SPRING 2011
Injury of the month: backache. All this bending can't be good for you. Monotony and repetition do, however, allow for a calm mind. Jaguar sanding therapy, it's the future.
PANEL RECYCLING - THE TRICK IS TO DO IT FOR FREE...
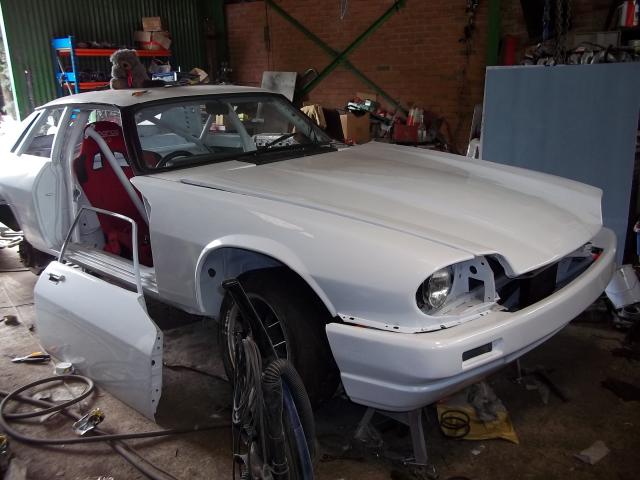
Vanessa is sitting here now, rapidly coming together and probably ready for engine start, but they won't exactly let us race it like this, it is time to add the dead weight that is bodywork.
The problem is, we don't want to spend anything on this, but we do want a decent job doing. You cannot do this without spending money, or time. We took the time approach. This is the point at which the vigorous assistance of your fellow Kutukans finds something else to do instead, because nobody likes doing bodywork. They scuttled off to swap a couple of engines, which you might correctly suggest is fair enough.
The list includes a pair of front wings, lightened doors, fibreglass bonnet and boot, and a pair of fibreglass bumpers.
For the fibreglass items we have a Bear, whose expertise with the stuff has come on leaps and bounds. The steel panels, well, that's for me.
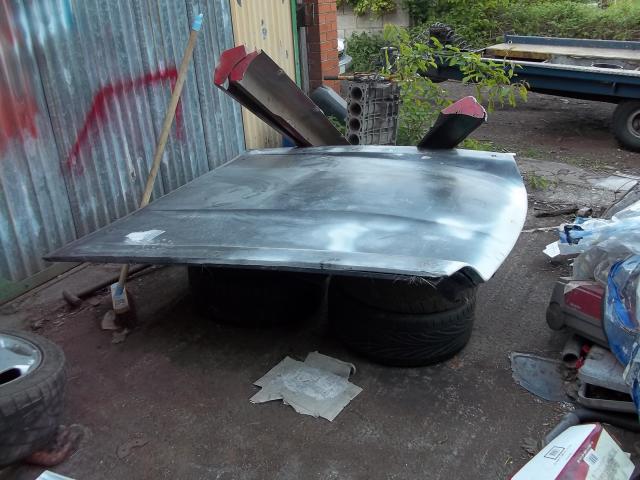
The bonnet is simple - we have one. Bear made it for Helen to do the night race last year, and it's an experimental blend of carbon fibre and fibreglass. The first attempt at this was incredibly light, it came in at 3kg, but whilst the nose and outer edges were strong, the centre was so thin that it sagged under its own weight.
The revised version came in at 6, and is rather less fragile, it survived the Donington test, and is therefore considered good enough to be pressed into service. It may still explode off the car in testing, but we'll see. It is, however, being home-made, cheap.
The boot is even cheaper, we swapped it for something. Roger Webster makes a pretty good bootlid, and we're not too proud to outsource our work! We have already cut and inserted louvres into this, but the plan has since changed and these are no longer necessary, they now form a pointless cosmetic affectation.*
*as an amusing side note, the car's debut at Brands Hatch had a nocturnal inspection from Chris' Palmer and Boon, the latter concluding that the car must feature inboard brakes. Nah. A look through the wheels would have confirmed otherwise, but there may have been some beer involved pre-inspection.
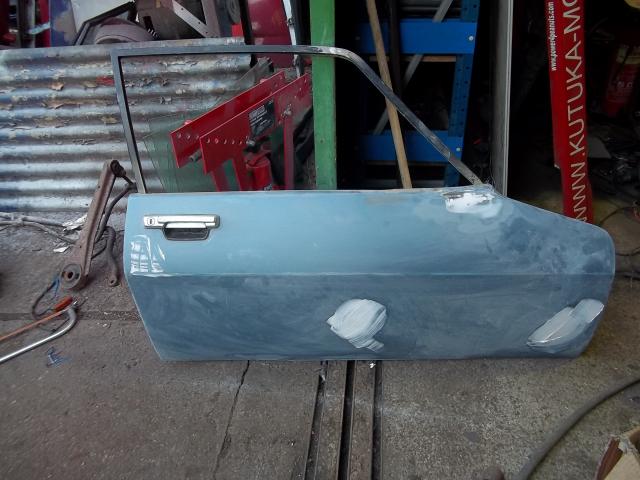
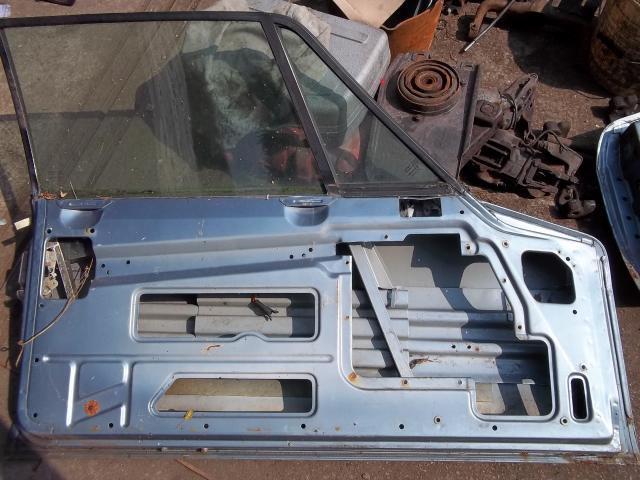
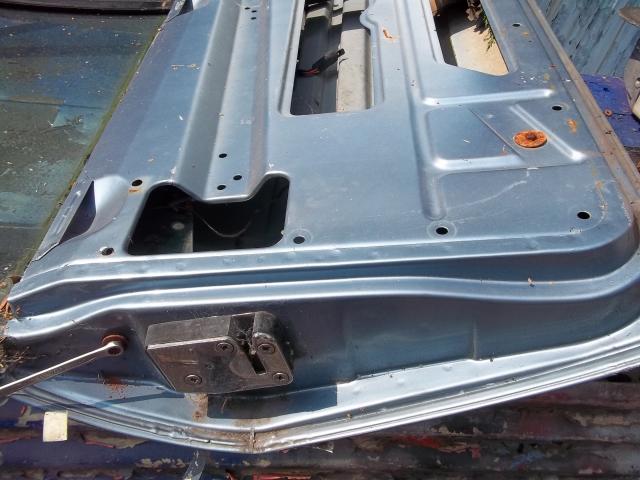
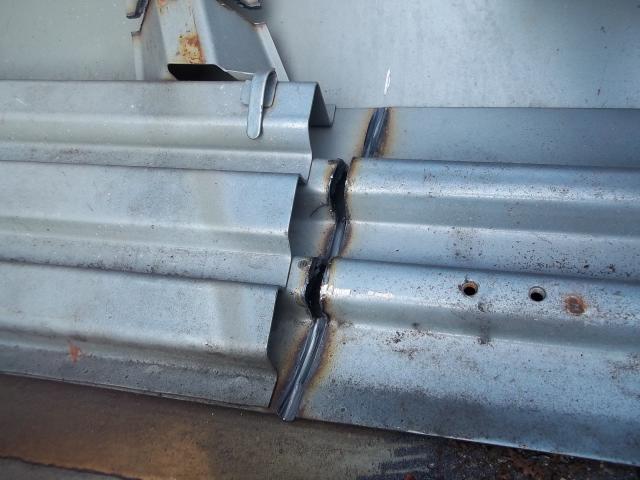
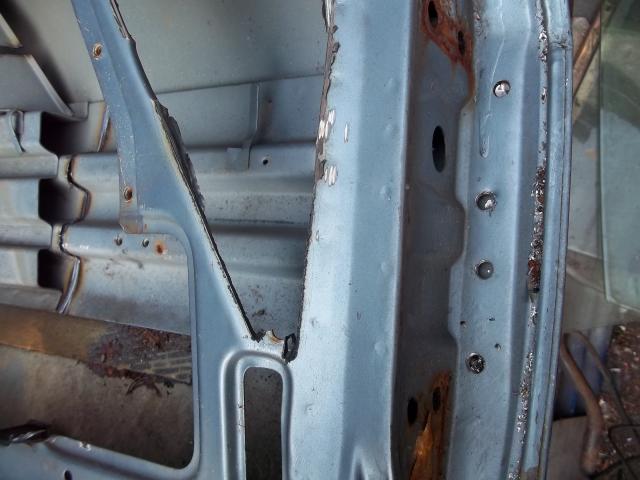
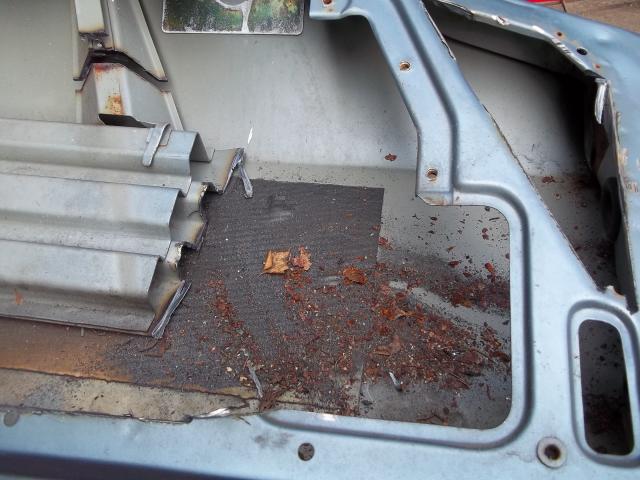
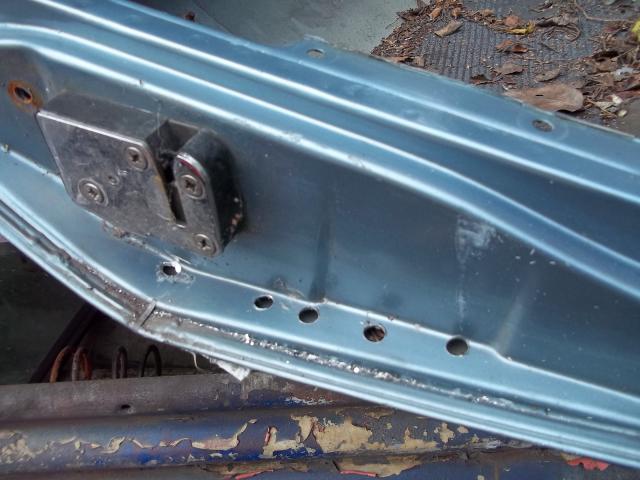
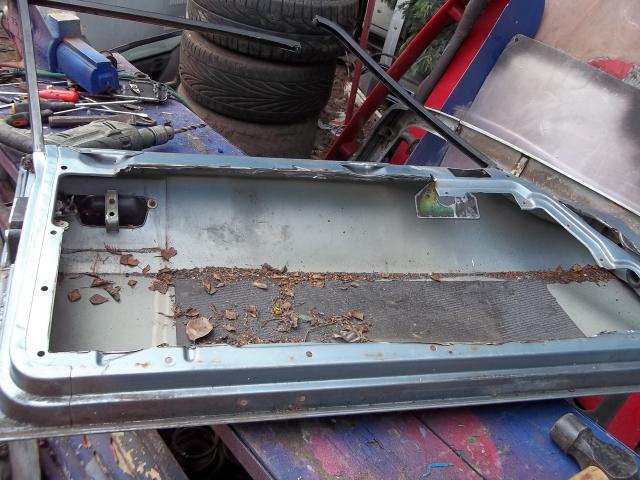
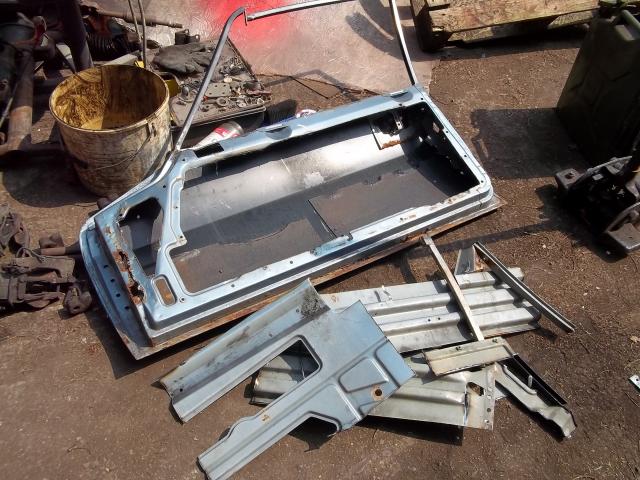
Doors, well, the doors take some work. The pair that came off the shell obviously fit the shell, so we're using them, but they need to lose about 16kg each. Fortunately, we've done this before, and here's a series of pictures to explain how we go about it. This is, however, assuming that you have already removed the drop glass, window lift motors and central locking, and that you've not got a facelift car!
It is really a question of cutting the right things in the right places, there is little subtlety or finesse here.
Cut out what you don't need of the inner skin, then cut and drill the inner bits to tear out the side impact protection, before removing anything you don't want of the frame. This car will wear its perspex windows on the outside as a one-piece window, which stiffens the door and so allows you to lose the quarterlight and its inner frame. We like it for the weight loss, and for the look, the windows on the outside offers a more updated, cleaner look.
Once done, the doors can be prepped for paint with the usual eternal process of primer and sanding so loathed by all who ever get caught in this daft game of car preparation.
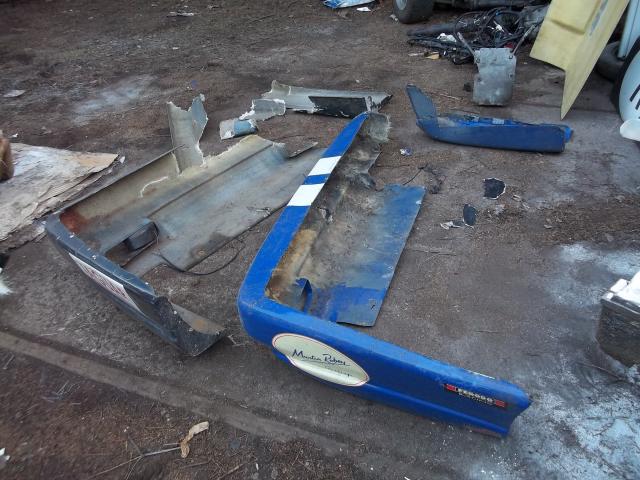
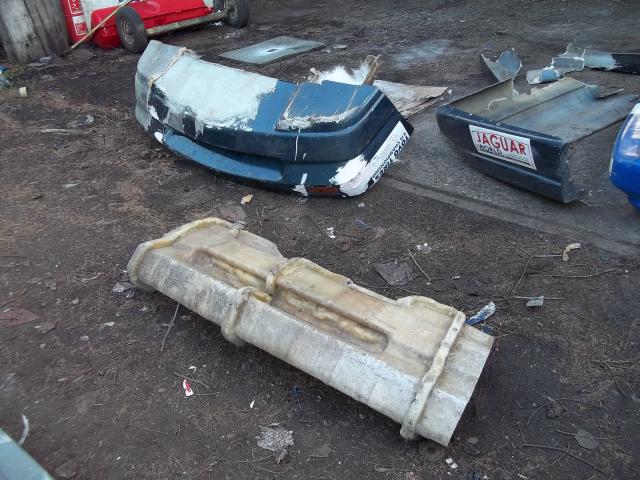
The bumpers, well, we're back with the Bear. He took a mold from Helen's bumper last year, and with some fiddling has recreated what amounts to a 3-piece mold/jig to repair them with. We have the shattered remains of Comer's front bumper, far beyond the repair skills of most, but not our tame Bear. Using his woodland cunning and his own fur as matting, he does a pretty special job of returning the pieces into an intact bumper. He even managed to keep the little TWR logos.
The only downside to such a repair is the added weight, but given we now have a £200+ bumper for the cost of some fibreglass resin, we'll accept that compromise.
We had a rear already in stock, though we also have some broken ones that are already on the Kutuka recycling "to-do" list. The car will later feature central silencers, so the middle is cut out of the bumper. It will puzzle people for now, because she's going out to test with a standard class F exhaust on, but they'll just have to get over it.
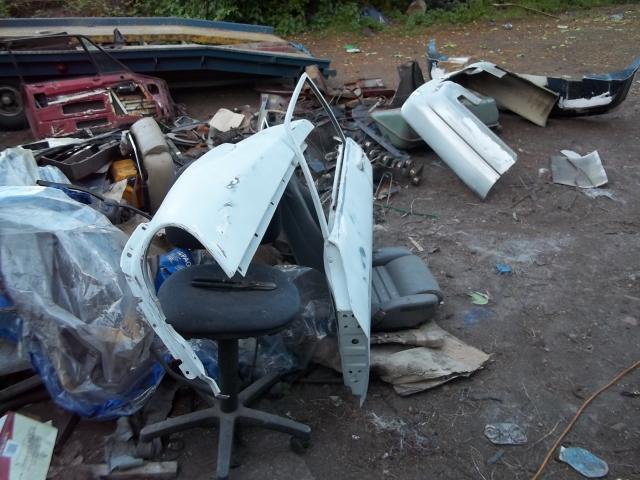
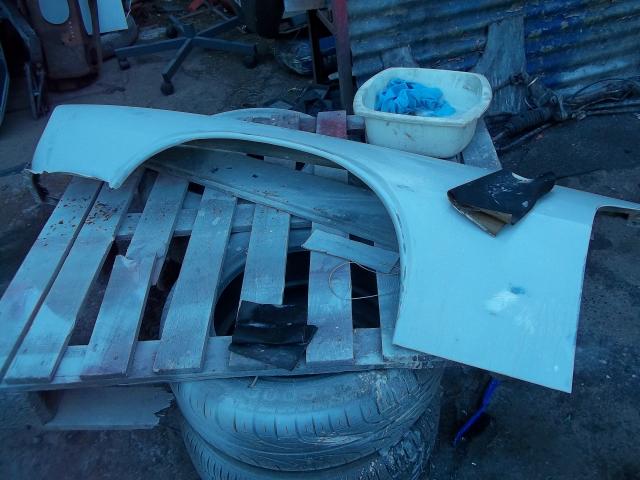
Front wings are, frankly, a pain in the balls. We have one from the V12 that is salvagable. The drivers' side is not, too rotten, once the nose rots out of the headlight surround you're wasting your time. The other one to hand is the wing from Comer's rolled car, and that had a bit of a thump. But, they can be saved, slowly beaten back into shape with time and big hammers. It does need the odd nip and tuck with the angle grinder to stop the bent inner structure fighting the external repair, but it is achievable to a pretty good standard. Both need a bottom edge putting in, and there is the usual tweak to delete the side indicators. Won't win any concours events, but it's good enough to race.
Filler and paint take hours. Days. But when we're done, the total bill for the panelwork, in terms of actual pound note expenditure, it's very, very low. By the time we've weighed in the 26 brake discs we had lying about, scrap panels, stripped parts, it's nearly free.
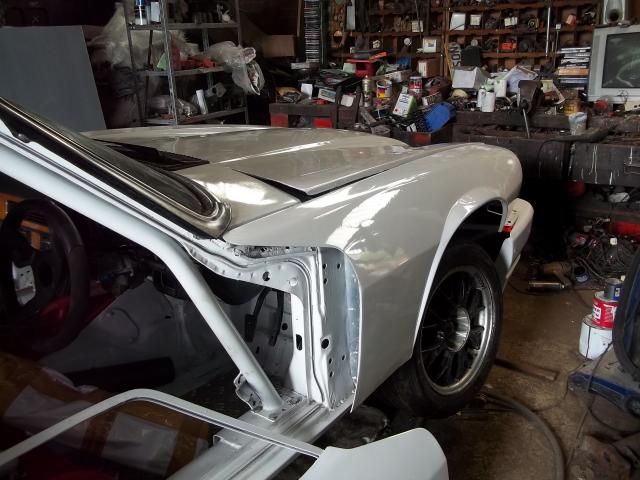
The glossed pieces are hung loosely on the car, and there is a moment of recognition - we seem to have built a Jaguar.
4.4 COMING SOON – CLEAR PROP, CONTACT!
.


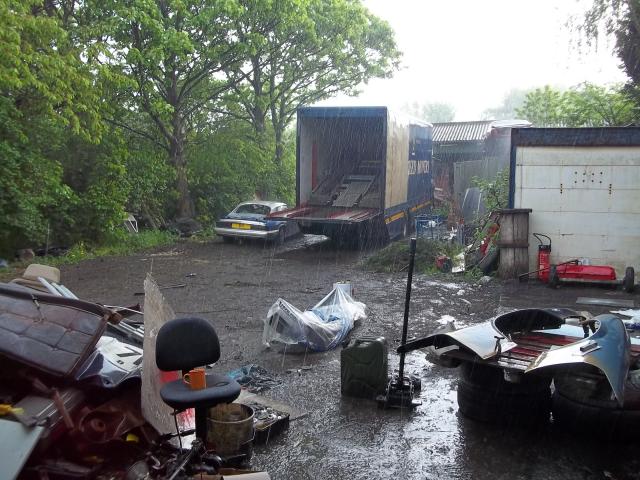
The weather can occasionally be a bit of a pain.
The pile on the left may look like unsightly, but the occasional foray to the scrap merchant takes the edge off the costs. Though we do have to keep fighting the pikeys to keep it.

The Bear's home-made bonnet. Carbon fibre nose and edging for strength, fibreglass centre.
This is the mark 2 version, the precious pilot complained that the Donington spec model was a bit flexible.
Wings and doors in paint prep - extensive work to both to rescue the panel.
The high-tech drying rack can also be used as a seat.


You might not be able to tell now, but there's a fair amount of this wing that is now made of aluminium sheet and filler.
Merely because it's going dark doesn't mean we're allowed to pack up.

Full Jaguar door minus window motors, handles, locks, and central locking.

Which then allows the seal to be torn out - don't need this because there isn't going to be any glass, and that's another kilo gone....

Remove the screws that hold the quarterlight frame to the rest of the door - because we want to cut this out.


Cut through here....
The gold plate is rivetted from the outside, and carries the captive nuts that you screw the mirror to.
Remove the two big screw-head bolts in the front, and the front part of the window frame comes completely out. Remove the glass and seal - don't need either with a one-piece window.
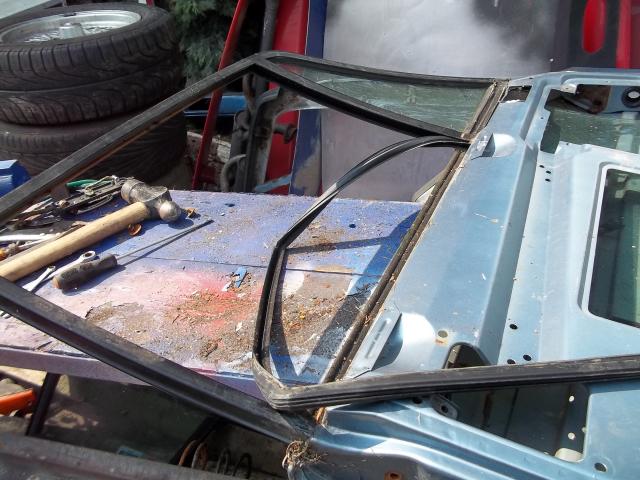
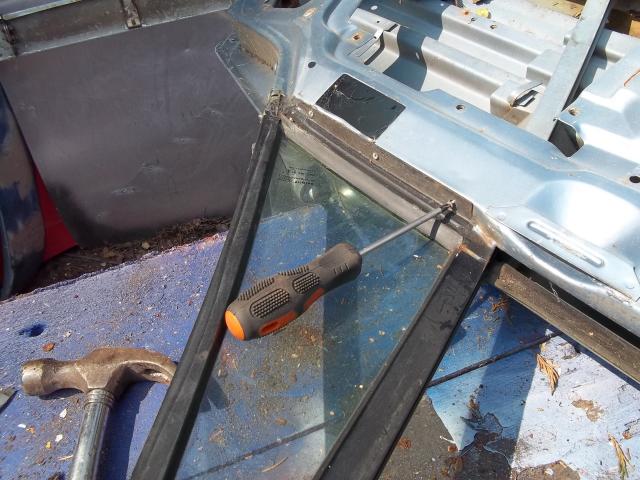
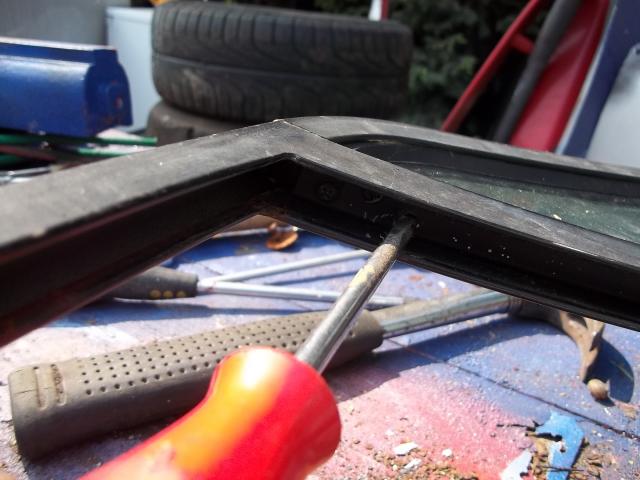
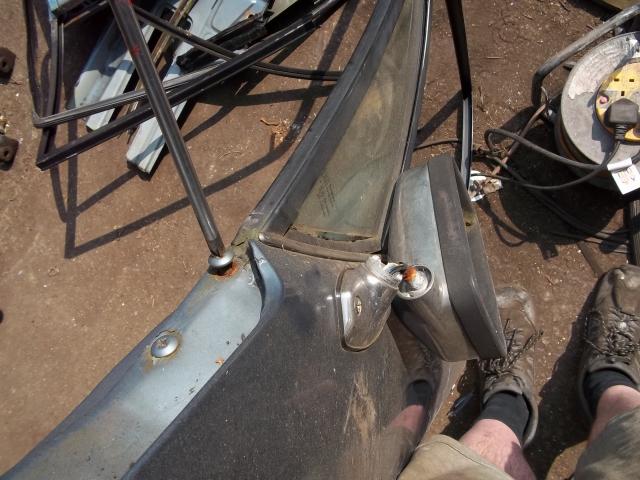
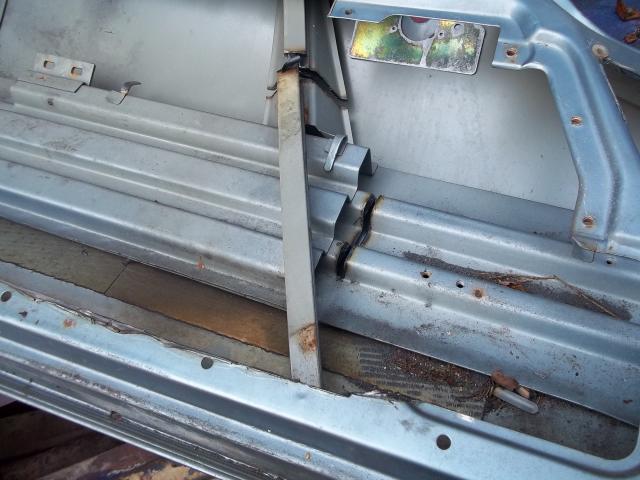
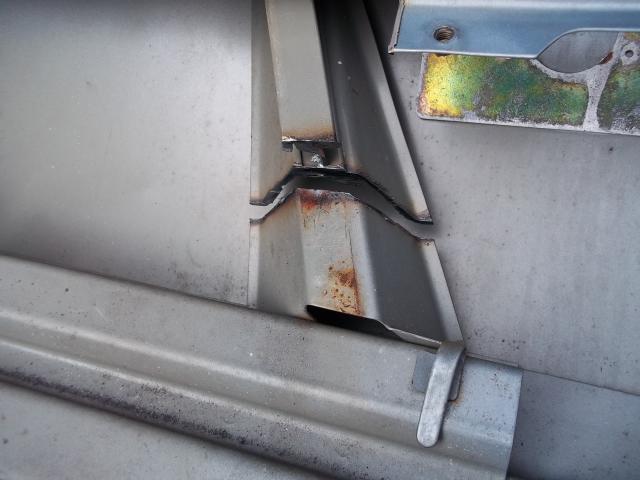

Step 1 - remove the window guide. Hence the 8mm spanner. That allows you take the glass out.


Then get rid of the quarterlight - three screws and lever this plate off - full of sealant in here so it requires brute force.

Cut out the inner skin - and when you do, work out how much you want to leave in. If you want, for example, to retain the inner door handles, don't get rid of the bolt holes for it!
That allows access to the heavy inner structure.

...and here....

...drill out these 4 spot welds....

and you can pull out a big hunk of steel.

Drill out the 5 spot welds at the back edge...
...and all that side impact stuff comes right out. Two angle grinder cuts in the top edge of the door allowed the front window guide to be hacked out too - leaving you now only to weld the frame back together to create a one-piece window surround.


Look ma, all done.
We decided we didn't want the inner door handle, but did leave in the diagonal piece here to help stop the door sagging, and because it makes the inner door panel easier to fit later!

Frame welded up and ground flat again.
Outer rivets removed to remove the mirror-mounting plate, because we don't plan to fit Jaguar mirrors.
Door now in paint prep.

The Bear's fibreglass bumper mold, and the repaired Comer bumper, assembled from the shattered parts.
It does, however, still require some filler...

The rear bumper may also require a little work....

And suddenly, after days of sanding, gloss paint - and it looks like a car! The cage has been also climbed back in, bolted and welded itself in too, like it intends to stay. How presumptuous.

The panel gaps might need a little work yet, but I think we can all agree we're on the way.


