VANESSA
STAGE 3.2
WINTER/SPRING 2011
Injury of the month: trapped everythings. We don't know what it was about this part of the build, but the Bear and I both just kept leaving bodyparts in decreasing spaces. One of us can now sing falsetto.
REAR SUSPENSION, STEERING AND ASSEMBLY
REAR SUSPENSION
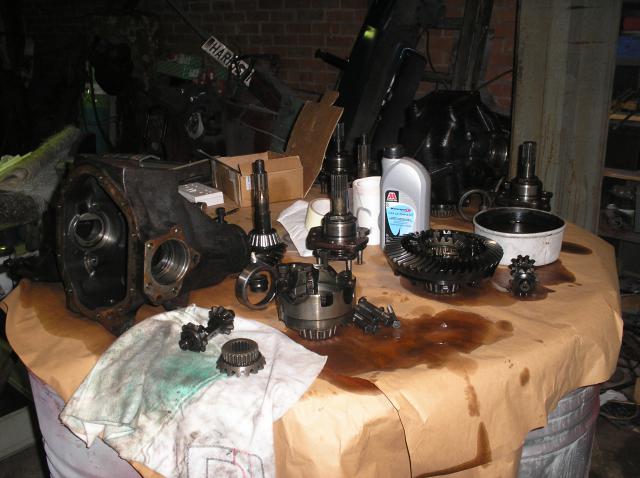
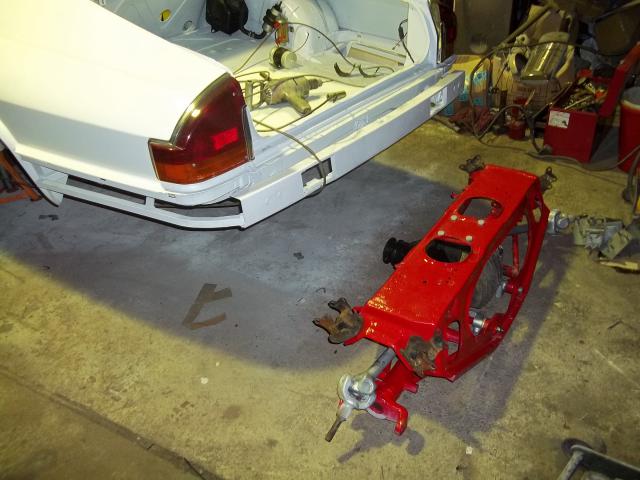
The rear is much simpler, it can be fully and finally assembled off the car. What we need is a diff, and that’s the Bear’s department. He has been tinkering with parts from several, tweaking, machining, modifying, and he has an experimental “new” diff built from two.
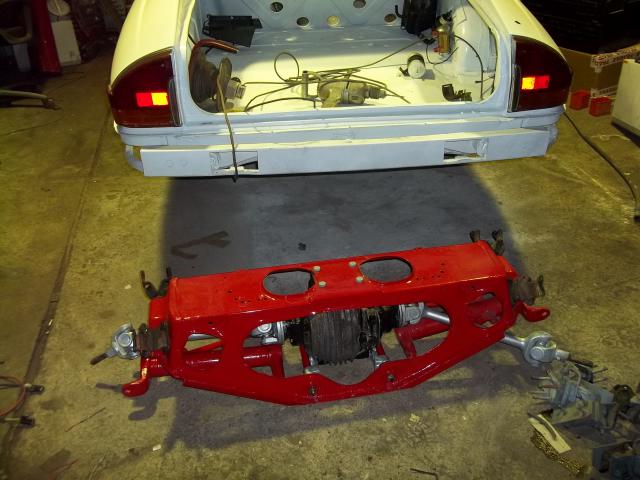
It doesn’t work. Instead then, we use the diff from the rolled Comer machine. It seems a bit loose, but it’s the best we have, so it’ll do. Fitted to the subframe and with our custom thick bottom plate to finish the armoured cage, the rest of the rear end follows quickly. Rear cages break with such depressing regularity that we replace the bottom tie plate with 6mm plate. Heavy, yes, but indestructible. You can actually jack the car up off it if you choose.
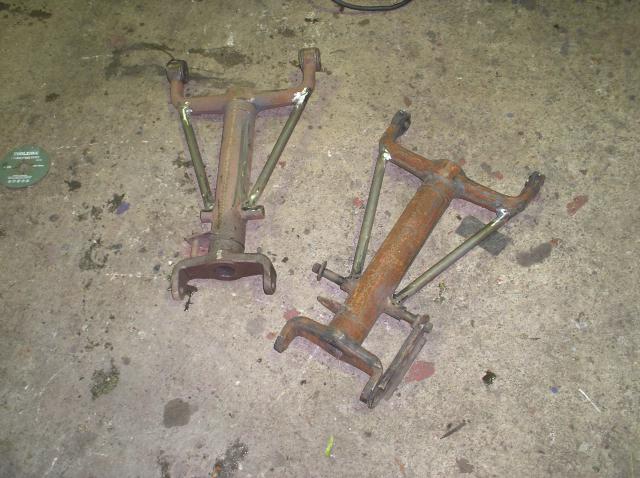
The bottom arms bend. Yes, they do. Don’t argue. We therefore modify these by welding an A frame of small-diameter CDS (cold-drawn seamless, same as your roll cage is made out of) tube to each.
We set the camber at the driveshaft shims merely by guesswork and a few speculative goes with a tape measure. It will inevitably have to be done again on the scales in about 2 months’ time.
X300 driveshafts, fitted to XJ8 outboards, the hubs removed, cleaned and crack tested. Black callipers on zinc plated mounts finish the job. Set on an old pair of slave wheels the subframe is set aside for now, a big piece of the job done.
There can, if you are using a heap of old parts, be a mismatch between hub carrier and bottom arm. The diameter of that big bottom pin changes over the years, and you can find that you have a pin that doesn’t match both arm and hub carrier, which means you may need to sleeve one or t’other. So it is here, we have big ‘oles in one, and not in t’other.
It all takes time. The recovery and restoration of old parts to a higher standard takes a lot of time, but it is rewarding to see high quality assemblies roll out. Of course with a big wallet you could go buy new everything, but where’s the sense or the satisfaction in that?
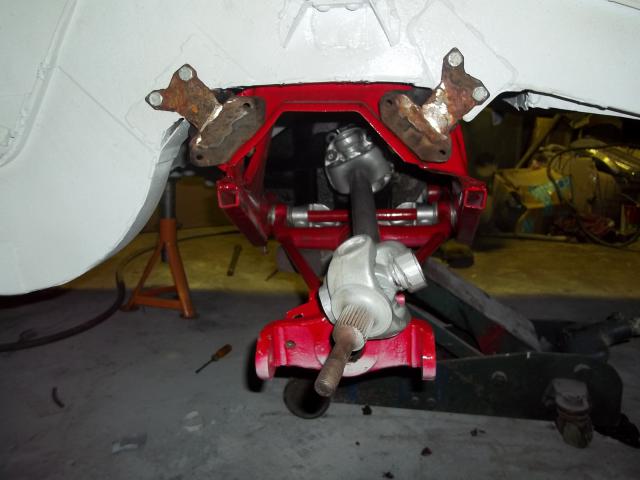
The rear subframe is mounted to the car using solid mountings, legal for the modified class cars only. Some people over the years have cheated by doing the same trick for the roadgoing class, in general achieving precisely nothing for their misguided efforts. Don’t do it, you’re missing the point.
The original metalastic butterflies were fitted to a subframe during the initial shell prep, and welded up solid with extra 3mm plates. It is done this way so that at least they fit. Try welding them up off the car and you find that some of that “give” you need to fit them goes suddenly missing.
The diff is filled now, off the car. Well, why not?
Missing from both front and rear, for now, are springs and dampers. More later on these.
Cost for the rear subframe? 2 yards of box steel, and a big piece of quarter plate, helpfully sourced and cropped for a very small fee by your local friendly steelworks for whom this stuff is merely unwanted offcuts. To that add time, and paint. Nice now it’s done though, isn’t it?
STEERING AND ASSEMBLY
Steering is to be unassisted. This is done inexpensively, by simply removing the seals from the V12 rack – the rack differs from the 6 pot car only in the pipework, and if you don’t use any of it you can fit a V12 rack in a 6 cylinder car – and reassembling the whole thing with grease in place of fluid. Gloss paint makes it look like it was all done on purpose…
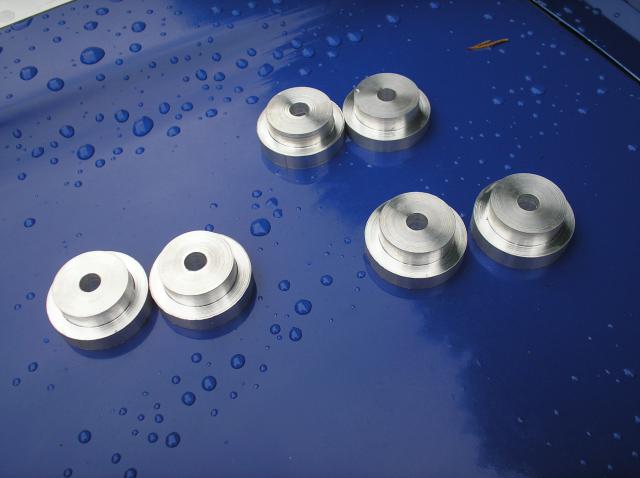
It’s fitted with the Bear’s custom ally mounts in place of metalastic or poly, takes any slack out of the steering. You might not think there’d be any, but there is, on Andrew’s D class you could see the rack move slightly when static steered. None of that here.
This gives us front and rear suspension assemblies, and steering. Fitting it all does not take long at all.
The rear is simply jacked into position, the bolts line up, and it’s in. Simple as that. No fuss, no drama.
The front follows suit, and the new method of mounting the rear makes this a bit nerve-wracking, because until it swings into place we don’t know if the rear holes in the chassis are in exactly the correct spot. That it does line up makes this a swift procedure indeed. The work of an hour sees both fitted, and suddenly that glistening white sculpture makes sense, it’s going to be a car of some sort!
Steering is immediately connected up, we need the column in place as the dash has to go in early for wiring purposes, and that has to be done before the cage can be fitted. Getting the assembly order correct isn’t all that important, but we’ve done a few now, and this is how we roll. In no way is it because we want to sit in the empty shell steering and making screeching noises.
PART 4 - ASSEMBLY - COMING SOON
.


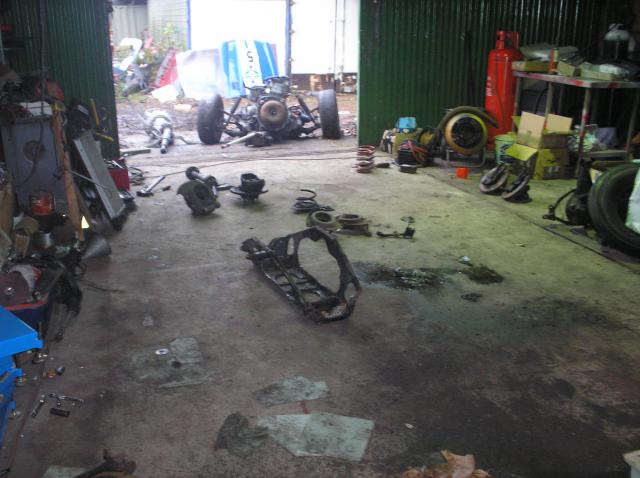
Look how slowly we started. A few bits, a virgin subframe, a lazy sense of smugness. We were never supposed to push the envelope with this build, we just sort of got sucked in.

The standard Kutuka braced bottom arms.
I do this bit, it makes me feel more manly.
Whereas the Bear did this part. I get scared just looking at it.
That it failed was a clearance issue, so his hybrid didn't make it for this car. It's been redone now mind....


You may not agree with pimping the underpinnings, but come on, you do secretly like it.
Completed rear end about to get stuck up her.

Usually we just whistle and they jump in by themself, but this one had to be charmed.
Daisies picked out of the hedge didn't work.

In place, solid mounted. Secure.
We might even paint the mounts now. Maybe.

Steering rack mounts, by Bear.
Eliminates any visible rack movement, allowing that little bit more feel. Legal for all XJS classes.
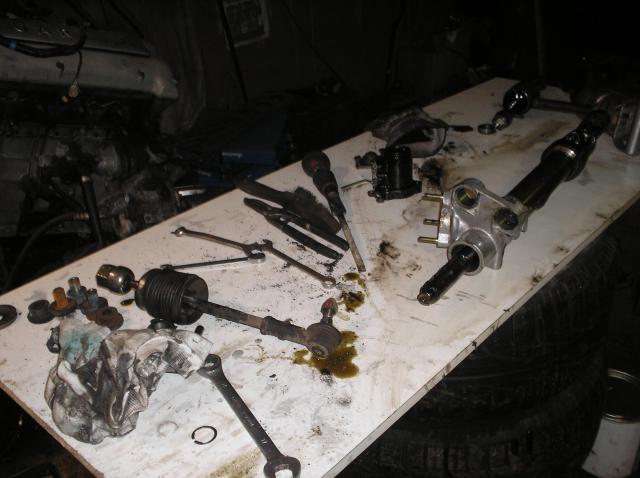

Steering rack in pieces, bits and pieces.
It's nothing like as scary as it looks in here.